I didn’t think a milkshake could change my life.
Then I made this one, took one sip, and just sat there for a second like… okay, so THIS is what everyone’s been talking about.
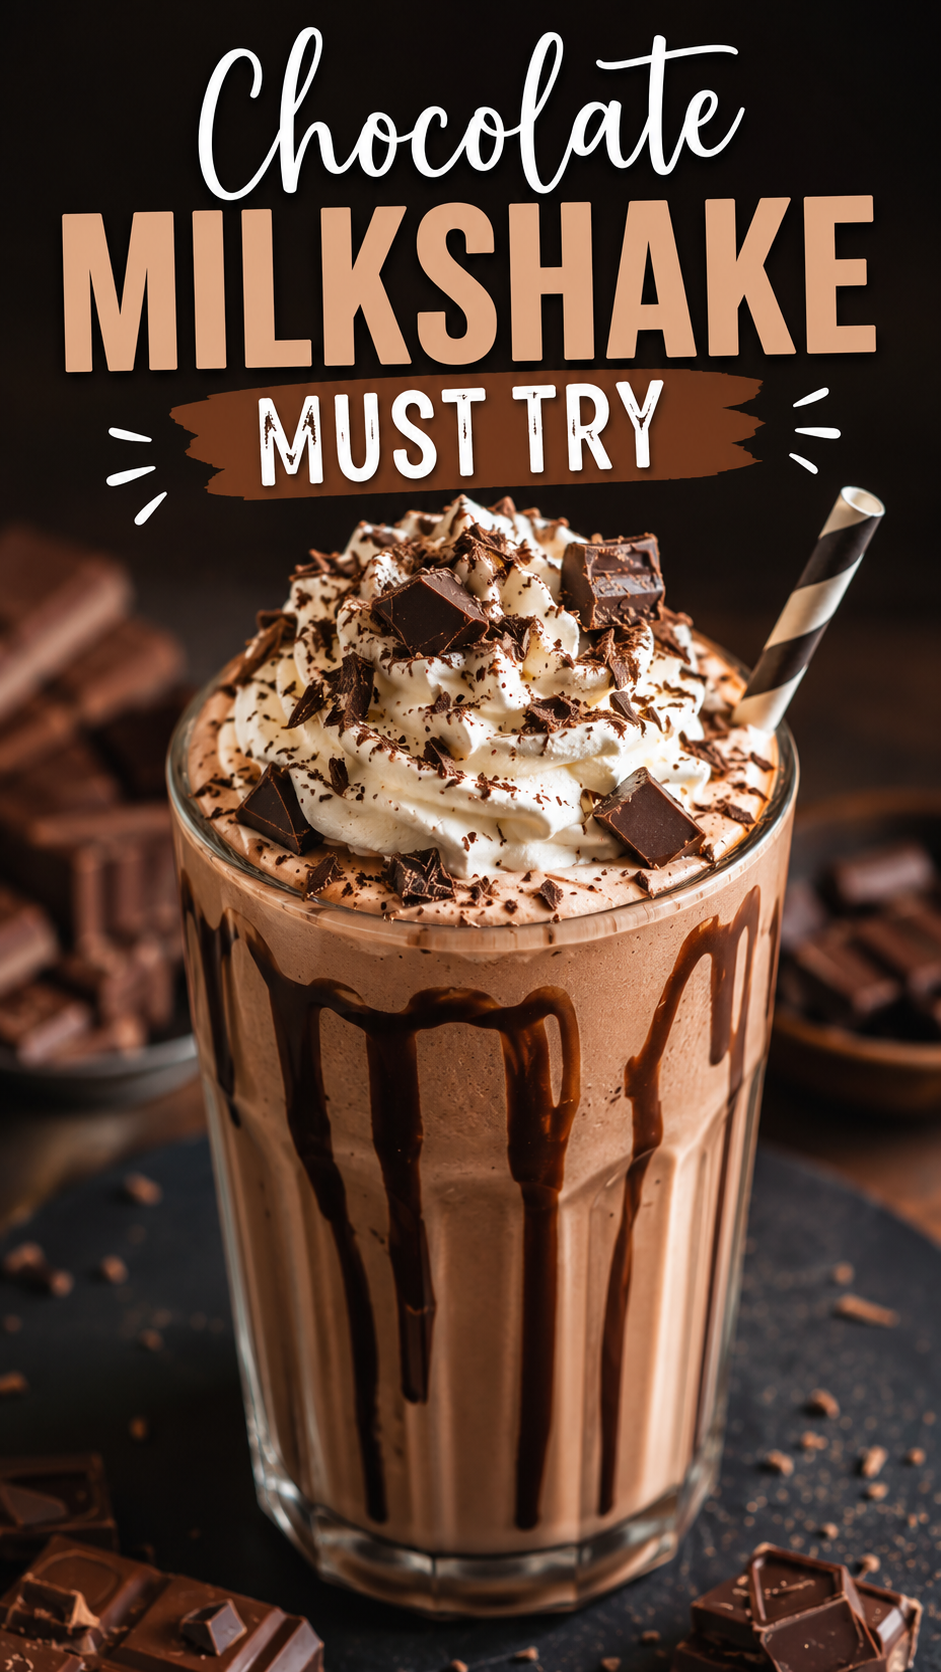
It’s thick. It’s rich. It tastes like a chocolate shop and an ice cream truck had a baby.
And it takes about 5 minutes to make.
I’ve made this shake more times than I want to admit this month, and I finally sat down to write out exactly how I do it. So here we go.
What You’ll Need
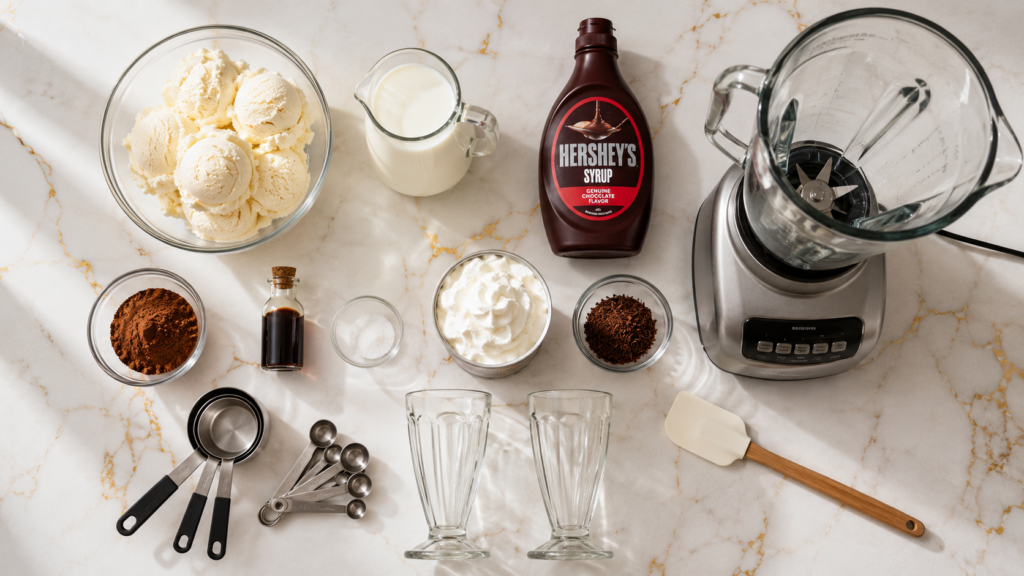
Here’s everything you’re grabbing from the kitchen:
- 3 cups vanilla ice cream (good quality, full-fat)
- 1 cup whole milk
- 1/3 cup chocolate syrup, plus extra for drizzling
- 2 tablespoons cocoa powder
- 1 teaspoon vanilla extract
- Pinch of salt
- Whipped cream (for topping)
- Chocolate shavings or sprinkles (optional, but honestly, do it)
That’s it. Eight ingredients, half of which you probably already have.
Tools You’ll Need
- A blender (a good one matters here, more on that below)
- Measuring cups and spoons
- Tall glasses
- A rubber spatula
How to Make It
Step 1: Chill your glasses.
Pop your serving glasses in the freezer for 10 minutes before you start. This keeps the shake colder, longer. Small step, huge difference.
Step 2: Add your ice cream to the blender.
Let it sit out for 2-3 minutes first if it’s rock hard. You want it just soft enough to blend without turning into soup.
Step 3: Pour in the milk.
Start with the full cup. You can always add a splash more later if it’s too thick to blend.
Step 4: Add the chocolate syrup, cocoa powder, vanilla, and salt.
The salt isn’t optional. It’s the ingredient doing quiet, important work in the background.
Step 5: Blend until smooth.
About 20-30 seconds on medium-high. Stop and scrape the sides once if needed.
Step 6: Check the consistency.
Too thick? Add a tablespoon of milk at a time. Too thin? Add a scoop more ice cream.
Step 7: Pour into your chilled glasses.
Use that rubber spatula to get every last drop out. It’s the little things.
Step 8: Top it off.
Whipped cream, a drizzle of chocolate syrup, and chocolate shavings if you’re feeling fancy.
Step 9: Serve immediately.
With a straw AND a spoon. You’ll need both.
Pro Tips
Here’s what I’ve learned from making this way too many times:
- Freeze your blender jar for 15 minutes before starting. This alone made my shakes noticeably thicker.
- Never use skim milk. It makes the shake watery and honestly kind of sad. Whole milk or nothing.
- Don’t over-blend. The second it’s smooth, stop. Over-blending melts the ice cream faster and thins everything out.
- Taste before you pour. Every brand of cocoa powder and chocolate syrup tastes a little different. Adjust before it’s in the glass.
- Real vanilla extract, not imitation. You can actually taste the difference in something this simple.
Substitutions and Variations
Want to make this your own? Here’s what works:
| Original | Swap | Result |
|---|---|---|
| Whole milk | Oat milk | Slightly nutty, still creamy |
| Vanilla ice cream | Chocolate ice cream | Double chocolate, extra rich |
| Chocolate syrup | Nutella | Deeper, almost hazelnut flavor |
| Cocoa powder | Dark cocoa powder | Darker color, more bitter edge |
| Regular milk | Almond milk | Lighter, slightly thinner texture |
You can also throw in a shot of espresso for a mocha version, or a handful of peanut butter chips if you want something a little unexpected.
Make Ahead Tips
Milkshakes are best fresh, but here’s a shortcut if you’re planning ahead:
- Pre-portion your ice cream into containers so it’s grab-and-go on busy days.
- Mix your dry ingredients (cocoa powder and salt) in a small jar ahead of time.
- Chill your glasses the night before and just leave them in the freezer until you need them.
What you can’t really do is blend it ahead of time. It separates and loses that thick, spoonable texture within about 20 minutes.
A Few Extra Details
Nutrition (per serving, makes 2): Roughly 420 calories, 18g fat, 58g carbs, 7g protein. This will shift depending on your ice cream brand and how heavy you go on toppings.
For a lighter version: Swap in low-fat ice cream and skip the whipped cream topping. You’ll lose some richness, but it’s still satisfying.
Dairy-free version: Use coconut milk ice cream and oat milk. Surprisingly close to the original.
Pairing idea: This shake goes shockingly well with something salty. Think fries, popcorn, or a burger. The contrast is doing a lot of work there.
Time-saving tip: Keep chocolate syrup and cocoa powder pre-measured in small containers in your fridge if this becomes a weekly thing for you. It will.
Leftovers and Storage
Here’s the truth: this shake is meant to be drunk right away.
But if you somehow have extra:
- Pour it into an airtight container and freeze it.
- When you want it again, let it sit out for 10-15 minutes, then re-blend for a few seconds.
- It won’t be quite as smooth as the first time, but it’ll still hit.
I wouldn’t keep it longer than 2 days in the freezer. After that, the texture starts to change in a way that’s just not the same.
FAQ
Can I make this without a blender?
Not really, not for this texture. You could mash it together with a spoon in a pinch, but it’ll be lumpy, not smooth and thick.
Why is my milkshake too thin?
Usually it’s the ice cream to milk ratio. Add another scoop of ice cream and blend again briefly.
Can I use frozen fruit in this?
Yes, though it’s a different shake at that point. A frozen banana works particularly well with the chocolate flavor here.
What’s the best chocolate syrup to use?
Any store-bought one works fine, but a darker, less sweet syrup gives you more control over the final flavor.
Can kids help make this?
Definitely. This is a great one for kids to help with, especially the topping stage.
Wrapping Up
This shake takes less time than it took you to read this post.
Grab your ingredients, hit blend, and see for yourself why I’ve made it more times than I’ll admit.
If you try it, come back and let me know how it turned out. Did you make any swaps? Add anything unexpected? I want to hear about it in the comments.