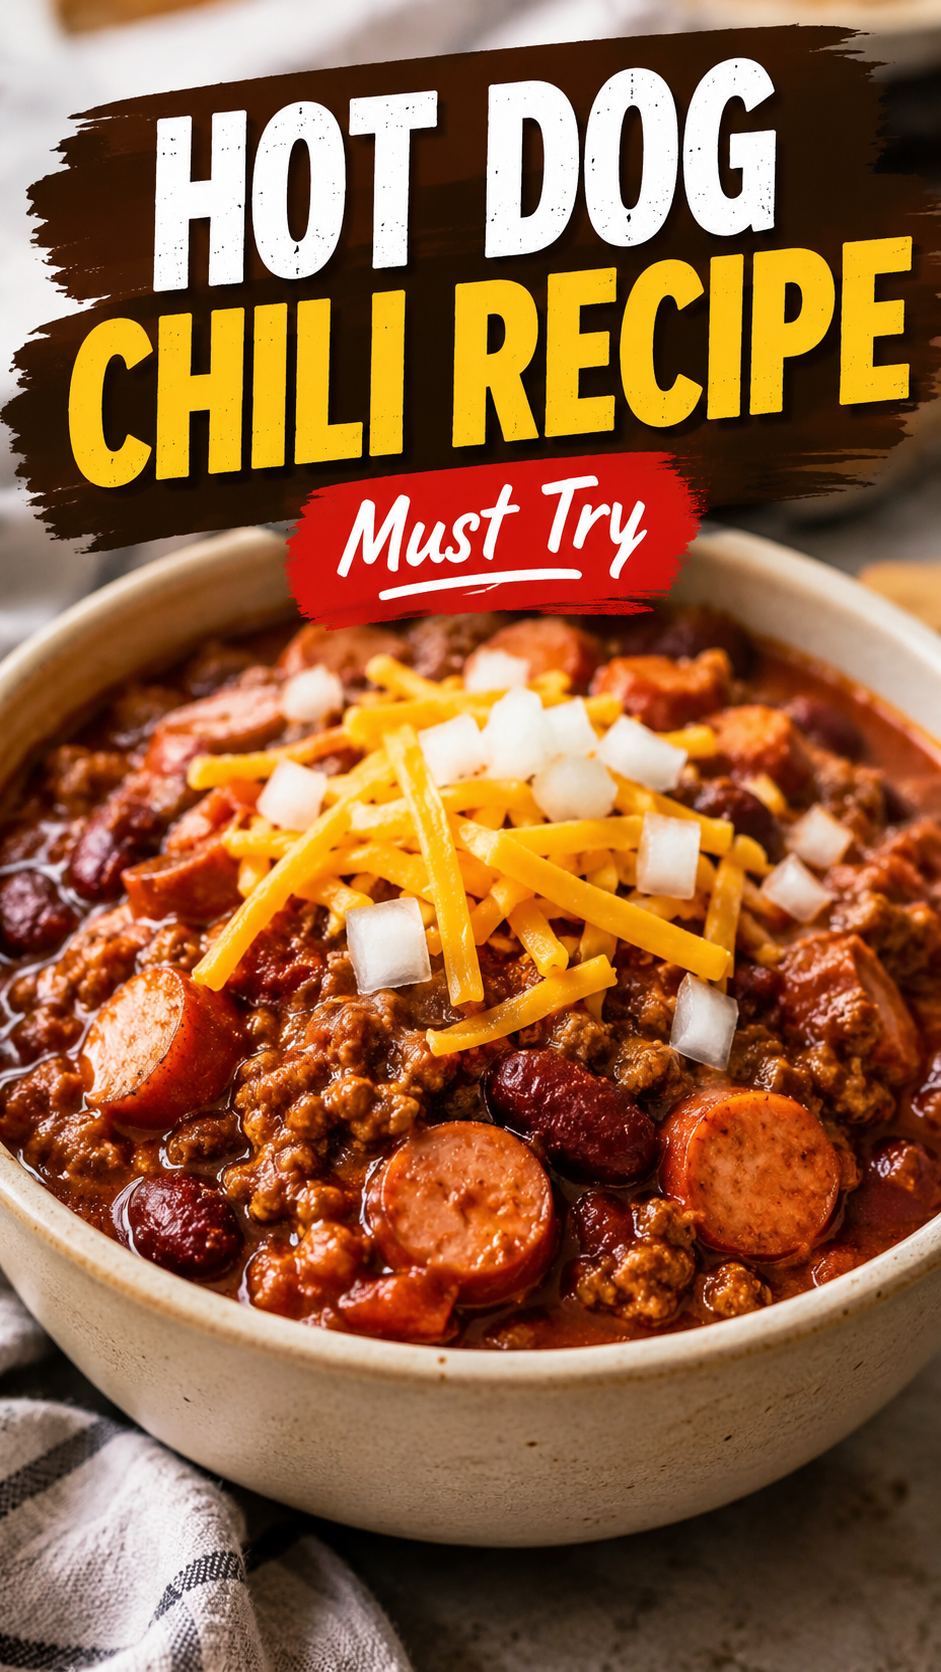
Yes. And once you make it, you’ll wonder why you ever settled for the canned stuff. 🌭
This isn’t the chunky, bean-loaded chili you eat with a spoon. This is the thin, meaty, deeply savory sauce that turns a regular hot dog into something people ask you about at BBQs.
I’ve made a lot of versions of this over the years, and this one is the one I keep coming back to. It’s simple, it’s fast, and it tastes like something you’d get from an old school hot dog stand.
Let’s get into it.
What You’ll Need
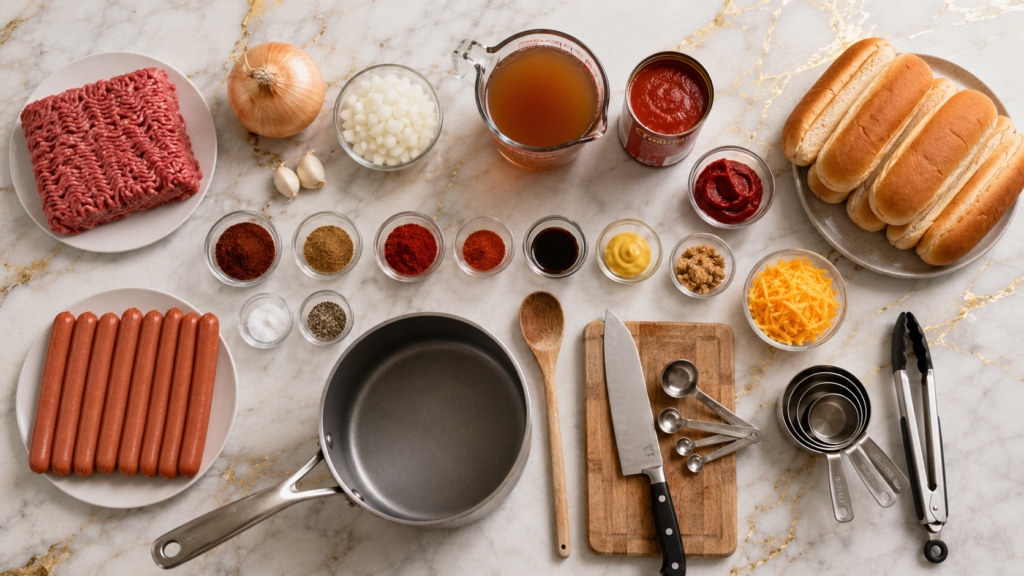
Here’s everything going into the pot.
- 1 lb ground beef (85/15 works best)
- 1 small yellow onion, finely diced
- 2 cloves garlic, minced
- 1 cup beef broth
- 1 can (8 oz) tomato sauce
- 2 tablespoons tomato paste
- 2 tablespoons chili powder
- 1 teaspoon ground cumin
- 1 teaspoon paprika
- 1/2 teaspoon cayenne pepper (optional, for a little kick)
- 1 teaspoon Worcestershire sauce
- 1 teaspoon yellow mustard
- 1 tablespoon brown sugar
- Salt and pepper, to taste
- 8 hot dogs
- 8 hot dog buns
- Shredded cheddar, for topping
That’s it. Nothing fancy, nothing you can’t find at a regular grocery store.
Tools You’ll Need
- A medium saucepan or skillet
- A wooden spoon for stirring
- A knife and cutting board
- Measuring cups and spoons
- Tongs (for the hot dogs)
- A grill pan or skillet for cooking the dogs themselves
How to Make Hot Dog Chili
- Brown the beef. Add the ground beef to a saucepan over medium heat. Break it up as it cooks, about 5-6 minutes, until no pink remains.
- Drain most of the fat, leaving just a little in the pan for flavor.
- Add the onion and garlic. Cook for 2-3 minutes, until the onion softens and turns a bit translucent.
- Stir in the seasonings. Add the chili powder, cumin, paprika, and cayenne if you’re using it. Let it cook for about 30 seconds. This wakes up the spices and makes a huge difference in flavor.
- Add the wet ingredients. Pour in the beef broth, tomato sauce, tomato paste, Worcestershire sauce, mustard, and brown sugar. Stir until everything’s combined.
- Simmer. Lower the heat and let the chili simmer uncovered for 20-25 minutes, stirring occasionally. It should thicken up and turn glossy, almost like a sauce rather than a stew.
- Taste and adjust. Add salt and pepper as needed. If it’s too thick, splash in a little more broth.
- Cook the hot dogs however you like. Grilled, boiled, or pan seared all work great here.
- Assemble. Bun, hot dog, a generous spoonful of chili, and a handful of shredded cheddar on top.
That’s the whole process. Less than 40 minutes, mostly hands off.
Pro Tips
A few things I learned from making this more times than I can count.
- Don’t skip draining the fat. Too much grease left in the pan makes the chili taste heavy instead of rich.
- Let the spices bloom. That 30 seconds of cooking the dry seasoning in the pan before adding liquid makes the chili taste like it simmered for hours, even though it didn’t.
- Chop the onion small. Since there’s no long simmer time like a traditional chili, smaller pieces cook through faster and blend into the sauce better.
- Make it a day ahead if you can. The flavor gets noticeably better after sitting overnight.
- Warm your buns. A toasted or lightly warmed bun holds up so much better against a saucy topping.
Substitutions and Variations
This recipe is pretty forgiving. Here’s how to switch it up.
| Original | Swap | Why it works |
|---|---|---|
| Ground beef | Ground turkey or chicken | Lighter option, still holds the sauce well |
| Beef broth | Chicken broth or water | Slightly milder flavor |
| Cayenne | Chipotle powder | Smokier heat instead of sharp heat |
| Regular hot dogs | All-beef or plant-based dogs | Works with basically any dog you like |
| Cheddar | Pepper jack | Adds its own kick |
Want it spicier? Add diced jalapeño with the onion. Want it a little sweeter, more Coney Island style? Bump the brown sugar up to 2 tablespoons.
Make Ahead Tips
This chili actually improves with a little rest.
- Make it up to 3 days ahead and store it in the fridge.
- Reheat it low and slow on the stove, stirring often so it doesn’t scorch.
- It also freezes well for up to 3 months. Thaw overnight in the fridge before reheating.
Nutritional Breakdown (per serving, chili only)
| Nutrient | Approximate Amount |
|---|---|
| Calories | 190 |
| Protein | 14g |
| Fat | 12g |
| Carbs | 6g |
This doesn’t include the bun, hot dog, or cheese, so keep that in mind if you’re tracking totals.
Meal Pairing Ideas
This chili isn’t just for hot dogs, by the way.
- Spoon it over fries for chili cheese fries
- Use it as a baked potato topping
- Layer it into nachos with cheese and jalapeños
- Serve it over a plain burger for a chili burger
Leftovers and Storage
- Fridge: Store in an airtight container for up to 4 days.
- Freezer: Freeze in a sealed container or freezer bag for up to 3 months.
- Reheating: Warm gently on the stove over low heat, adding a splash of broth or water if it’s thickened too much.
Don’t reheat it in the microwave on high. It tends to separate and get a little greasy that way.
FAQ
Can I make this without tomato paste? Yes, just add an extra tablespoon of tomato sauce instead. The texture will be slightly thinner, but the flavor holds up fine.
Is this the same as Coney sauce? Very close. Coney sauce is basically a regional name for this exact style of thin, meaty hot dog chili.
Can I make it in a slow cooker? Absolutely. Brown the beef first, then add everything to the slow cooker on low for 3-4 hours.
Why is my chili too thin? Simmer it uncovered a little longer. The liquid needs time to reduce and thicken.
Can I use canned chili instead of homemade? You can, but honestly, once you taste the homemade version, it’s hard to go back.
Wrapping Up
This is one of those recipes that looks simple on paper but tastes like way more effort than it actually took.
Give it a try this week, even if it’s just for a random Tuesday dinner. And once you do, come back and leave a comment letting me know how it turned out, or if you made any fun swaps of your own. I’d love to hear about it. 🌭