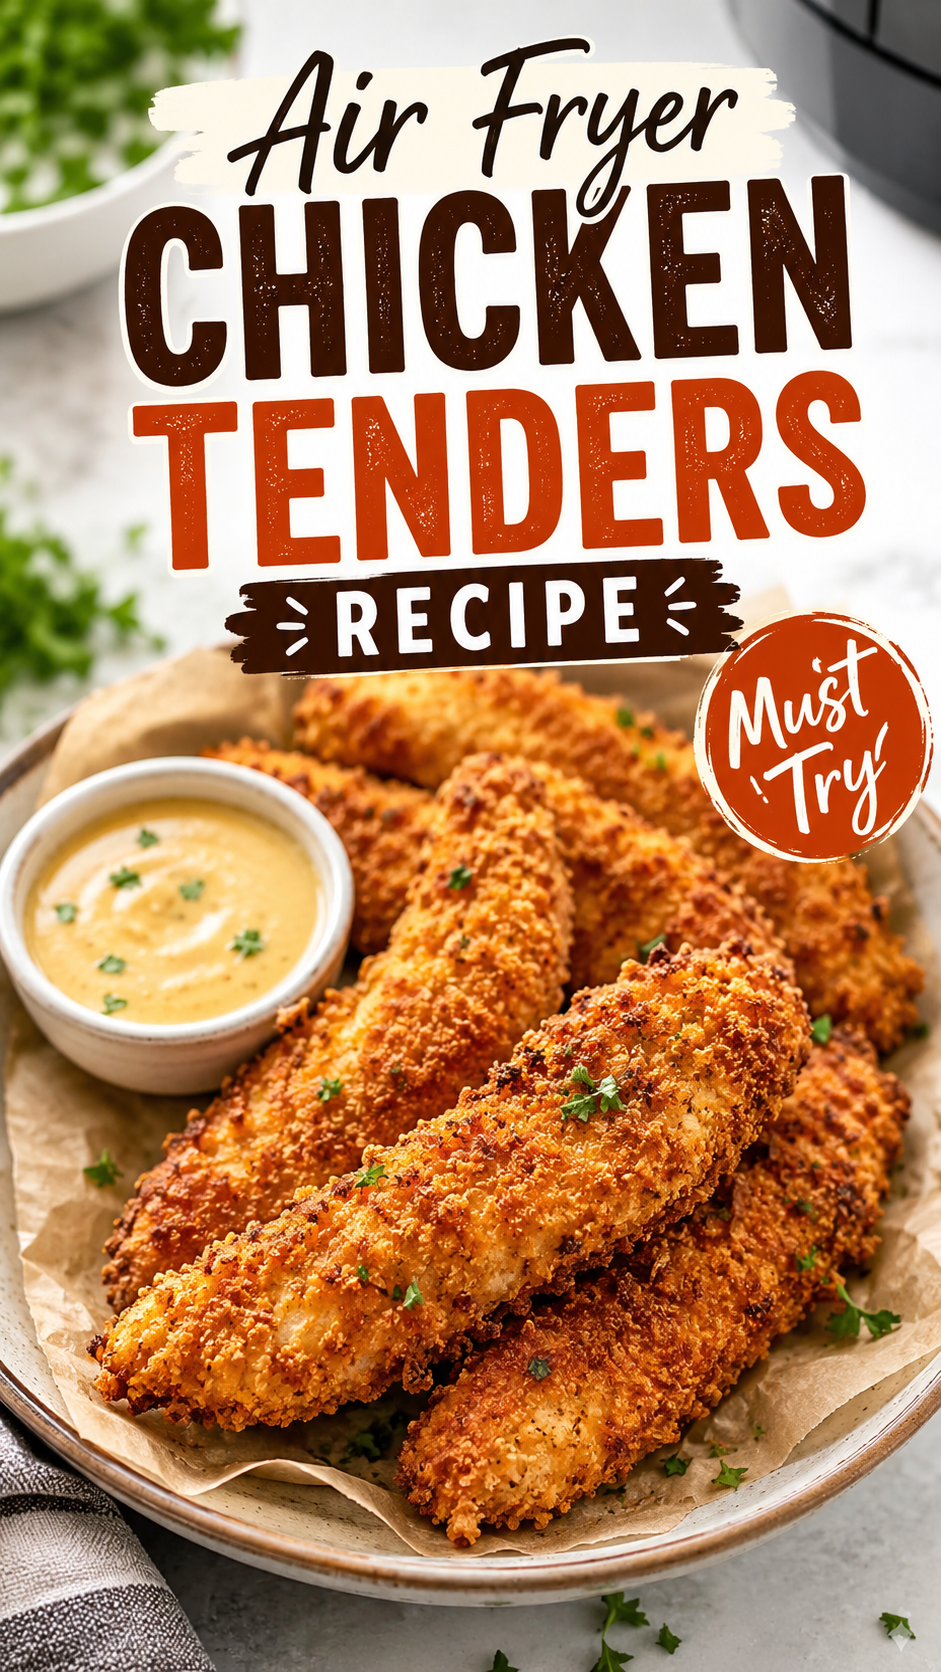
My husband used to beg me to pick up chicken tenders on the way home.
Now he begs me to make them at home instead.
That’s not me bragging. That’s just what happens when you find a recipe this good.
These air fryer chicken tenders are crunchy on the outside, juicy in the middle, and they come together faster than driving to a drive-thru. No joke, I’ve timed it.
And the best part? You control everything. The seasoning, the breading, how much salt goes in. No mystery ingredients, no soggy bag, no regret eating in the car.
Let’s get into it.
What You’ll Need
Here’s everything you’ll need to pull this off:
- 1.5 lbs chicken tenderloins (or chicken breast sliced into strips)
- 1 cup buttermilk
- 1 tsp hot sauce (optional, but I always add it)
- 1 cup all-purpose flour
- 1 cup panko breadcrumbs
- 1 tsp garlic powder
- 1 tsp paprika
- 1/2 tsp onion powder
- 1/2 tsp black pepper
- 1 tsp salt
- Cooking spray or olive oil spray
That’s it. Nothing fancy, nothing you need to order online.
Tools You’ll Need
- Air fryer
- Two shallow bowls or dishes (for breading)
- Tongs
- Meat thermometer (this one’s not optional if you want to nail the timing)
Pro Tips From Someone Who’s Made These A Hundred Times
I’ve made this recipe more times than I can count. Here’s what actually matters:
1. Don’t skip the buttermilk soak. Even 20 minutes makes a difference. It tenderizes the chicken and helps the breading stick like glue.
2. Pat the chicken dry before breading. Sounds small. Changes everything. Wet chicken means soggy breading, and soggy breading means sad tenders.
3. Spray the basket, not just the chicken. This is how you avoid that annoying moment where your perfectly breaded tender rips apart trying to peel it off the basket.
4. Don’t overcrowd the air fryer. I know it’s tempting to cram them all in at once. Give them space so the air can actually circulate. Cook in batches if you have to.
5. Flip halfway through. This is the difference between evenly golden tenders and ones that are pale on one side.
How To Make Air Fryer Chicken Tenders
Here’s the full step by step.
Step 1: Marinate the Chicken
Combine the chicken tenderloins, buttermilk, and hot sauce in a bowl.
Cover and refrigerate for at least 20 minutes. If you have time, let it sit for a few hours. Overnight works too.
Step 2: Set Up Your Breading Station
In one shallow dish, mix the flour with half the garlic powder, paprika, onion powder, salt, and pepper.
In the second dish, mix the panko breadcrumbs with the remaining seasoning.
Step 3: Bread the Chicken
Take each piece of chicken out of the buttermilk and let the excess drip off.
Dredge it in the flour mixture first, then dip it back into a little buttermilk, then press it into the panko.
Really press it in. You want that coating to stick.
Step 4: Preheat the Air Fryer
Preheat your air fryer to 400°F for about 3 minutes.
This step matters more than people think. Skipping it usually means uneven cooking.
Step 5: Cook the Tenders
Spray the air fryer basket with cooking spray.
Arrange the tenders in a single layer, making sure they aren’t touching.
Spray the tops of the tenders lightly too.
Cook for 10 minutes, flip, then cook another 5 to 8 minutes depending on thickness.
Step 6: Check for Doneness
Chicken is safe to eat at 165°F internal temperature.
Use a meat thermometer to check the thickest tender. If it’s not there yet, give it another 2 minutes.
Step 7: Rest and Serve
Let the tenders rest for 2 to 3 minutes before serving.
This keeps all that juice inside instead of running out onto your cutting board.
Substitutions and Variations
Want to switch things up? Here’s what works:
| Swap This | For This | Why It Works |
|---|---|---|
| Panko breadcrumbs | Crushed cornflakes | Extra crunch, slightly sweeter |
| Buttermilk | Plain yogurt thinned with milk | Same tenderizing effect |
| All-purpose flour | Almond flour | Lower carb option |
| Chicken tenderloins | Chicken breast strips | Works the same, just adjust cook time |
| Regular breadcrumbs | Gluten-free breadcrumbs | Makes it celiac-friendly |
| Hot sauce | Cayenne pepper | For a drier heat without the vinegar tang |
You can also add parmesan to the panko mixture for a cheesy version, or toss in some crushed red pepper flakes if you like it spicy.
Make Ahead Tips
You can prep these in stages:
- Marinate up to 24 hours ahead. The chicken just gets more tender the longer it sits.
- Bread them and freeze. Lay breaded (uncooked) tenders on a baking sheet, freeze until solid, then transfer to a freezer bag. Cook straight from frozen, just add a few extra minutes.
- Cook a big batch and reheat. These reheat surprisingly well in the air fryer, way better than the microwave.
Nutritional Breakdown (Per Serving)
This is based on 4 servings, roughly 4-5 tenders each.
| Nutrient | Amount |
|---|---|
| Calories | ~290 |
| Protein | 32g |
| Carbs | 22g |
| Fat | 7g |
| Sodium | 480mg |
These numbers will shift depending on the exact size of your chicken pieces and how much oil you use.
Meal Pairing Suggestions
These tenders go with almost anything, but here’s what I actually serve them with:
- Sweet potato fries (also made in the air fryer, because why dirty two appliances)
- A simple green salad with ranch
- Honey mustard or homemade dipping sauce
- Steamed broccoli if you’re trying to feel like an adult about it
- Mac and cheese, if you’re not
Leftovers and Storage
Store leftover tenders in an airtight container in the fridge for up to 3 days.
To reheat, throw them back in the air fryer at 375°F for about 4 minutes. This brings the crunch right back, unlike the microwave which turns them soft and sad.
You can also freeze cooked tenders for up to 2 months. Reheat straight from frozen at 375°F for 8 to 10 minutes.
FAQ
Can I use frozen chicken tenderloins? Yes, but thaw them first for even breading and cooking.
Why is my breading falling off? Usually it’s one of two things. Either the chicken wasn’t dry enough before breading, or you didn’t press the panko in firmly enough.
Do I need to flip them? Yes. Flipping halfway through gives you that even golden color on both sides.
Can I make these without an air fryer? You can bake them at 425°F for about 18-20 minutes, flipping halfway. They won’t be quite as crispy, but they’ll still taste great.
How do I know they’re fully cooked? A meat thermometer is the only way to know for sure. You’re looking for 165°F in the thickest part.
Can kids help make these? Definitely. The breading station is a great hands-on task for kids, just supervise around raw chicken and remind everyone to wash their hands.
Wrapping Up
That’s the whole recipe, start to finish.
Simple ingredients, a handful of steps, and a result that genuinely competes with your favorite restaurant version. Maybe beats it.
Give these a try this week and let me know how they turned out in the comments. Did you try any of the variations? Did your kids help bread them? I want to hear all of it.
And if you have questions about swaps or timing, drop them below. I read every comment and I’ll get back to you.