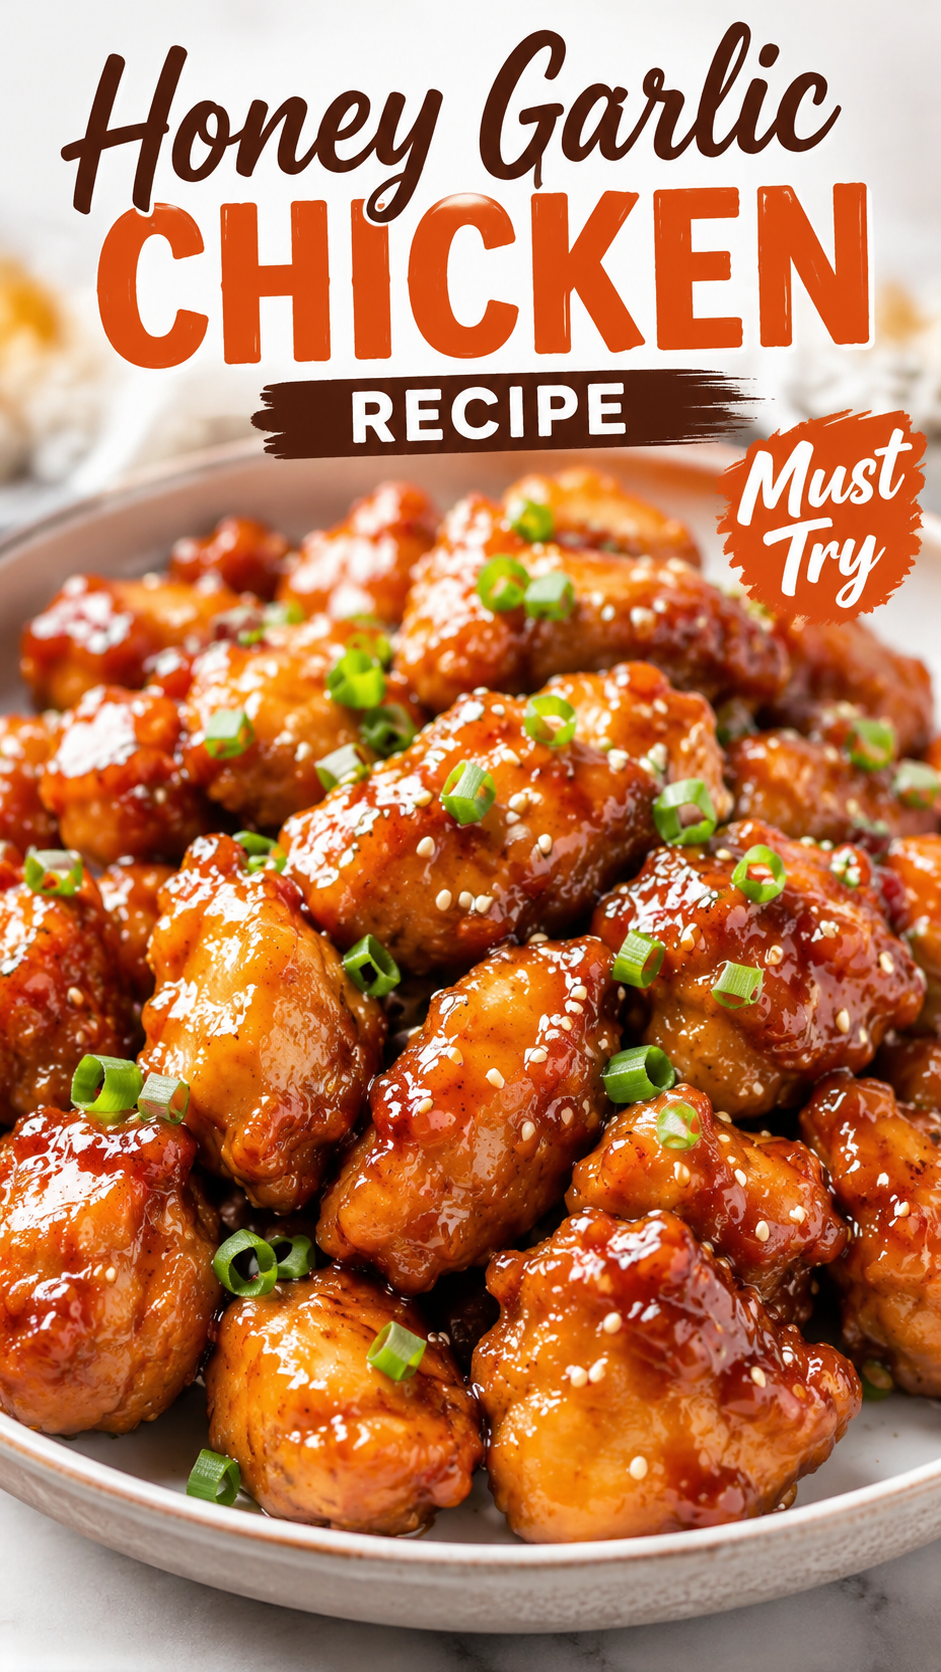
Silas asked me to make this three times last month. 🍯
I finally started keeping the ingredients on hand at all times because I got tired of him peeking into the fridge and asking “is tonight a honey garlic chicken night?”
It’s become one of those recipes that just quietly took over our weekly rotation.
No fancy equipment. No hard-to-find ingredients. Just a sticky, garlicky, slightly caramelized sauce that makes plain chicken thighs taste like something from a restaurant.
And the best part is it comes together in one pan, which means fewer dishes and more time actually sitting down to eat.
Let’s get into it.
What You’ll Need
Here’s everything you’ll need to pull this together. Nothing exotic, I promise.
| Ingredient | Amount |
|---|---|
| Boneless, skinless chicken thighs | 6 (about 2 lbs) |
| Salt | 1 tsp |
| Black pepper | 1/2 tsp |
| Olive oil | 2 tbsp |
| Garlic, minced | 6 cloves |
| Honey | 1/2 cup |
| Soy sauce | 1/3 cup |
| Rice vinegar | 2 tbsp |
| Ketchup | 2 tbsp |
| Red pepper flakes | 1/2 tsp (optional) |
| Cornstarch | 1 tbsp |
| Water | 1 tbsp |
| Green onions, sliced | For garnish |
| Sesame seeds | For garnish |
Tools You’ll Need
- Large skillet (cast iron or stainless steel works great)
- Tongs
- Small mixing bowl
- Measuring cups and spoons
- Whisk or fork
Pro Tips
A few things I’ve learned after making this more times than I can count.
Pat the chicken dry first. Wet chicken doesn’t sear, it steams. And you want that golden crust before the sauce goes in.
Don’t rush the sear. Give the chicken a full 4 to 5 minutes per side untouched. If it’s sticking to the pan, it’s not ready to flip yet.
Mince your garlic fresh. The jarred stuff works in a pinch, but fresh garlic gives this dish way more punch. It’s worth the extra two minutes.
Keep the heat at medium once the sauce goes in. Honey burns fast. If your pan is too hot, you’ll end up with a bitter, scorched sauce instead of a glossy one.
Double the sauce if you’re serving it over rice. The chicken only needs so much, but that extra sauce soaking into rice is honestly the best part of the whole meal.
How to Make Honey Garlic Chicken
- Season the chicken. Pat the thighs dry with paper towels, then season both sides with salt and pepper.
- Sear the chicken. Heat olive oil in a large skillet over medium-high heat. Add the chicken and sear for 4 to 5 minutes per side, until golden brown. Remove and set aside on a plate.
- Make the sauce base. Lower the heat to medium. Add the minced garlic to the same skillet and cook for about 30 seconds, just until fragrant. Don’t let it brown.
- Combine the sauce. In a small bowl, whisk together the honey, soy sauce, rice vinegar, ketchup, and red pepper flakes. Pour this into the skillet with the garlic.
- Simmer it down. Let the sauce bubble for 2 to 3 minutes, stirring occasionally.
- Thicken it up. Mix the cornstarch with water to make a slurry, then stir it into the sauce. Cook for another minute or two until it thickens and turns glossy.
- Return the chicken to the pan. Nestle the chicken back into the sauce, spooning it over the top. Simmer for 5 to 7 minutes, until the chicken is fully cooked through and coated in that sticky glaze.
- Garnish and serve. Top with sliced green onions and sesame seeds. Serve immediately.
Substitutions and Variations
| Original | Swap | Notes |
|---|---|---|
| Chicken thighs | Chicken breast | Cook time will be shorter, watch closely so it doesn’t dry out |
| Honey | Maple syrup | Slightly less sticky, still delicious |
| Soy sauce | Tamari or coconut aminos | Great for a gluten-free version |
| Rice vinegar | Apple cider vinegar | Slightly more tart, still works well |
| Red pepper flakes | Sriracha | Adds heat with a bit more tang |
| Chicken thighs | Firm tofu or chickpeas | Works surprisingly well for a vegetarian version |
Make Ahead Tips
You can prep the sauce up to 3 days in advance and store it in the fridge in an airtight container. Just give it a quick whisk before using since the honey tends to settle.
You can also season the chicken ahead of time and let it sit in the fridge overnight. It actually deepens the flavor a bit.
Nutritional Breakdown (Estimated)
This is an estimate based on standard ingredient values, not a lab-tested number. If you’re tracking specific macros, I’d recommend running the exact ingredients you use through a nutrition calculator.
| Nutrient | Per Serving (approx) |
|---|---|
| Calories | 340 |
| Protein | 28g |
| Carbohydrates | 24g |
| Fat | 14g |
| Sugar | 20g |
| Sodium | 680mg |
Serves 4 to 6.
Meal Pairings
This dish plays really well with something simple on the side since the sauce is doing most of the heavy lifting flavor wise.
- Steamed jasmine rice
- Garlic butter noodles
- Roasted broccoli
- Sautéed bok choy
- A simple cucumber salad with rice vinegar
Storage and Reheating
Fridge: Store leftovers in an airtight container for up to 4 days.
Freezer: This freezes surprisingly well. Freeze in a sealed container for up to 3 months.
Reheating: Warm it gently on the stovetop over low heat, adding a splash of water if the sauce has thickened too much. You can also microwave it in 30 second bursts, stirring between each one.
FAQ
Can I use chicken breast instead of thighs?
Yes, but keep a close eye on it. Breast meat cooks faster and can dry out if left in the pan too long.
Why is my sauce too thin?
You probably need a touch more cornstarch slurry. Add it a little at a time and let it simmer for another minute before judging the consistency.
Can I make this in advance for meal prep?
Definitely. It reheats beautifully and actually tastes even better the next day once the flavors have had time to settle in.
Is this recipe spicy?
Not really, unless you add extra red pepper flakes or sriracha. As written, it’s more sweet and savory than spicy.
Can I make this in the oven instead of a skillet?
You can, though you’ll lose a bit of that pan-seared texture. Bake at 400°F for about 25 minutes, basting with the sauce halfway through.
Wrapping Up
This one earned its spot in our regular dinner rotation for a reason, and I have a feeling it’s about to earn a spot in yours too.
If you end up making it, I’d love to hear how it turned out. Drop a comment below and let me know what sides you paired it with, or if you tried any of the substitutions.
And if you have any questions before you get started, ask away. I’m always happy to help.