Silas has requested chocolate cake for every birthday, anniversary, and random Tuesday since I’ve known him.
So when I told him I was testing a vanilla cake for the blog, he gave me a look. The kind of look that says I’ll be polite about this.
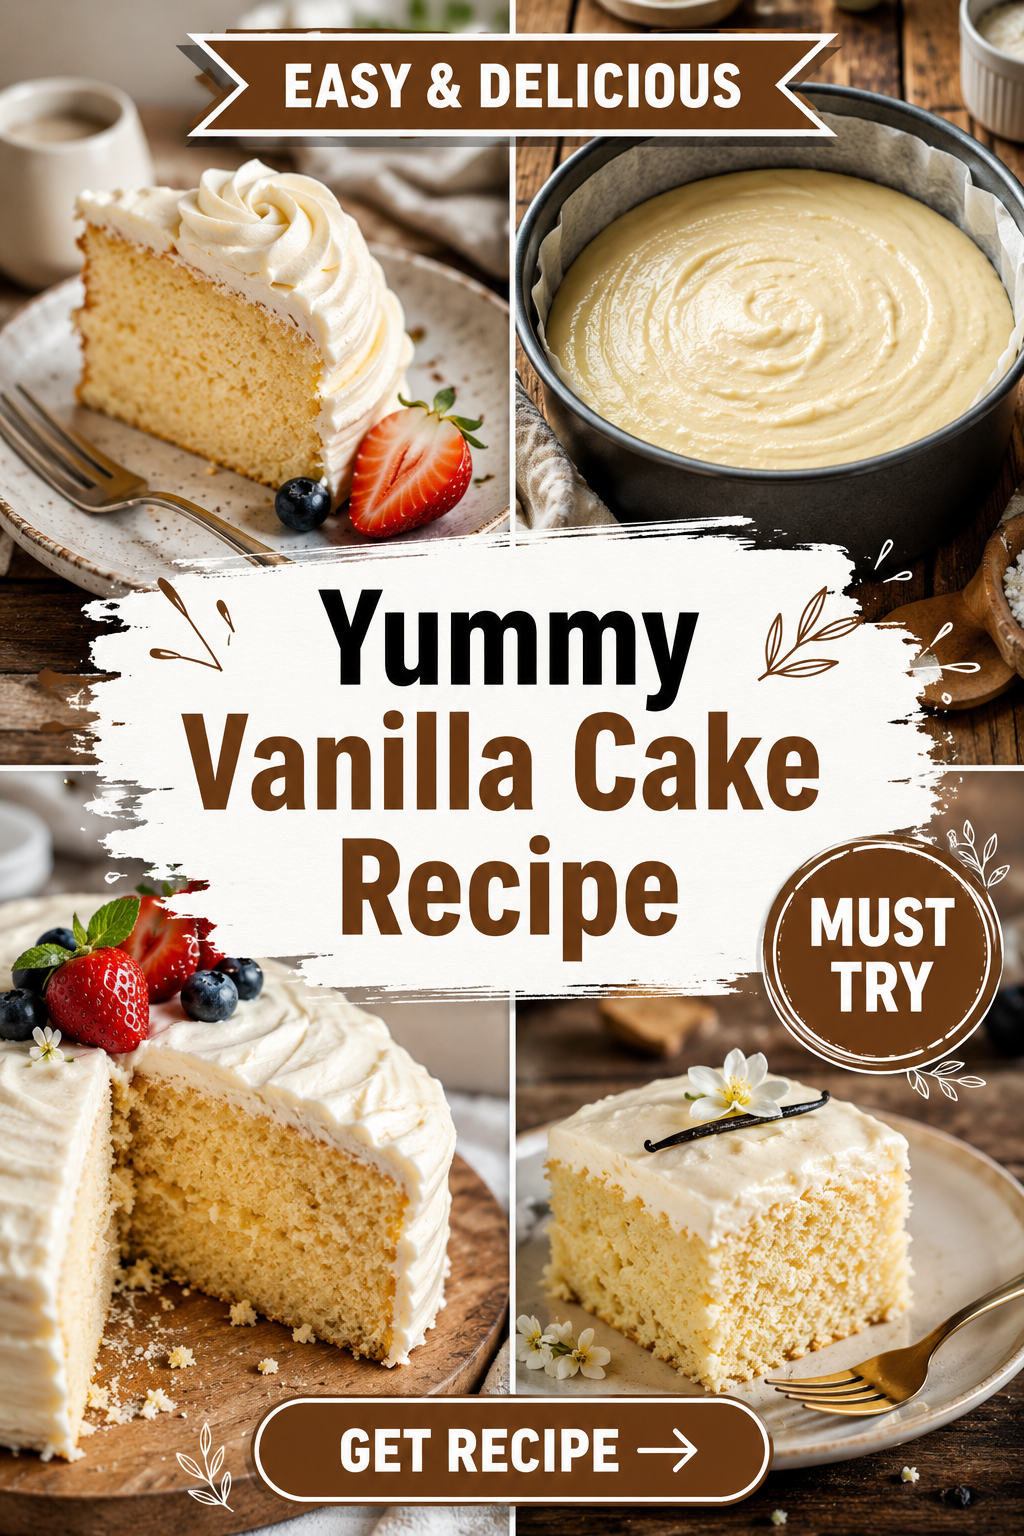
I baked it anyway. Three layers, real vanilla bean flecks, a frosting so soft it barely holds its shape until it’s chilled.
He ate two slices standing up at the counter before dinner was even ready. 🍰
That’s the whole review right there.
This cake isn’t fancy. It isn’t trying to impress anyone with weird ingredients or a ten-step technique. It’s just really, really good vanilla cake, made the way it should’ve been made all along.
Here’s how I make it.
What You’ll Need
| Ingredient | Amount |
|---|---|
| All-purpose flour | 2 ¾ cups |
| Baking powder | 1 tablespoon |
| Salt | ½ teaspoon |
| Unsalted butter, softened | 1 cup (2 sticks) |
| Granulated sugar | 2 cups |
| Eggs, room temperature | 4 large |
| Vanilla extract | 1 tablespoon |
| Vanilla bean paste (or 1 more tsp extract) | 1 teaspoon |
| Whole milk, room temperature | 1 cup |
| Sour cream | ½ cup |
For the frosting:
| Ingredient | Amount |
|---|---|
| Unsalted butter, softened | 1 ½ cups |
| Powdered sugar | 5 cups |
| Vanilla extract | 2 teaspoons |
| Heavy cream | 3–4 tablespoons |
| Salt | Pinch |
A quick note on that vanilla bean paste. It’s not required, but it’s the difference between “nice vanilla cake” and “wait, what IS that flavor” vanilla cake. Those little black specks aren’t just for looks. They actually change the taste.
Tools You’ll Need
- Two or three 8-inch round cake pans
- Stand mixer or hand mixer
- Parchment paper
- Cooling rack
- Offset spatula (for frosting)
- Cake turntable (optional, but it helps)
Pro Tips
Room temperature ingredients aren’t optional here. Cold butter and cold eggs don’t blend smoothly, and you’ll end up with a dense, uneven crumb.
Don’t skip the sour cream. It’s the secret to keeping this cake moist for days instead of drying out by day two.
Measure your flour correctly. Scoop it into the cup with a spoon, then level it off. Packing flour into the cup by dunking it in adds way too much, and your cake turns out dry and heavy.
Let the cake layers cool completely before frosting. I know it’s tempting to rush this part. I’ve rushed it. It always ends in a melty, sliding mess.
If your kitchen runs warm, pop your frosted cake in the fridge for 15 minutes before slicing. It makes for much cleaner cuts.
How to Make It
- Preheat your oven to 350°F. Grease your cake pans and line the bottoms with parchment paper.
- Whisk your dry ingredients. In a bowl, combine the flour, baking powder, and salt. Set aside.
- Cream the butter and sugar. Beat the butter and sugar together for 3 to 4 minutes, until it’s noticeably pale and fluffy. This step builds air into the batter, so don’t rush it.
- Add the eggs. One at a time, mixing well after each. Then add the vanilla extract and vanilla bean paste.
- Alternate dry and wet. Add the flour mixture in three parts, alternating with the milk and sour cream (mixed together), starting and ending with the flour. Mix just until combined.
- Divide the batter evenly between your prepared pans.
- Bake for 25 to 30 minutes, until a toothpick comes out clean or with just a few moist crumbs.
- Cool in the pans for 10 minutes, then transfer to a cooling rack to cool completely.
- Make the frosting. Beat the butter until smooth, then slowly add the powdered sugar, vanilla, and a pinch of salt. Add cream a tablespoon at a time until it’s light and spreadable.
- Frost and stack your layers once they’re fully cool. Crumb coat first, chill for 15 minutes, then do your final coat.
Substitutions and Variations
| Swap | Works Great For |
|---|---|
| Buttermilk instead of milk + sour cream | Slightly tangier flavor, still moist |
| Gluten-free 1:1 flour blend | Gluten-free version, texture is close but slightly denser |
| Coconut oil instead of butter | Dairy-light option, subtle coconut flavor |
| Almond or oat milk | Dairy-free adaptation |
| Almond extract (½ tsp, alongside vanilla) | Bakery-style flavor twist |
If you want to turn this into a lemon vanilla cake, add a tablespoon of lemon zest to the batter. Silas actually likes that version almost as much as the original, and that’s saying a lot for a chocolate loyalist.
Make Ahead Tips
The cake layers can be baked up to 2 days ahead. Wrap them tightly in plastic wrap once fully cooled and store at room temperature.
You can also freeze the unfrosted layers for up to 3 months. Just thaw them on the counter before frosting.
The frosting can be made 3 days ahead and stored in the fridge. Let it come back to room temperature and give it a quick re-whip before using.
Estimated Nutrition
Per slice, based on 12 servings. This is an estimate only, not a lab-tested value, so treat it as a general guide rather than an exact number.
| Nutrient | Amount |
|---|---|
| Calories | ~480 |
| Total Fat | 24g |
| Carbohydrates | 62g |
| Sugar | 46g |
| Protein | 4g |
Meal Pairings
This cake is rich enough to stand completely on its own, but here’s what I like to serve alongside it:
- Fresh berries for a little acidity to cut the sweetness
- A scoop of vanilla bean ice cream if you really want to lean into the vanilla theme
- Hot coffee or espresso for an after-dinner slice
- Sparkling rosé if it’s a celebration cake
Storage and Reheating
Store leftover cake in an airtight container at room temperature for up to 2 days, or in the fridge for up to 5 days.
If it’s chilled, let slices sit out for 20 to 30 minutes before eating so the frosting softens back up.
You can also freeze individual slices, wrapped tightly, for up to 2 months. Thaw overnight in the fridge.
FAQ
Why did my cake sink in the middle? This usually means it was underbaked, or your oven temperature ran hot then cooled unevenly. Try using an oven thermometer to check your actual temperature, and always test with a toothpick before pulling it out.
Can I make this into cupcakes? Yes. This recipe makes about 24 cupcakes. Bake at 350°F for 18 to 20 minutes.
Why is my frosting too runny? You likely added too much cream too fast. Add powdered sugar a little at a time to thicken it back up.
Can I use vanilla extract instead of vanilla bean paste? Yes, just use an extra teaspoon of extract. You’ll lose the visual flecks, but the flavor stays close.
Do I need a stand mixer for this? No, a hand mixer works just fine. It just takes a little longer to get that fluffy texture in step 3.
Wrapping Up
This is the cake I make now when I want something that feels like an actual occasion, without needing an actual occasion.
Silas still asks for chocolate cake sometimes. But I’ve noticed he stopped protesting when I say I’m making this one instead.
If you try it, come back and tell me how it turned out. I’d love to know if you added the lemon zest, what frosting swirl you went with, or if someone in your house also had a change of heart about vanilla.