I know that sounds dramatic. But my husband is a certified phone-scroller during dessert. He’ll eat a bowl of ice cream with one hand and text with the other like it’s nothing.
Not this time.
I made this layered ice cream dessert on a random Tuesday because I had half a container of cookies going stale in the pantry. Silas took one bite, set his phone face down on the counter, and just… stopped talking.
That’s when I knew I had to write this down.
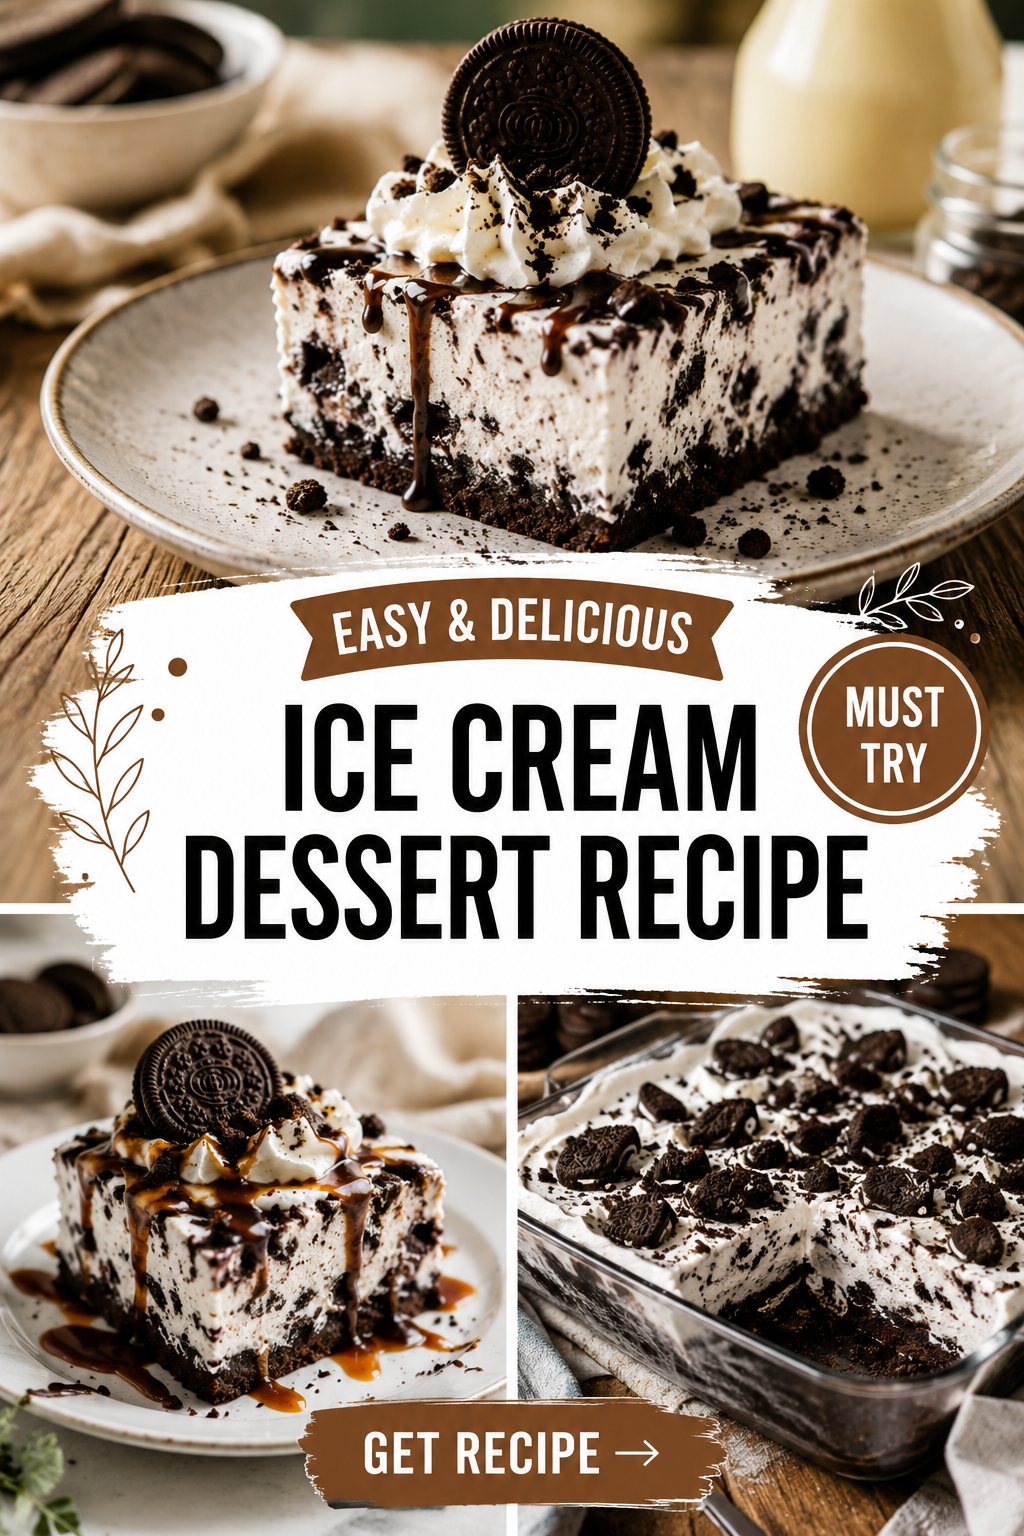
This isn’t a fussy, churn-your-own-ice-cream kind of recipe. It’s the opposite. It’s a no-churn, freezer-friendly, ridiculously easy dessert that layers crushed cookies, a simple no-cook fudge sauce, and creamy vanilla ice cream into something that looks like it came from a bakery case.
It takes about 20 minutes of hands-on work. The freezer does the rest.
Why This Recipe Works
There are a few reasons this one earns a permanent spot in my recipe box.
No ice cream maker required. You’re using store-bought ice cream as your base, which means zero churning, zero fuss.
The layers create actual texture. Crunchy cookie crumble, silky fudge, and cold creamy ice cream in every single bite. It’s not just “ice cream in a pan.”
It’s shockingly hard to mess up. I’ve made this half asleep before a road trip. It still turned out great.
It feeds a crowd. One pan serves 10 to 12 people, which makes it perfect for parties, potlucks, or a Tuesday when you just want leftovers for a week.
What You’ll Need
| Ingredient | Amount |
|---|---|
| Chocolate sandwich cookies (like Oreos) | 24 cookies |
| Unsalted butter, melted | 5 tablespoons |
| Vanilla ice cream, softened | 1.5 quarts |
| Heavy cream | 1/2 cup |
| Semi-sweet chocolate chips | 1 cup |
| Corn syrup or honey | 1 tablespoon |
| Vanilla extract | 1 teaspoon |
| Flaky sea salt | Pinch, for topping |
A quick note on the ice cream: let it sit on the counter for 15 to 20 minutes before you start. You want it soft enough to spread but not soupy. If it’s too melty, it’ll just sink into the cookie layer instead of sitting on top of it.
Tools You’ll Need
- 9×13 inch baking pan
- Food processor or a sturdy zip-top bag and rolling pin
- Medium saucepan
- Offset spatula or the back of a spoon
- Plastic wrap or parchment paper
Pro Tips
- Line your pan with parchment paper, hanging over the edges. This is the single best thing you can do. It lets you lift the entire dessert out later and slice it cleanly on a cutting board instead of wrestling with it inside the pan.
- Don’t skip softening the ice cream. Cold, hard ice cream will tear your cookie crust apart when you try to spread it. Fifteen minutes on the counter fixes this completely.
- Make the fudge sauce first and let it cool slightly before pouring. Hot fudge sauce poured straight onto ice cream will melt it into a mess. Give it five minutes off the heat.
- Freeze between every layer. I know it’s tempting to rush. Don’t. Each layer needs at least 30 minutes in the freezer to firm up before you add the next one, or everything slides around.
- Let it sit out for 5-10 minutes before slicing. Straight from the freezer, this dessert can crack when you cut it. A short rest makes for clean, pretty slices.
How to Make It
Step 1: Make the Cookie Crust
Add the chocolate sandwich cookies to a food processor and pulse until they turn into fine crumbs. No food processor? Toss them in a zip-top bag and go at them with a rolling pin. It’s oddly satisfying.
Mix the crumbs with the melted butter until it looks like wet sand.
Press this mixture firmly into the bottom of your lined 9×13 pan. Use the bottom of a measuring cup to really pack it down.
Freeze for 10 minutes while you prep the next layer.
Step 2: Add the First Ice Cream Layer
Scoop half of your softened ice cream over the crust. Spread it out evenly with an offset spatula.
Pop it back in the freezer for 30 minutes, or until firm to the touch.
Step 3: Make the Fudge Sauce
In a medium saucepan over low heat, combine the heavy cream, chocolate chips, and corn syrup.
Stir constantly until the chocolate is fully melted and the sauce is smooth. This takes about 3 to 4 minutes.
Remove from heat and stir in the vanilla extract. Let it cool for 5 minutes. It should be pourable but not hot.
Step 4: Add the Fudge Layer
Pour the slightly cooled fudge sauce evenly over the frozen ice cream layer.
Freeze for 20 minutes, just until the fudge sets up and isn’t sticky to the touch.
Step 5: Add the Final Ice Cream Layer
Scoop the remaining ice cream over the fudge layer and spread it out evenly, all the way to the edges of the pan.
Step 6: Freeze Until Firm
Cover the whole pan tightly with plastic wrap and freeze for at least 4 hours, though overnight is even better.
Step 7: Slice and Serve
Lift the dessert out of the pan using the parchment paper overhang.
Let it sit at room temperature for 5 to 10 minutes, then slice into squares with a sharp knife run under hot water between cuts.
Sprinkle with flaky sea salt right before serving. It sounds small, but it changes everything.
Substitutions and Variations
| Original | Swap | Notes |
|---|---|---|
| Chocolate sandwich cookies | Graham crackers | Lighter, less chocolatey base |
| Vanilla ice cream | Any flavor you like | Mint, coffee, and strawberry all work great |
| Semi-sweet chocolate chips | Dark chocolate chips | Slightly less sweet, more intense |
| Heavy cream | Full-fat coconut milk | Great dairy-light option for the fudge sauce |
| Sea salt topping | Crushed peanuts or toffee bits | Adds crunch instead of saltiness |
If you want a fruitier version, swap in strawberry ice cream and layer in fresh sliced strawberries between the cookie crust and the first ice cream layer.
Make-Ahead Tips
This dessert is honestly better made ahead. It needs the freezer time anyway, so you might as well plan around it.
You can make the full dessert up to 5 days in advance. Keep it tightly wrapped in the pan or transfer it to an airtight container once fully frozen.
If you’re making it for a party, assemble it the night before so all you have to do is slice and serve.
Estimated Nutrition
Per serving, based on 12 servings per pan:
| Nutrient | Amount |
|---|---|
| Calories | ~310 |
| Total Fat | 18g |
| Saturated Fat | 10g |
| Carbohydrates | 34g |
| Sugar | 25g |
| Protein | 4g |
These numbers are estimates only, calculated from general ingredient values. Actual nutrition will vary based on the exact brands you use, especially the ice cream and chocolate chips. Before publishing or sharing this recipe as a nutrition reference, plug your specific ingredients into Cronometer to get accurate figures.
Pairing Suggestions
This dessert is rich, so I like to serve it with something that cuts through the sweetness.
- A cup of black coffee or espresso
- Fresh raspberries or strawberries on the side
- A small glass of cold milk, if you’re feeling nostalgic
Storage and Reheating
Store leftovers covered tightly in the freezer for up to 2 weeks. There’s no reheating here. Just let individual slices sit out for a few minutes before eating so they’re not rock hard.
If you notice ice crystals forming after several days, that’s normal for homemade frozen desserts. Pressing plastic wrap directly onto the surface before freezing helps slow this down.
Frequently Asked Questions
Can I use a different size pan?
Yes, but it’ll change the thickness of your layers. An 8×8 pan will give you taller, thicker slices and may need extra freezer time between layers.
Why did my ice cream layer melt into the crust?
Your ice cream was probably too soft, or your crust wasn’t frozen firm enough before adding it. Give both extra chill time next round.
Can I make this without a food processor?
Absolutely. A zip-top bag and a rolling pin (or even a heavy pan) will crush the cookies just fine.
Is there a way to make this less sweet?
Use dark chocolate chips instead of semi-sweet, and skip the corn syrup in the fudge sauce. It’ll set up slightly firmer but still taste great.
Can I freeze this for longer than 2 weeks?
It’ll still be safe to eat, but the texture starts to suffer after about 3 weeks as ice crystals build up. Best enjoyed within the first two weeks.
Wrapping Up
This is the kind of dessert that looks like way more effort than it actually is, which honestly might be my favorite kind of recipe to make.
Silas has requested it three times since that first Tuesday, and I have a feeling it’s about to become a regular in your freezer too.
If you make it, come back and leave a comment letting me know how it turned out. And if you run into any questions along the way, drop them below. I read every single one.