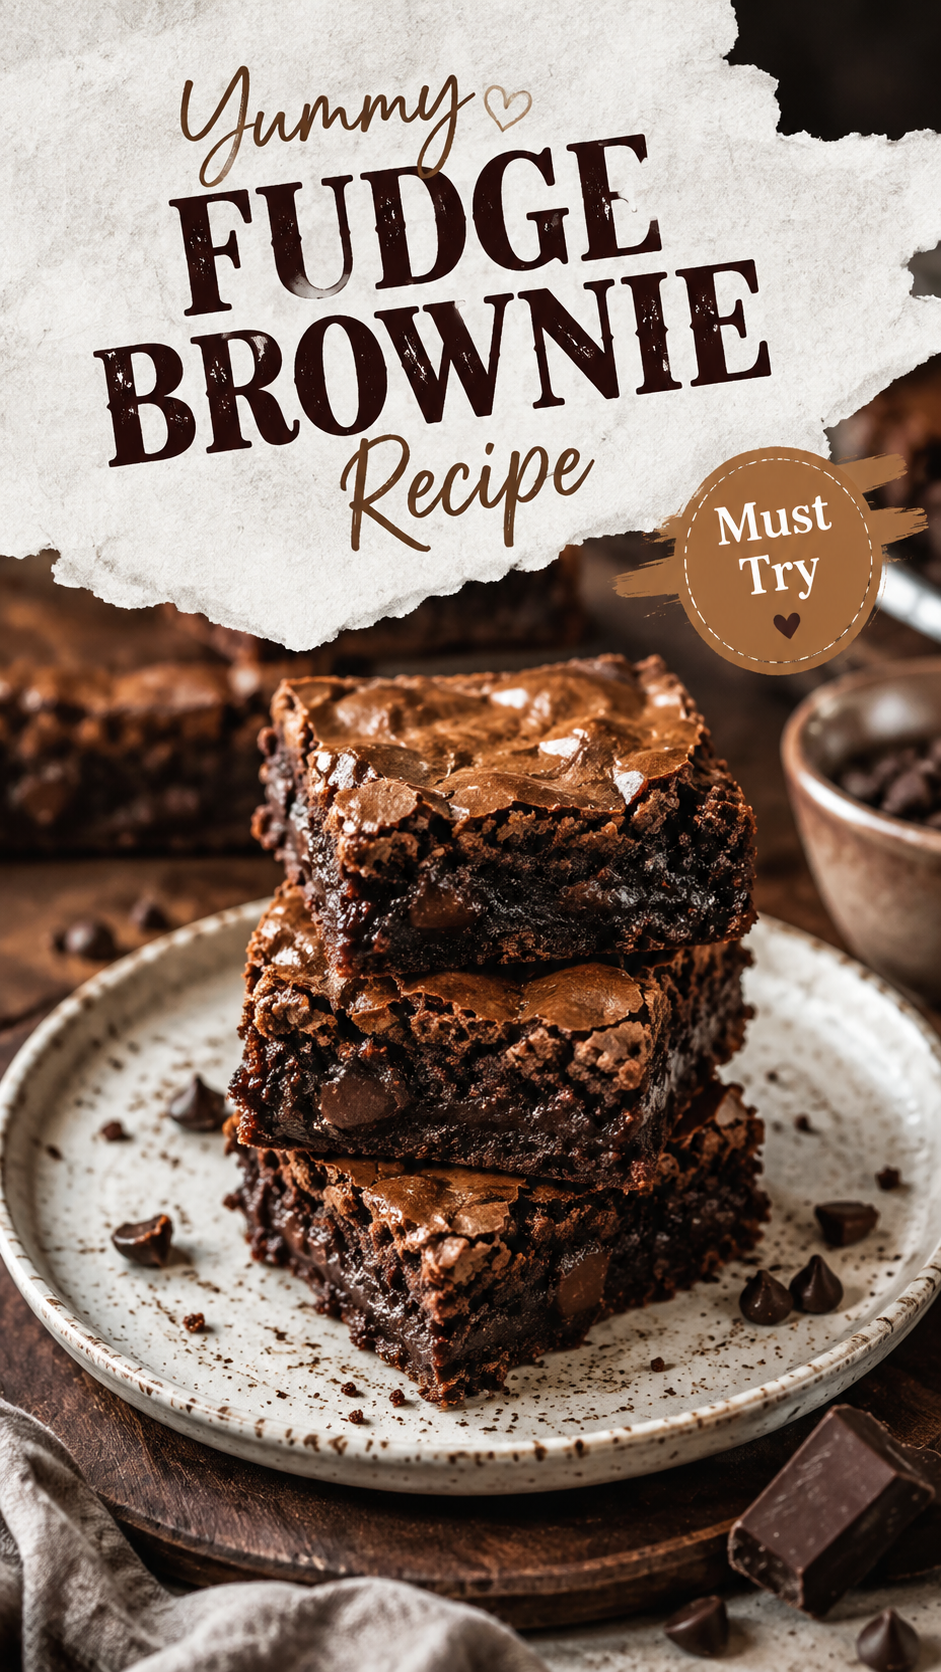
Silas was in the middle of telling me a very important story about a pothole on Route 9 when he took a bite of these brownies and just… stopped talking.
Mid sentence. Fork still in his mouth.
He’s not really a dessert guy. He’ll eat a cookie to be polite, sure. But he doesn’t usually go quiet over food.
These brownies made him go quiet.
I ended up making three batches that week because he kept “testing” the first two before I could even photograph them. 🍫
If you’ve been burned by dry, cakey, sad brownies before (we’ve all been there), this recipe is going to feel like a small miracle. They’re fudgy in the middle, slightly crackly on top, and rich enough that one square actually feels like enough. Actually feels like enough. That’s rare for me.
Let’s get into it.
What You’ll Need
| Ingredient | Amount |
|---|---|
| Unsalted butter | 1 cup (2 sticks) |
| Granulated sugar | 2 cups |
| Brown sugar | ½ cup, packed |
| Large eggs | 4 |
| Vanilla extract | 2 tsp |
| Unsweetened cocoa powder | 1 cup |
| All-purpose flour | 1 cup |
| Salt | ½ tsp |
| Baking powder | ¼ tsp |
| Semi-sweet chocolate chips | 1 cup |
| Espresso powder (optional, but do it) | 1 tsp |
That espresso powder isn’t there to make these taste like coffee. It just makes the chocolate taste more like chocolate. Weird but true.
Pro Tips
A few things I learned the hard way so you don’t have to:
- Don’t skip the double boiler step. Melting the butter and sugar together low and slow is what gives you that shiny, crackly top. Rushing it on high heat scrambles the eggs later. Ask me how I know.
- Underbake by a hair. Pull them when a toothpick comes out with a few moist crumbs, not clean. They keep cooking in the pan for a few minutes after you take them out.
- Room temp eggs matter more than you’d think. Cold eggs seize the melted butter and you end up with a grainy batter. Just let them sit out for 20 minutes.
- Line the pan with parchment, with overhang on both sides. You’ll thank yourself later when you can lift the whole thing out like a little brownie sled.
- Let them cool completely before cutting. I know. I know it’s hard. But warm brownies fall apart, and fully cooled ones cut clean.
Tools You’ll Need
- 9×9 inch baking pan
- Parchment paper
- Medium saucepan (for melting butter and sugar)
- Whisk
- Rubber spatula
- Mixing bowl
- Sharp knife (for cutting once cooled)
How to Make Them
- Preheat your oven to 350°F. Line your 9×9 pan with parchment paper, leaving some overhang on the sides.
- Melt the butter and sugars. In a saucepan over low heat, melt the butter with the granulated sugar and brown sugar. Stir until it’s smooth and slightly glossy, then take it off the heat and let it cool for about 5 minutes.
- Add the eggs and vanilla. Whisk them in one at a time, mixing well after each one. This is where the batter starts looking glossy and kind of magical.
- Fold in the dry stuff. Add the cocoa powder, flour, salt, baking powder, and espresso powder. Fold gently with a spatula. Don’t overmix here, or you’ll lose the fudgy texture and end up with something closer to cake.
- Stir in the chocolate chips. Save a small handful to sprinkle on top for looks.
- Pour into your pan and smooth the top. Sprinkle the reserved chocolate chips over the surface.
- Bake for 28 to 32 minutes. Start checking around the 28 minute mark. You’re looking for a shiny, crackly top and a toothpick with a few moist crumbs still clinging to it.
- Cool completely before lifting out and slicing. I promise this part is the hardest part of the whole recipe.
Substitutions and Variations
| Original | Swap | Why It Works |
|---|---|---|
| Semi-sweet chips | Dark chocolate chunks | Deepens the flavor, less sweet |
| All-purpose flour | 1:1 gluten-free flour blend | Works well, texture stays fudgy |
| Butter | Coconut oil | Slight coconut note, still rich |
| Espresso powder | Skip it | Fine, just slightly less chocolatey |
| Chocolate chips | Walnuts or pecans | Adds crunch, more classic brownie feel |
| Granulated sugar | Coconut sugar | Slightly caramel-y, works in a pinch |
Want them extra fudgy? Add an extra egg yolk. Want them more cakey? Add an extra ¼ cup of flour and a splash of milk.
Make Ahead Tips
You can make the batter up to a day ahead and store it covered in the fridge. Let it sit at room temp for about 20 minutes before baking so it spreads evenly.
Baked brownies also freeze really well. Wrap individual squares in plastic wrap, then toss them in a freezer bag. They’ll keep for about 3 months.
Estimated Nutrition (Per Square, Makes 16)
These numbers are estimates only, not lab tested, and will vary depending on your exact ingredients and brands.
| Nutrient | Approximate Amount |
|---|---|
| Calories | 260 |
| Fat | 13g |
| Carbs | 34g |
| Sugar | 26g |
| Protein | 3g |
Why These Turn Out Fudgy Every Time
Quick detour into the “why” behind this recipe, because it actually helps you troubleshoot later.
Fudgy brownies come down to the ratio of fat to flour. This recipe leans heavy on butter and light on flour, which is exactly what keeps the middle dense and a little underdone-tasting, in the best way.
Cakey brownies, on the other hand, usually have more flour and a leavening agent doing more of the work. That’s why this recipe uses just a tiny bit of baking powder, barely enough to register.
The other big factor is how you melt the butter and sugar together. Doing it low and slow on the stove (instead of just creaming softened butter with a mixer) dissolves more of the sugar into the fat. That’s the secret behind the shiny, crackly top everyone always asks about.
So if you ever want to experiment with your own brownie recipe, remember this: more butter and less flour equals fudgier. More flour and a leavening agent equals cakier. Simple as that.
What to Pair With These
A scoop of vanilla ice cream is the obvious answer, and honestly it’s obvious for a reason. But here are a few other pairings that work surprisingly well:
- Cold brew or espresso if you’re having these for an afternoon pick me up
- Fresh raspberries for a little tartness against all that richness
- A glass of milk, because some things never change
- Whipped cream with a pinch of sea salt on top for a fancier plated version
Storage and Reheating
Store leftover brownies in an airtight container at room temperature for up to 4 days, or in the fridge for up to a week.
To reheat, microwave a square for about 10 to 15 seconds. It brings back that fresh-from-the-oven gooeyness without drying them out.
For frozen brownies, let them thaw at room temp for about an hour, or microwave straight from frozen for 20 to 30 seconds.
FAQ
Why did my brownies turn out cakey instead of fudgy? This usually comes down to too much flour or overmixing once the flour goes in. Measure your flour by spooning it into the cup and leveling it off, not scooping directly from the bag.
Can I double this recipe? Yes, just use a 9×13 pan and add about 8 to 10 minutes to the bake time.
Why do my brownies sink in the middle? This usually means they were pulled too early or the oven temp ran low. An oven thermometer is a cheap fix if this keeps happening.
Can I use cocoa powder instead of melted chocolate? That’s actually what this recipe already does. Using cocoa powder plus melted butter is what gives you that fudgy texture instead of a cakey one.
Do I need to sift the cocoa powder? Not required, but it does help avoid little clumps if your cocoa powder has been sitting in the pantry a while.
Can I bake these in a different size pan? You can, but the bake time will change. A smaller pan means thicker brownies and a longer bake time. A larger pan means thinner brownies and a shorter one. Keep an eye on that toothpick test either way.
My chocolate chips all sank to the bottom. What happened? This usually means the batter was too warm or too thin when you added them. Letting your butter mixture cool fully before mixing in the eggs helps keep the batter thick enough to hold the chips in place.
Wrapping Up
Silas has requested these brownies four separate times since I first made them, which for a guy who once described birthday cake as “fine, I guess,” is basically a five star review.
If you make these, I want to know how they turned out. Drop a comment below and let me know if you went classic or tried one of the swaps. And if your kitchen ends up smelling as good as mine did, you’re doing it right.