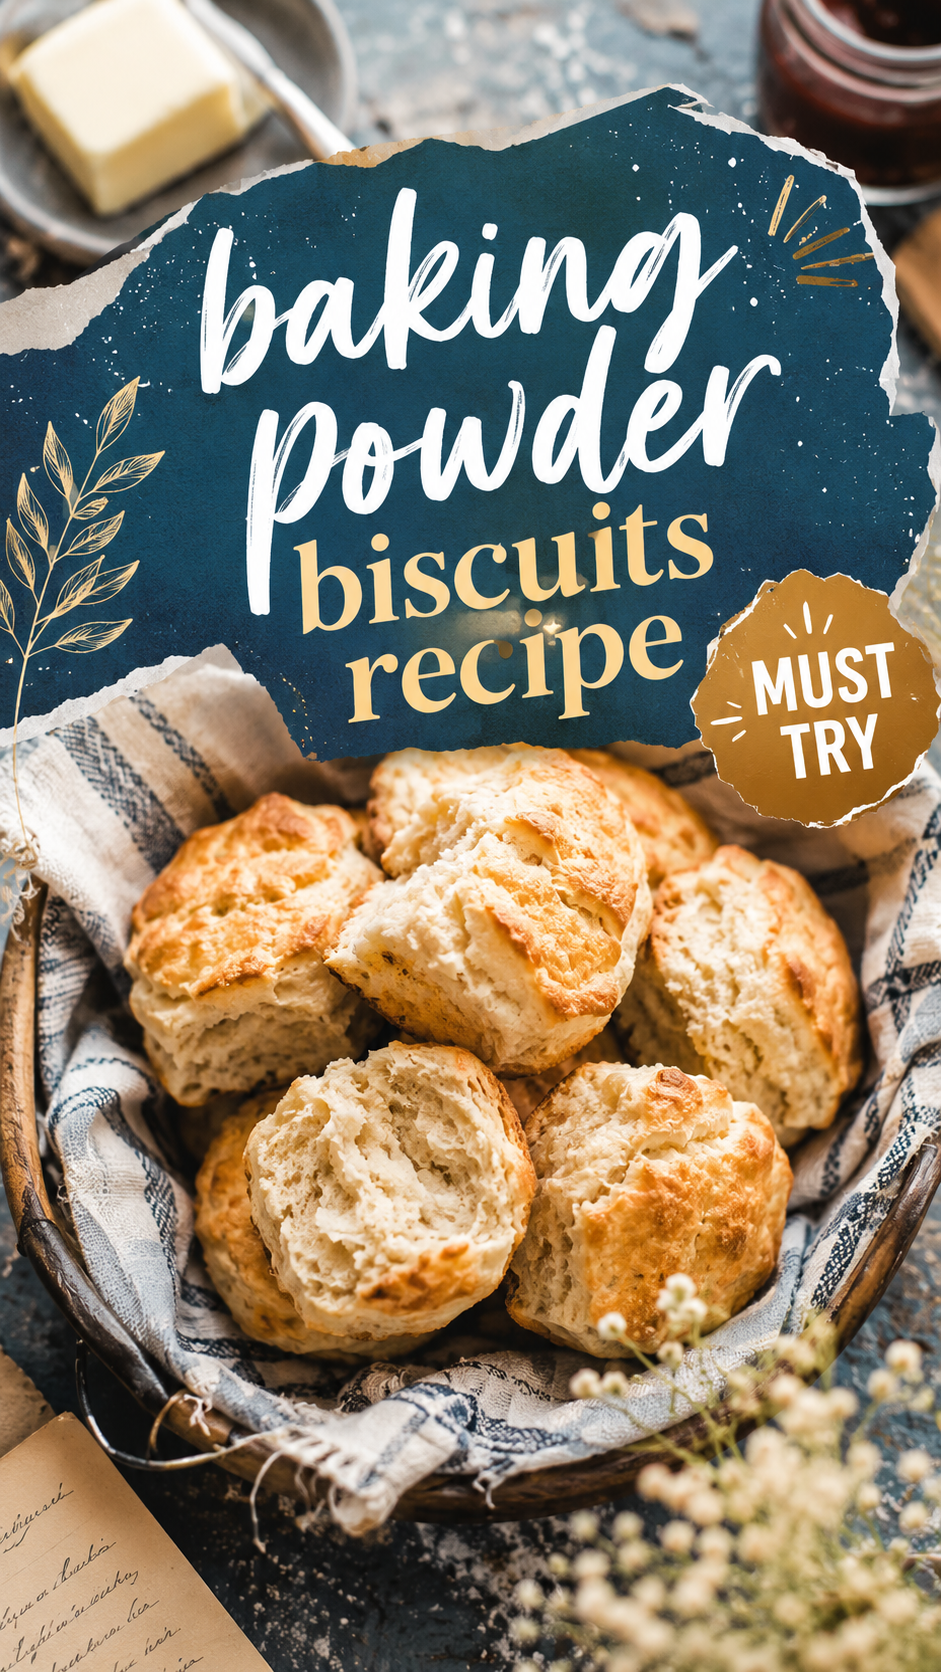
I ruined four batches of biscuits before I figured out the one thing nobody tells you.
It’s not the butter. It’s not even the flour. It’s how much you touch the dough.
I used to knead these things like I was making bread, and every single time they came out of the oven flat and sad, like little hockey pucks with delusions of grandeur. Silas ate them anyway (he’ll eat almost anything with butter on it), but I knew they could be better.
Turns out baking powder biscuits are one of those recipes that reward doing less. Less kneading, less handling, less overthinking. Once I stopped babying the dough, I started getting tall, flaky, buttery layers every time.
No buttermilk required either. Just pantry staples and 10 minutes of hands-on time.
Let’s get into it.
What You’ll Need
Dry ingredients:
- 2 cups all-purpose flour
- 1 tablespoon baking powder
- 1 teaspoon sugar
- 3/4 teaspoon salt
Wet ingredients:
- 1/2 cup (1 stick) unsalted butter, very cold and cubed
- 3/4 cup whole milk, cold
- 2 tablespoons melted butter (for brushing on top)
That’s it. Eight ingredients, most of which you probably already have.
Tools You’ll Need
- Large mixing bowl
- Pastry cutter (or two forks, or your fingers if you’re impatient like me)
- Measuring cups and spoons
- Baking sheet
- Parchment paper
- Round biscuit cutter (about 2.5 inches) or a drinking glass
- Rolling pin (optional, honestly your hands work fine)
Pro Tips
- Freeze your butter for 10 minutes before cubing it. Cold butter is the entire secret here. It creates little pockets of steam in the oven, which is what gives you those flaky layers everyone’s after.
- Don’t twist the cutter when you punch out your biscuits. Push straight down, then lift straight up. Twisting seals the edges shut and traps the layers, which means your biscuits won’t rise nearly as much. I learned this the hard way after wondering why my “flaky” biscuits kept coming out dense.
- Stack your scraps instead of rerolling them into one flat mess. Gently press the leftover dough pieces on top of each other, then cut again. This keeps those layers intact instead of squashing them flat.
- Chill the cut biscuits for 10 minutes before baking if your kitchen runs warm. It helps the butter firm back up so it doesn’t melt out before the biscuits set.
- Brush with melted butter the second they come out of the oven, not before. It gives you that glossy, golden top without burning during the bake.
Step-by-Step Instructions
- Preheat your oven to 450°F and line a baking sheet with parchment paper.
- In a large bowl, whisk together the flour, baking powder, sugar, and salt.
- Add the cold, cubed butter. Using a pastry cutter (or your fingertips), work the butter into the flour until the mixture looks like coarse crumbs with some pea-sized chunks still visible. Don’t overdo it here.
- Pour in the cold milk and stir with a fork just until the dough comes together. It’ll look a little shaggy. That’s fine. That’s actually correct.
- Turn the dough out onto a lightly floured surface. Pat it into a rectangle about 1 inch thick. Don’t roll it thin, thick biscuits rise better.
- Fold the dough in half, then pat it back down. Repeat this fold-and-pat step 3 to 4 times. This is what builds those flaky layers.
- Cut out biscuits using your cutter, pressing straight down without twisting. Gather the scraps, stack them (don’t smoosh them into a ball), and cut again.
- Place the biscuits on your baking sheet so the edges are just barely touching. This helps them rise up instead of spreading out.
- Bake for 12 to 15 minutes, until the tops are golden brown.
- Brush immediately with melted butter and let them cool for 2 to 3 minutes before serving.
Substitutions and Variations
| Original | Substitution | Notes |
|---|---|---|
| Whole milk | Buttermilk | Adds a slight tang, still works great |
| Whole milk | Any plant milk | Use unsweetened; texture is nearly identical |
| Unsalted butter | Salted butter | Just cut the added salt in half |
| All-purpose flour | 1:1 gluten-free blend | Biscuits will be slightly more crumbly |
| Plain biscuits | Cheddar and chive | Fold in 3/4 cup shredded cheddar and 2 tbsp chopped chives with the milk |
| Plain biscuits | Honey butter biscuits | Add 1 tbsp honey to the wet ingredients |
Make-Ahead Tips
You can cut the biscuits and freeze them raw on a baking sheet until solid, then transfer to a freezer bag. Bake straight from frozen, just add 3 to 4 extra minutes to the bake time. No need to thaw first.
You can also mix the dry ingredients up to a week ahead and store them in an airtight container, so all you need to do on baking day is cut in the butter and add the milk.
Nutritional Breakdown (Per Biscuit, Makes 8)
| Nutrient | Amount |
|---|---|
| Calories | 210 |
| Fat | 12g |
| Carbohydrates | 22g |
| Protein | 3g |
| Sodium | 340mg |
| Fiber | 1g |
Values are estimates based on standard ingredient measurements.
Meal Pairing Suggestions
These biscuits are the kind of side that quietly steals the show. Try them with:
- A pot of chili or beef stew for dunking
- Fried chicken and honey for a Sunday dinner
- Scrambled eggs and bacon for a lazy weekend breakfast
- Sausage gravy, if you want the full Southern experience
Storage and Leftovers
Store leftover biscuits in an airtight container at room temperature for up to 2 days, or in the fridge for up to 5 days.
To reheat, wrap them in foil and warm in a 300°F oven for about 10 minutes. This brings back the crisp edges way better than the microwave does.
They also freeze well after baking. Just thaw at room temperature, then reheat in the oven.
FAQ
Why didn’t my biscuits rise? The most common culprits are old baking powder, dough that’s been overworked, or butter that got too warm before baking. Check your baking powder’s expiration date first.
Can I use a food processor instead of cutting the butter by hand? Yes, pulse the butter into the flour in short bursts until you get pea-sized pieces, then transfer to a bowl and finish by hand. It’s faster, but easy to overdo, so watch it closely.
Do I need a biscuit cutter? No. A drinking glass works fine, just make sure the rim is sharp enough to cut cleanly through the dough instead of squishing it.
Can I make these dairy-free? Yes, swap in a plant-based butter and your favorite unsweetened plant milk. The texture holds up surprisingly well.
Why cold ingredients specifically? Cold butter stays solid until it hits the oven, where it melts and releases steam. That steam is what pushes the layers apart and gives you height and flakiness.
Wrapping Up
Biscuits seem simple, and honestly, they are, once you know the two or three things that actually matter.
Cold butter. Gentle hands. Don’t twist the cutter.
That’s really the whole trick, and now you know it before you even preheat your oven.
Give these a try this weekend and let me know how they turned out in the comments below. Did the folding step make a difference for you? Did you go savory with cheddar or sweet with honey? I want to hear all about it.