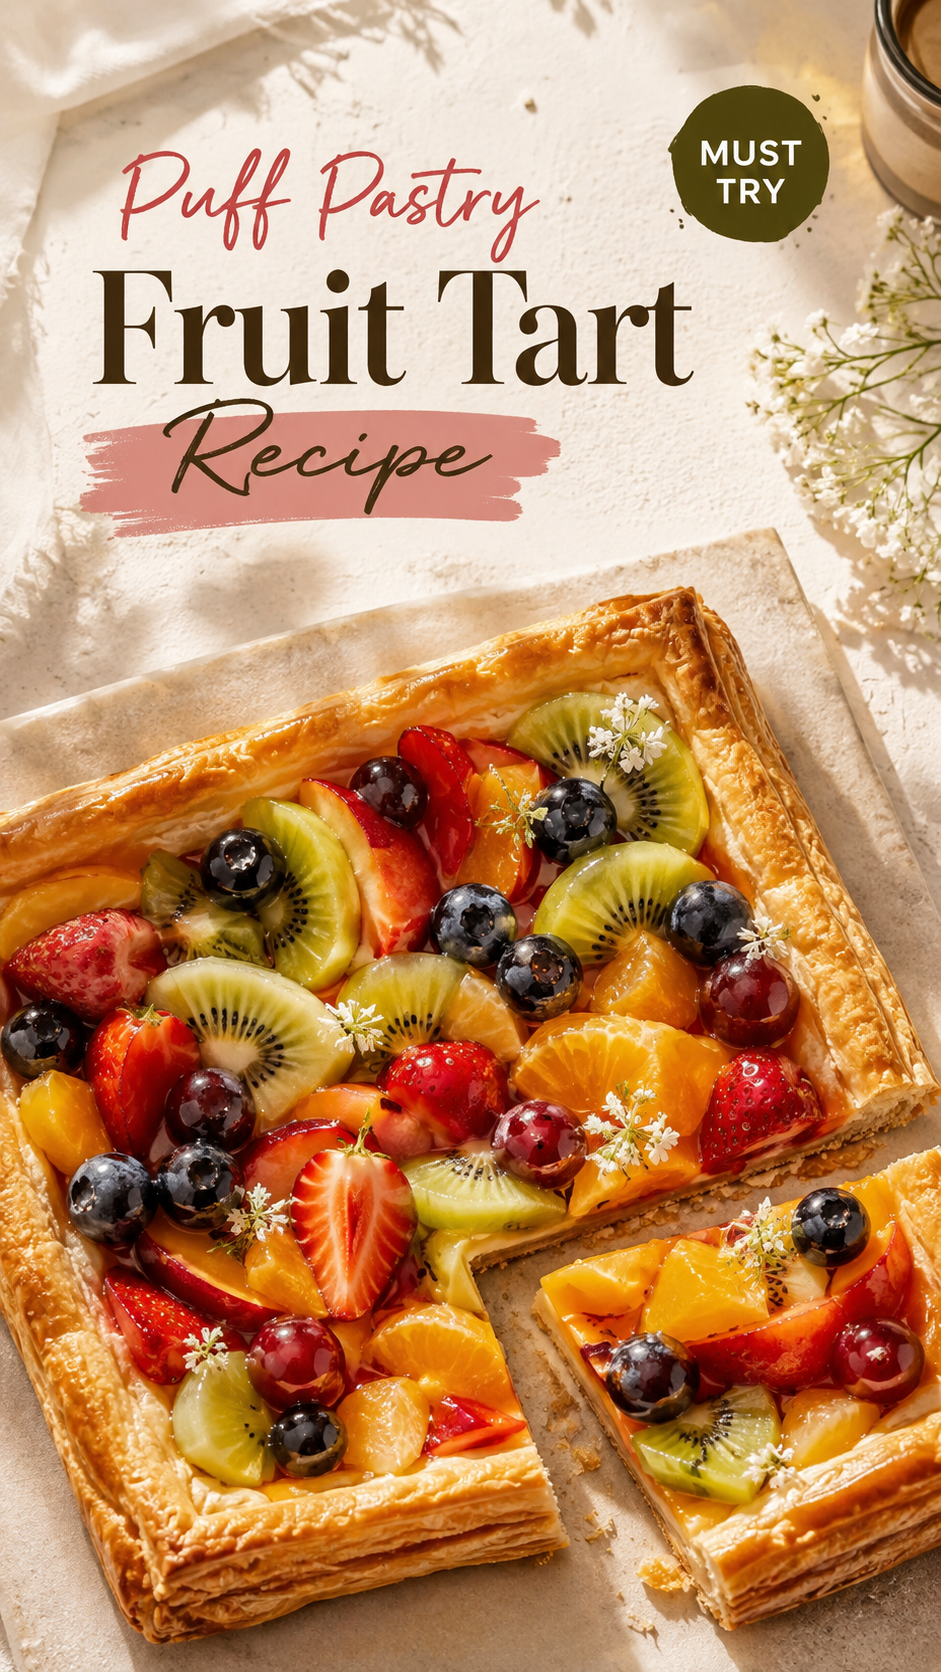
I made this tart for the first time on a random Tuesday because I had leftover puff pastry sitting in my freezer and zero motivation to bake anything complicated.
It came out of the oven golden, puffed up, and honestly looking like something from a French bakery window.
My husband asked what “the occasion” was. There was no occasion. That’s the whole point of this recipe.
Puff pastry does all the heavy lifting here. You just add fruit, a little sugar, and let the oven work its magic.
What You’ll Need
- 1 sheet puff pastry (store-bought, thawed)
- 2 cups mixed fruit (berries, sliced peaches, or thin apple slices work great)
- 3 tablespoons granulated sugar, divided
- 2 tablespoons apricot jam (for the glaze)
- 1 tablespoon water
- 1 egg (for the egg wash)
- 1 teaspoon vanilla extract
- 1 tablespoon cornstarch
- Pinch of salt
- Optional: powdered sugar for dusting
Tools You’ll Need
- Baking sheet
- Parchment paper
- Rolling pin (only if your pastry needs a little help)
- Sharp knife or pizza cutter
- Pastry brush
- Small mixing bowl
Pro Tips
Puff pastry is forgiving, but a few small things make a big difference.
1. Keep it cold until the last second.
Warm pastry doesn’t puff nearly as well. Pop it back in the fridge for 10 minutes if it starts feeling soft while you’re working.
2. Don’t skip the egg wash.
This is what gives you that deep golden, bakery-style color. Skipping it leaves the tart looking pale and kind of sad.
3. Score the edges, don’t cut all the way through.
If you’re doing a border, a shallow score with a knife lets the edges puff up separately, which creates that beautiful raised frame around the fruit.
4. Pat your fruit dry first.
Extra moisture is the enemy of crispy pastry. A soggy bottom is a real risk here, so a paper towel is your best friend.
5. Bake on the lowest rack for the first 10 minutes.
This helps the bottom crisp up before the top starts browning too fast.
How to Make It
Step 1: Preheat and prep.
Preheat your oven to 400°F. Line a baking sheet with parchment paper.
Step 2: Roll out the pastry.
Lightly roll your thawed puff pastry sheet just enough to smooth out the fold lines. Transfer it onto the parchment paper.
Step 3: Score a border.
Using a knife, score a line about half an inch from the edge, all the way around. Don’t cut through, just score the surface.
Step 4: Mix the fruit.
In a small bowl, toss your fruit with 2 tablespoons of sugar, the cornstarch, vanilla extract, and a pinch of salt.
Step 5: Arrange the fruit.
Layer the fruit inside your scored border, slightly overlapping if you’re using sliced fruit.
Step 6: Egg wash the edges.
Whisk your egg with a splash of water and brush it along the border. This gives you that golden shine.
Step 7: Sprinkle the remaining sugar.
A light dusting of sugar over the fruit adds a little crunch and caramelization.
Step 8: Bake.
Bake for 20 to 25 minutes, until the pastry is puffed and deeply golden.
Step 9: Glaze it.
Warm the apricot jam with a tablespoon of water, then brush it over the fruit while the tart is still warm. This is the step that makes it look professional.
Step 10: Cool slightly, then slice.
Let it sit for 10 minutes before slicing. It’ll be easier to cut and the fruit won’t slide everywhere.
Substitutions and Variations
This recipe is basically a blank canvas.
- Fruit: Swap in whatever’s in season. Plums, figs, and pears all work beautifully.
- Jam glaze: No apricot jam? Any light-colored jam works, or even a simple honey glaze.
- Sweetener: Brown sugar instead of white gives it a slightly deeper flavor.
- Savory twist: Skip the sugar entirely and use goat cheese, caramelized onions, and a drizzle of balsamic instead.
- Individual tarts: Cut the pastry into squares before adding toppings for personal-sized tarts. Great for parties.
Make Ahead Tips
You can prep the fruit mixture the night before and keep it in the fridge in a sealed container.
The pastry itself is best rolled and assembled right before baking, since sitting fruit on raw pastry too long can make it soggy.
If you want to get ahead, you can also fully bake the tart, then reheat it in a 350°F oven for 5 minutes before serving.
A Few Extra Details
Nutrition (rough estimate per slice, tart cut into 8):
| Nutrient | Amount |
|---|---|
| Calories | ~180 |
| Fat | 9g |
| Carbs | 22g |
| Sugar | 9g |
| Protein | 2g |
Diet swaps:
- Dairy-free: Most store-bought puff pastry is already made with butter, so check labels. There are dairy-free versions available at most grocery stores now.
- Lower sugar: Cut the sugar in half and lean on naturally sweet fruit like ripe peaches or berries.
Pairing ideas:
This tart pairs really well with a scoop of vanilla ice cream or a dollop of whipped cream. For drinks, a light iced tea or a glass of prosecco both work nicely.
Time efficiency tip:
Buy pre-rolled puff pastry sheets instead of the folded block kind. It saves you the rolling step entirely and cuts prep time down by a few minutes.
Leftovers and Storage
This tart is honestly best the day it’s made, but leftovers still hold up well.
- Room temp: Fine for a few hours if it’s not too warm out.
- Fridge: Store in an airtight container for up to 3 days.
- Reheating: Pop it in the oven at 350°F for 5 to 7 minutes to bring back the crispiness. Microwaving will make it soggy, so avoid that if you can.
- Freezing: You can freeze the baked tart for up to a month. Thaw in the fridge overnight, then reheat in the oven.
FAQ
Can I use frozen fruit?
Yes, but thaw and drain it well first. Frozen fruit holds a lot of extra water that can make your pastry soggy.
Why didn’t my pastry puff up?
It’s usually one of two things: the pastry got too warm before baking, or the oven wasn’t hot enough. Keep it cold and make sure your oven is fully preheated.
Can I make this gluten-free?
Yes, there are gluten-free puff pastry brands available now. The texture is slightly different, but it still works well for this recipe.
Do I need to blind bake the pastry first?
No, that’s the beauty of this recipe. The pastry and fruit bake together at the same time.
Can I double this recipe?
Definitely. Just use two sheets of pastry side by side on a larger baking sheet, or make two separate tarts.
Wrapping Up
This is one of those recipes that looks like it took way more effort than it actually did.
It’s the kind of thing you make for a random Tuesday and somehow it still feels a little special.
Give it a try, and let me know in the comments how yours turned out. I’d love to hear what fruit combination you went with, and if you ran into any questions along the way, drop them below and I’ll help however I can.