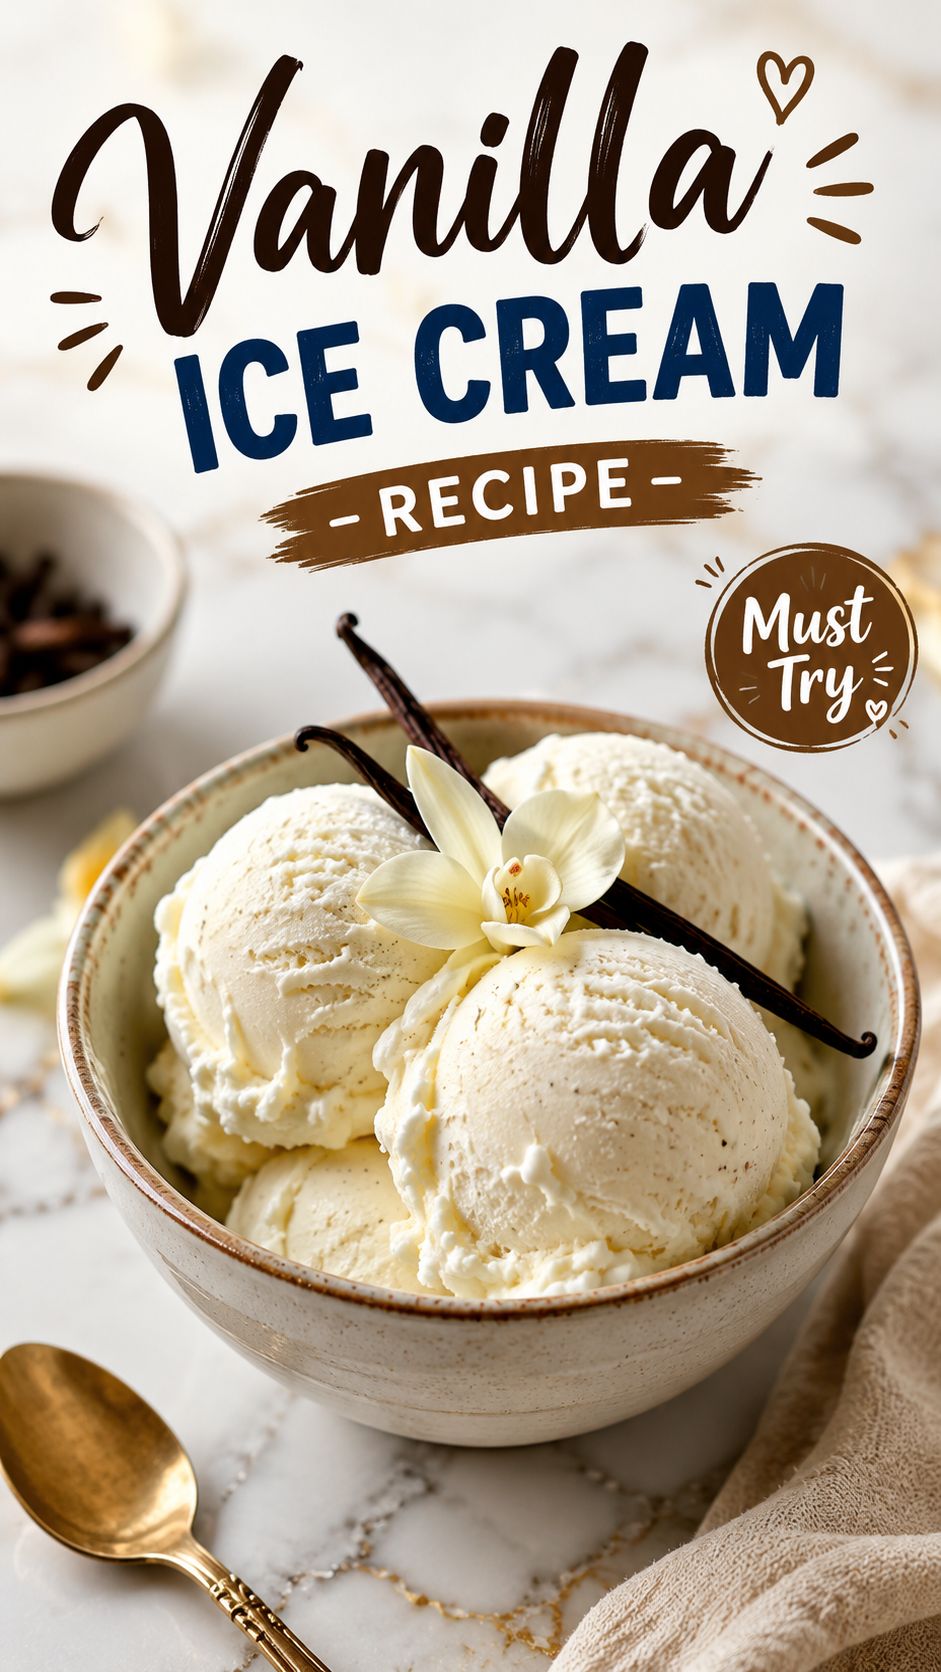
Store-bought vanilla ice cream is fine. It’s also kind of a lie.
Most tubs at the grocery store are packed with stabilizers and gums just to survive the trip from the factory to your freezer. That’s not ice cream, that’s a science project.
Real vanilla ice cream, the kind you make in your own kitchen with cream and egg yolks and an actual vanilla bean, tastes like a completely different dessert. Silas didn’t believe me the first time I said this. Then he tried a bowl and went suspiciously quiet for a solid ten seconds. That’s how I know something’s good, by the way. When he stops talking.
This recipe is a classic French-style custard base, which just means it’s rich, smooth, and slightly golden from the egg yolks. No ice crystals, no weird gummy texture. Just proper, scoopable, melt-in-your-mouth vanilla.
And here’s the part that surprises people: you don’t need an ice cream maker. I’ll show you both ways.
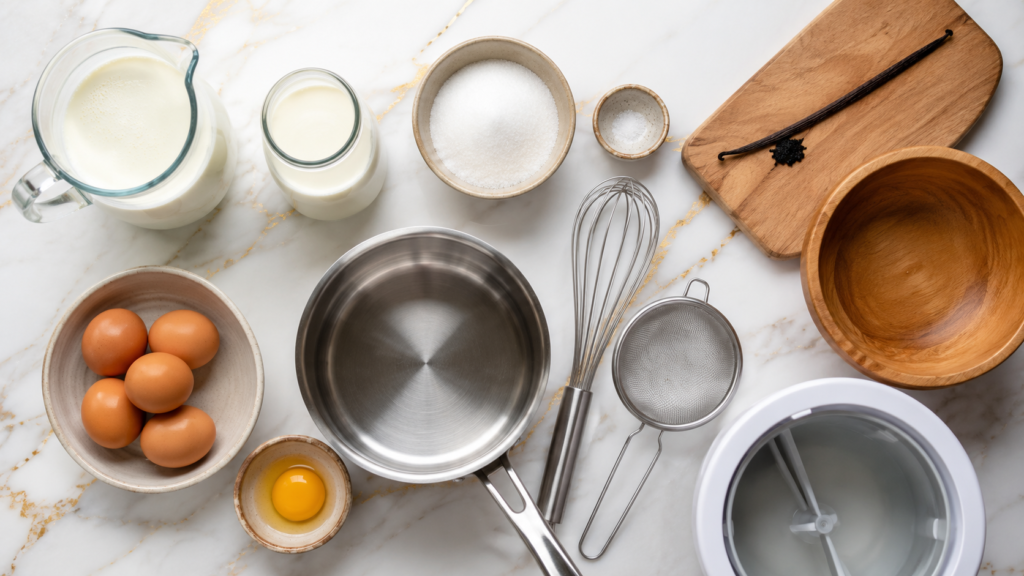
What You’ll Need
- 2 cups heavy cream
- 1 cup whole milk
- ¾ cup granulated sugar
- Pinch of salt
- 1 vanilla bean (or 2 tablespoons pure vanilla extract)
- 5 large egg yolks
That’s it. Six ingredients and most of them are probably already in your fridge.
Tools Needed
- Medium saucepan
- Mixing bowl
- Whisk
- Fine mesh strainer
- Ice cream maker (optional, more on that below)
- Freezer-safe container with a lid
Pro Tips Before You Start
1. Don’t skip the strainer. Straining the custard catches any bits of scrambled egg and gives you that silky texture you’re paying for at fancy ice cream shops.
2. Chill the base completely before churning. A warm base won’t churn properly, and you’ll end up with something closer to soup than ice cream. I usually chill mine overnight.
3. Use a real vanilla bean if you can swing it. It’s pricier, sure, but those little black flecks aren’t just for looks. The flavor is deeper and slightly floral in a way extract can’t fully copy.
4. Temper your eggs slowly. Pouring hot cream into cold yolks too fast scrambles them instantly. Go slow, whisk constantly, and you’ll be fine.
5. No ice cream maker? No problem. I’ve got a full method below using just your freezer and a fork.
How to Make Vanilla Ice Cream
Step 1: Heat the Cream
Combine the heavy cream, milk, sugar, and salt in a saucepan over medium heat.
If you’re using a vanilla bean, split it lengthwise, scrape out the seeds, and toss both the seeds and the pod into the pot.
Heat until it’s steaming and small bubbles form around the edges. Don’t let it boil.
Step 2: Temper the Egg Yolks
Whisk the egg yolks in a separate bowl.
Slowly ladle about half a cup of the hot cream mixture into the yolks, whisking the entire time. This warms the eggs gradually so they don’t scramble.
Once that’s mixed in, pour the yolk mixture back into the saucepan with the rest of the cream.
Step 3: Cook the Custard
Cook over low heat, stirring constantly with a wooden spoon or spatula, until the mixture thickens slightly and coats the back of the spoon. This takes about 5 to 8 minutes.
You’ll know it’s ready when you run your finger across the back of the spoon and the line holds its shape.
Step 4: Strain and Cool
Pour the custard through a fine mesh strainer into a clean bowl. This catches the vanilla pod and any stray egg bits.
If you used extract instead of a bean, stir it in now.
Let the mixture cool at room temperature for about 20 minutes, then cover and refrigerate for at least 4 hours, though overnight is better.
Step 5: Churn (Or Don’t)
With an ice cream maker: Pour the chilled base into your machine and churn according to the manufacturer’s instructions, usually 20 to 25 minutes, until it looks like soft serve.
Without a machine: Pour the base into a shallow freezer-safe dish. Freeze for 45 minutes, then remove and whisk vigorously with a fork to break up ice crystals. Repeat this every 30 to 45 minutes for about 3 hours total.
It’s more hands on, but the result is genuinely close to machine-churned ice cream.
Step 6: Freeze to Set
Transfer the churned (or hand-whisked) ice cream into a freezer-safe container. Press a piece of parchment paper directly onto the surface before sealing the lid.
Freeze for at least 4 hours to firm up before scooping.
Substitutions and Variations
| Ingredient | Swap | Result |
|---|---|---|
| Heavy cream | Half and half | Lighter texture, less rich |
| Egg yolks | Skip entirely | Philadelphia-style ice cream, slightly icier |
| Granulated sugar | Honey or maple syrup | Softer set, subtle flavor shift |
| Vanilla bean | Vanilla bean paste | Similar flecks, more convenient |
| Whole milk | Oat milk | Dairy-light option, less creamy |
Want to get creative? Stir in crushed cookies, a swirl of caramel, or fresh berries during the last few minutes of churning.
Make Ahead Tips
This ice cream actually benefits from planning ahead.
Make the custard base up to 2 days before you plan to churn it. The flavor deepens the longer it sits.
Once churned and frozen, it keeps well for up to 2 weeks before texture starts to change.
A Few Extra Details
Nutrition: This recipe is rich, meaning it’s higher in fat and sugar than most store-bought versions, but it also uses real, simple ingredients with nothing artificial. Exact nutrition estimates should be verified using Cronometer with your specific ingredient brands before publishing.
Dietary swaps: For a lower sugar version, cut the sugar to ½ cup. For dairy-free, coconut cream works surprisingly well in place of heavy cream, though the flavor will lean tropical.
Pairing ideas: Serve alongside warm apple crisp, a slice of chocolate cake, or simply in a bowl with fresh berries and a drizzle of honey.
Time-saving tip: Make the custard the night before and let it chill overnight. This turns a two-day process into a 20-minute churning session the next day.
Leftovers and Storage
Store in an airtight, freezer-safe container with parchment pressed against the surface to prevent ice crystals.
It keeps well in the freezer for up to 2 weeks. After that, the texture starts to get icy.
Let it sit at room temperature for 5 to 10 minutes before scooping if it’s been in the freezer for a while. Straight-from-the-freezer ice cream fights back.
FAQ
Can I make this without an ice cream maker? Yes. Follow the hand-whisking method in Step 5. It takes more attention, but it works.
Why did my ice cream turn out icy instead of creamy? This usually means the base wasn’t cooled enough before churning, or it wasn’t churned long enough to incorporate air.
Can I use vanilla extract instead of a vanilla bean? Absolutely. Use 2 tablespoons of pure vanilla extract, added after the custard is strained and cooling.
Why do I need to temper the eggs? Tempering slowly raises the egg’s temperature so it doesn’t scramble when combined with the hot cream. Skip this step and you risk sweet scrambled eggs in your ice cream base.
How long does homemade ice cream last? About 2 weeks in the freezer before the texture starts changing. It rarely lasts that long around here, honestly.
Wrapping Up
Homemade vanilla ice cream takes a little patience, but it’s not complicated. Once you taste the difference, store-bought starts to feel like a downgrade.
Try it this weekend. Then come back and tell me how it turned out, or if you tried any of the swirl-ins.
I’d love to hear what you paired it with.