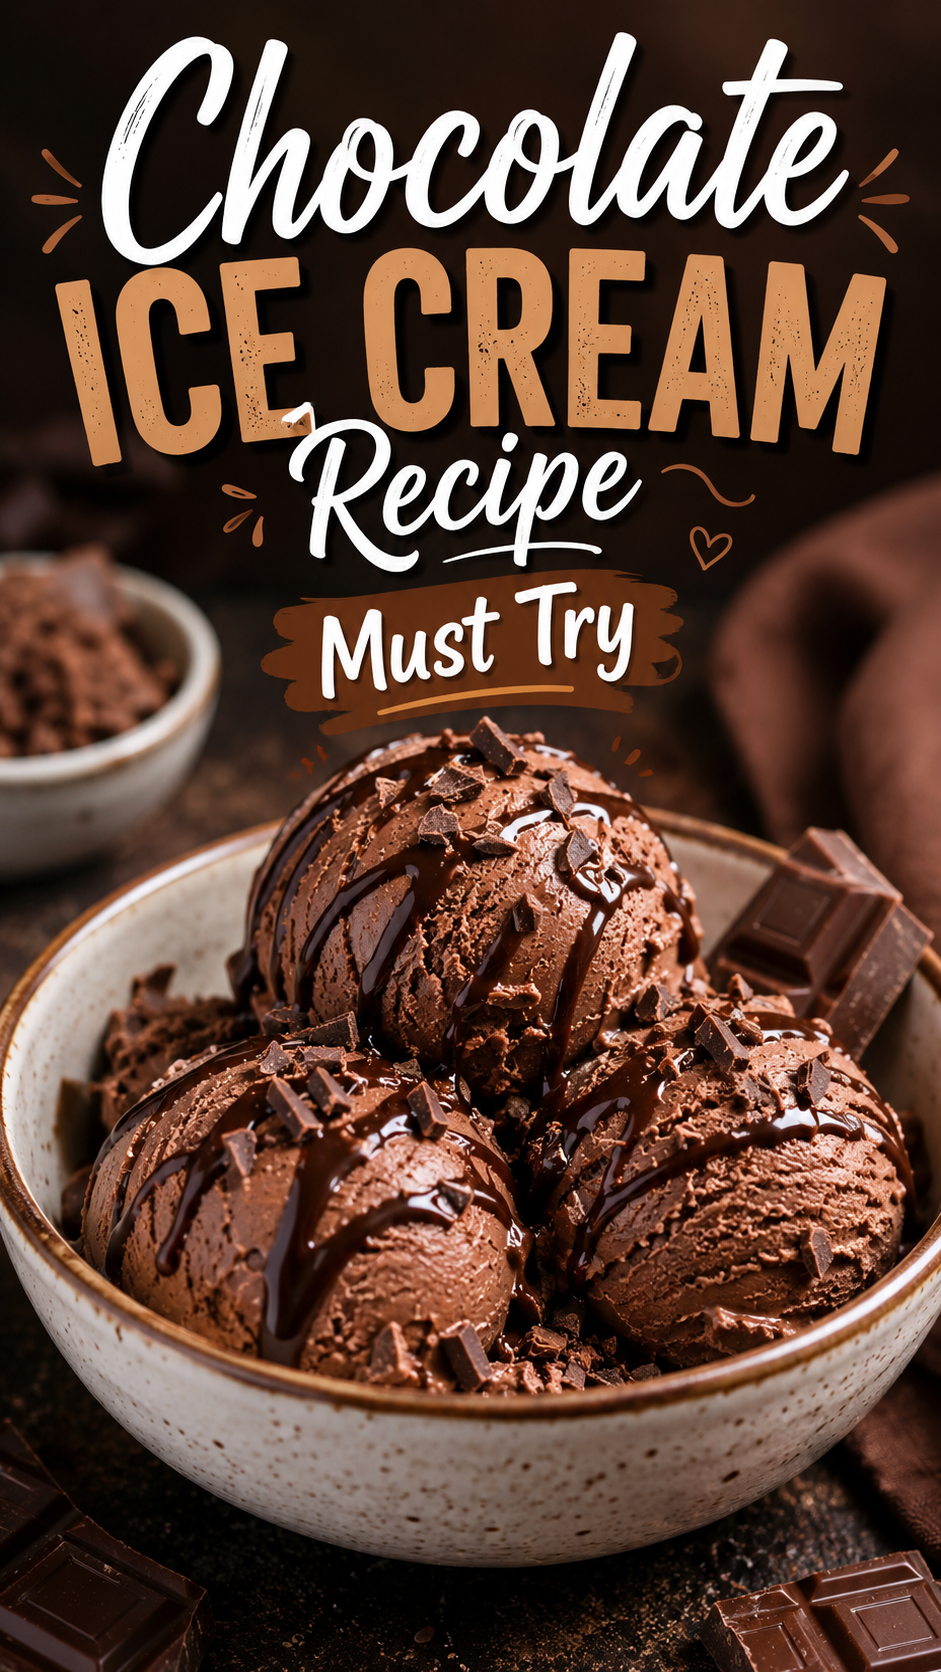
My freezer has had a tub of homemade chocolate ice cream in it for basically three summers straight now.
It started as a way to use up leftover heavy cream from a dinner party. Now it’s just… a permanent fixture. My husband Silas jokes that our freezer has three settings: ice, frozen vegetables, and chocolate ice cream.
This recipe is rich, deeply chocolatey, and honestly a little dangerous because it’s so easy to make. No ice cream maker experience needed. No weird science tricks. Just a handful of ingredients and a little patience while it churns.
Let’s get into it. 🍫
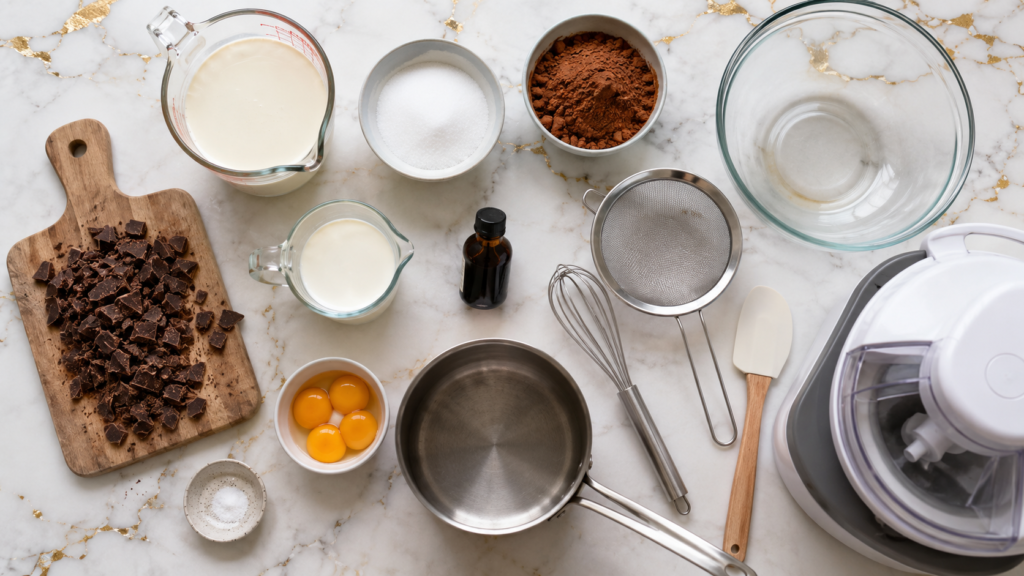
What You’ll Need
| Ingredient | Amount |
|---|---|
| Heavy cream | 2 cups |
| Whole milk | 1 cup |
| Granulated sugar | 3/4 cup |
| Cocoa powder (unsweetened) | 1/2 cup |
| Semi-sweet chocolate, chopped | 4 oz |
| Egg yolks | 4 large |
| Vanilla extract | 1 tsp |
| Salt | 1/4 tsp |
Tools You’ll Need
- Ice cream maker
- Medium saucepan
- Whisk
- Mixing bowl
- Fine mesh strainer
- Rubber spatula
- Airtight freezer-safe container
Pro Tips
- Chill your ice cream maker bowl for at least 24 hours before you start. A bowl that isn’t fully frozen will give you a soupy, disappointing churn.
- Don’t skip the strainer step. Straining the custard base catches any bits of cooked egg and gives you that silky smooth texture you’re after.
- Use good chocolate. This recipe only has a few ingredients, so the quality of your chocolate really shows. Splurge a little here.
- Temper your eggs slowly. Adding hot cream too fast will scramble your yolks. Go slow, whisk constantly, and you’ll be fine.
- Let it “ripen” in the freezer. Fresh from the machine, this ice cream is soft-serve consistency. Give it at least 4 hours in the freezer for that scoopable texture.
How to Make Chocolate Ice Cream
Step 1: Heat the Cream Mixture
In your saucepan, combine the heavy cream, milk, sugar, cocoa powder, and salt over medium heat. Whisk until the cocoa powder fully dissolves and no lumps remain.
Once it starts to steam (not boil), add the chopped chocolate and whisk until fully melted and smooth.
Step 2: Temper the Egg Yolks
In your mixing bowl, whisk the egg yolks until they’re pale and slightly thickened.
Slowly pour about a cup of the hot chocolate mixture into the yolks, whisking constantly. This warms the eggs gradually so they don’t scramble.
Pour the tempered yolk mixture back into the saucepan with the rest of the chocolate base.
Step 3: Cook the Custard
Cook over medium-low heat, stirring constantly with your spatula, until the mixture thickens enough to coat the back of a spoon. This usually takes 5 to 7 minutes.
You’ll know it’s ready when you can run your finger across the spatula and the line holds.
Step 4: Strain and Chill
Pour the custard through your fine mesh strainer into a clean bowl. Stir in the vanilla extract.
Cover with plastic wrap pressed directly onto the surface (this prevents a skin from forming) and refrigerate for at least 4 hours, or overnight if you can swing it.
Step 5: Churn
Pour the chilled base into your ice cream maker and churn according to the manufacturer’s instructions. This typically takes 20 to 25 minutes, until it reaches a soft-serve consistency.
Step 6: Freeze
Transfer the churned ice cream into your airtight container and smooth the top with your spatula. Freeze for at least 4 hours before scooping.
Substitutions and Variations
| Original | Substitution | Notes |
|---|---|---|
| Semi-sweet chocolate | Dark chocolate | Makes it richer and less sweet |
| Whole milk | Half-and-half | Even creamier texture |
| Granulated sugar | Brown sugar | Adds a slight caramel note |
| Egg yolks | Cornstarch slurry | For an eggless version, though texture will differ slightly |
| Vanilla extract | Espresso powder | Turns this into a mocha ice cream |
Fun variations to try:
- Swirl in peanut butter before freezing
- Fold in crushed cookies or brownie chunks
- Add a pinch of cinnamon or cayenne for a Mexican hot chocolate twist
Make Ahead Tips
The custard base can be made up to 2 days ahead and stored covered in the fridge before churning. This actually helps the flavors develop even more.
Once churned and frozen, this ice cream keeps well for up to 2 weeks at peak texture.
Estimated Nutritional Breakdown
These values are estimates only and will vary based on exact ingredients and brands used.
| Nutrient | Per 1/2 Cup Serving |
|---|---|
| Calories | ~310 |
| Fat | 22g |
| Carbohydrates | 26g |
| Sugar | 22g |
| Protein | 4g |
Meal Pairings
This chocolate ice cream pairs really well with:
- Warm brownies straight out of the oven
- Fresh berries for a little tartness against the richness
- A drizzle of caramel or hot fudge sauce
- Espresso poured right over the top, affogato style
Leftovers and Storage
Store in an airtight container in the freezer for up to 2 weeks. After that, it’s still safe to eat, but you’ll start to notice ice crystals forming.
To keep it as smooth as possible, press a piece of parchment paper or plastic wrap directly onto the surface before sealing the lid.
FAQ
Can I make this without an ice cream maker?
Yes, though the texture won’t be quite as smooth. Pour the chilled base into a shallow dish and freeze, stirring vigorously with a fork every 30 minutes for about 3 hours to break up ice crystals.
Why is my ice cream icy instead of creamy?
This usually happens when the base isn’t chilled long enough before churning, or when there isn’t enough fat in the mix. Stick to the full chill time and don’t substitute low-fat dairy.
Can I use cocoa powder only, without the chopped chocolate?
You can, but the chocolate adds fat and body that cocoa powder alone can’t replicate. The texture will be noticeably icier without it.
How long does homemade ice cream actually last?
For the best texture, eat it within 2 weeks. It’s safe to eat for much longer, but the texture degrades over time.
Can I halve this recipe?
Yes, this recipe halves easily. Just keep an eye on your custard while it cooks since smaller batches can thicken faster.
Wrapping Up
This chocolate ice cream has become one of those recipes I make without even thinking twice, and once you try it, I think it’ll earn a permanent spot in your freezer too.
Give it a try this weekend and let me know how it turns out in the comments below. I’d love to hear what mix-ins you went with, or any questions you have along the way.