Silas doesn’t stop talking when he eats. He talks about the food, he talks about his day, he talks about a podcast he half listened to that morning. It’s a whole thing.
So when I handed him one of these cookies and he just… went quiet, I knew I had something.
He finished it in about four bites, looked at the plate, and asked if there were more. There were not more. There are now, because I made a second batch just so he’d stop asking.
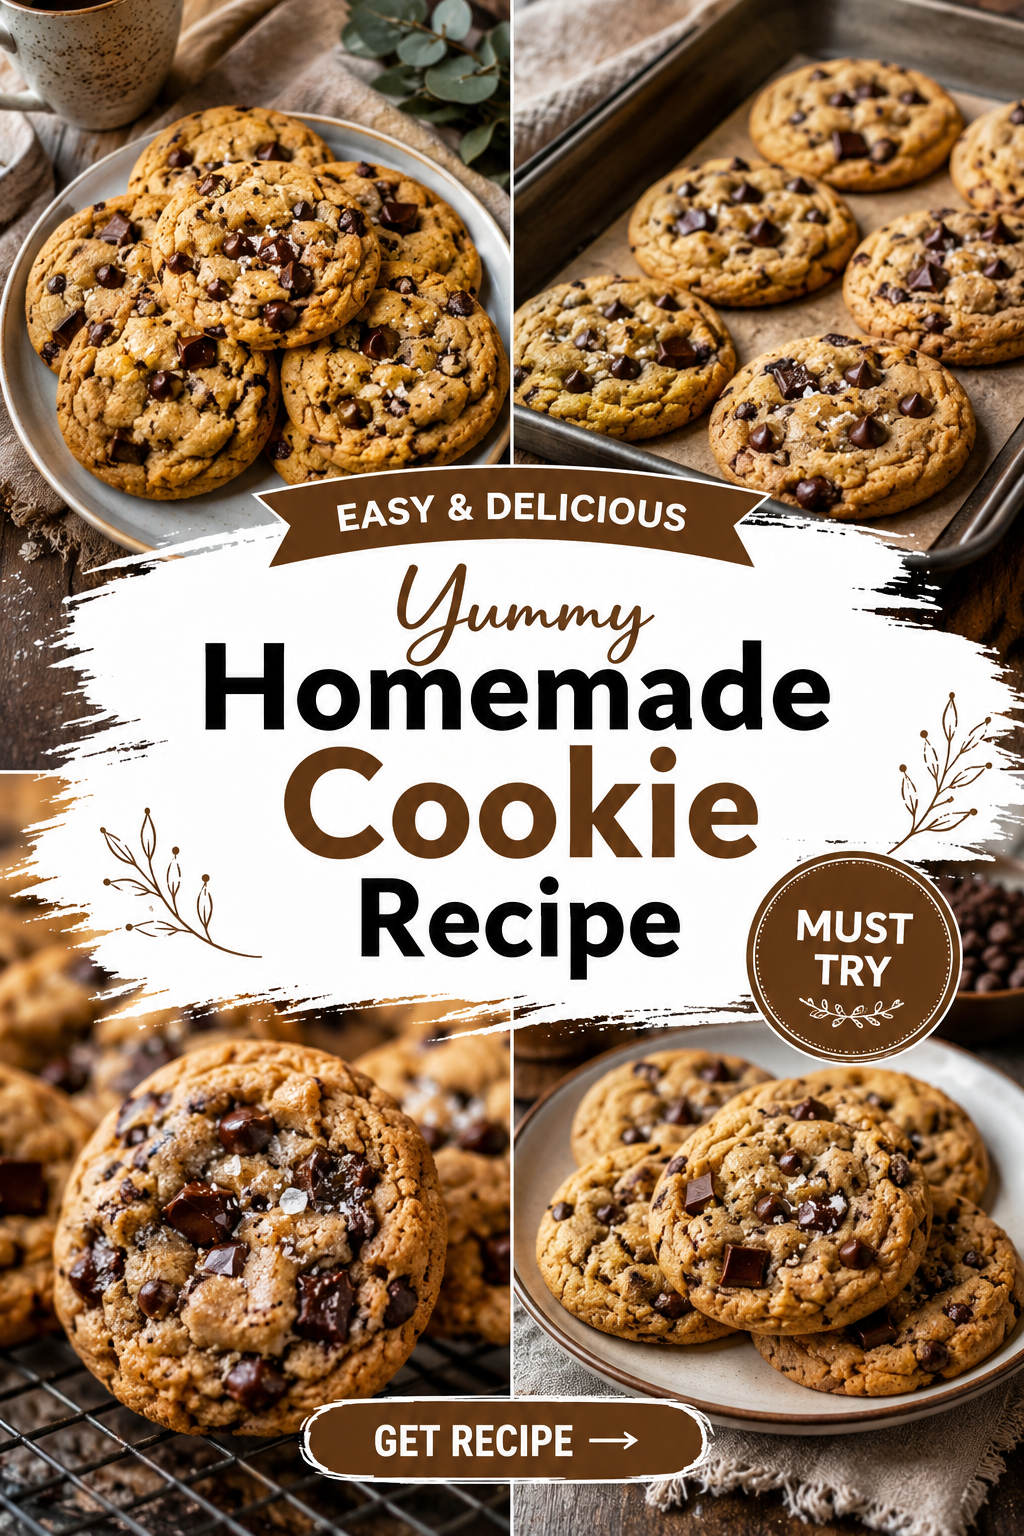
This is the cookie recipe I’ve been quietly perfecting for two years. It’s soft in the middle, a little crisp on the edges, and it doesn’t taste like every other chocolate chip cookie you’ve had a hundred times before.
I’m going to walk you through exactly how I make them, including the two things I did wrong for a long time before I figured this out.
Why This Recipe Actually Works
Most cookie recipes online are basically the same recipe copied over and over. Same ratios, same method, same forgettable result.
This one is different because of two small technical choices that most recipes skip.
First, melted butter instead of softened. It changes the fat structure of the dough and gives you that dense, chewy bite instead of a fluffy, cakey one.
Second, the extra egg yolk. Yolks are packed with fat, and fat means moisture. That’s why these cookies stay soft for days instead of turning into hockey pucks by day two.
Neither change adds extra work. You’re not doing anything fancy here. You’re just doing the same steps everyone else does, but in a slightly smarter order.
What You’ll Need
Here’s everything that goes into the dough. Nothing weird, nothing you have to special order.
| Ingredient | Amount |
|---|---|
| Unsalted butter, melted and slightly cooled | 1 cup (2 sticks) |
| Light brown sugar, packed | 1 1/2 cups |
| Granulated sugar | 1/2 cup |
| Large eggs | 2 |
| Egg yolk | 1 |
| Vanilla extract | 2 tsp |
| All-purpose flour | 2 3/4 cups |
| Baking soda | 1 tsp |
| Baking powder | 1/2 tsp |
| Fine sea salt | 1 tsp |
| Semi-sweet chocolate chips | 1 1/2 cups |
| Chopped dark chocolate bar | 1/2 cup |
| Flaky sea salt (for topping) | for sprinkling |
A quick note on the chocolate. I use both chips and a chopped bar on purpose. The chips hold their shape and the chopped bar melts into these little pockets of chocolate you can actually see. It makes a difference. Trust me on this one.
Tools You’ll Need
- Two mixing bowls (one big, one medium)
- Whisk
- Rubber spatula
- Measuring cups and spoons
- Baking sheets
- Parchment paper
- Cookie scoop (a 2-tablespoon one works great)
- Wire cooling rack
Pro Tips Before You Start
1. Melt the butter, don’t just soften it. This is the whole secret to that chewy middle. Melted butter changes the texture completely. Softened butter gives you a cakier cookie, and that’s not what we’re doing today.
2. Let the melted butter cool for 10 minutes before mixing. If it’s too hot, it’ll start cooking your eggs when you add them. Nobody wants scrambled egg cookies.
3. Don’t skip the extra egg yolk. One whole egg plus one yolk gives you a richer, chewier cookie than two whole eggs would. It’s a small change that does a lot of work.
4. Chill the dough for at least 30 minutes. I know. You want cookies now. But chilled dough spreads less and gives you a thicker, chewier result. Rushing this step is the number one mistake I made for years.
5. Pull them out before you think they’re done. The cookies will look slightly underbaked in the center when you take them out. That’s correct. They finish cooking on the hot pan after you pull them from the oven.
How to Make These Cookies
Step 1: Mix the wet ingredients
In your large bowl, whisk together the melted butter, brown sugar, and granulated sugar until it’s smooth and a little glossy.
Add the eggs, egg yolk, and vanilla. Whisk again until everything is combined and the mixture looks slightly lighter in color.
Step 2: Mix the dry ingredients
In your medium bowl, whisk together the flour, baking soda, baking powder, and sea salt.
Step 3: Combine
Add the dry ingredients to the wet ingredients in two batches, folding gently with your spatula. Stop mixing as soon as you don’t see dry flour anymore. Overmixing is how you end up with tough, dense cookies.
Fold in the chocolate chips and chopped chocolate.
Step 4: Chill the dough
Cover the bowl and pop it in the fridge for at least 30 minutes. An hour is even better if you have the patience for it.
Step 5: Scoop and bake
Preheat your oven to 350°F. Line your baking sheets with parchment paper.
Scoop the dough into balls, about 2 tablespoons each, and space them 2 inches apart on the sheet.
Bake for 10 to 12 minutes, until the edges are golden and the centers still look a little soft.
Step 6: The finishing touch
The second they come out of the oven, sprinkle a small pinch of flaky sea salt over the top of each cookie. Let them sit on the hot pan for 5 minutes before moving them to a cooling rack.
Substitutions and Variations
| Original | Swap | Result |
|---|---|---|
| Semi-sweet chocolate chips | Dark chocolate chips | Less sweet, more intense |
| All-purpose flour | 1:1 gluten-free blend | Works well, slightly more delicate texture |
| Butter | Plant-based butter stick | Great dairy-free option, similar texture |
| Chocolate chips | Chopped walnuts or pecans | Adds crunch and a nuttier flavor |
| Vanilla extract | Almond extract (use half the amount) | Gives a bakery-style flavor twist |
Make Ahead Tips
You can make this dough up to 3 days ahead and keep it covered in the fridge. Honestly, the flavor gets even better on day two.
You can also scoop the dough into balls and freeze them on a tray until solid, then transfer to a freezer bag. Bake straight from frozen, just add 2 extra minutes to the bake time.
A Few More Helpful Details
Estimated nutrition (per cookie, makes about 24):
| Nutrient | Amount |
|---|---|
| Calories | 210 |
| Total Fat | 10g |
| Carbohydrates | 28g |
| Sugar | 18g |
| Protein | 2g |
These numbers are estimates based on standard ingredient brands, not a lab result. If you want the real numbers for the exact products in your kitchen, run the recipe through Cronometer with your specific brands before you share or publish anything based on this.
Pairing suggestions: A glass of cold milk is the obvious answer, but a scoop of vanilla ice cream between two cookies turns this into a proper dessert. A warm cup of coffee works great too if it’s an afternoon situation.
Time saving tip: Make a double batch of dough, freeze half in pre-scooped balls, and you’ve basically got fresh cookies on demand for the next month.
Leftovers and Storage
Store baked cookies in an airtight container at room temperature for up to 5 days.
Want them to stay soft? Add a slice of plain white bread to the container. Sounds strange, works every time.
You can also freeze baked cookies for up to 3 months. Let them thaw at room temperature or warm them in the microwave for 10 seconds to bring back that fresh-baked texture.
FAQ
Why did my cookies come out flat? Your butter was probably too warm, or your dough didn’t chill long enough. Both cause too much spread.
Can I use salted butter instead of unsalted? Yes, just cut the added sea salt in the dough down to 1/2 teaspoon.
Why do you use both brown and white sugar? Brown sugar gives moisture and chew. White sugar gives crisp edges. Together they balance each other out.
Can I double this recipe? Yes, it doubles perfectly. Just chill the dough in two separate batches so it cools evenly instead of one giant bowl that takes forever to firm up in the middle.
My dough seems really soft even after chilling. Is that normal? A little softness is fine since the fridge firms it up more as it sits, but if it’s still sticky after an hour, add 2 tablespoons more flour next time. Humidity in your kitchen can affect this more than people expect.
Do I really need the chopped chocolate bar, or can I just use more chips? You can use all chips if that’s what you have on hand. It’ll still taste great. You’ll just lose those melty chocolate pools that make these look a little more special than a standard cookie.
Wrapping Up
These cookies are the ones I make when I want something that actually feels worth the calories. Not a fussy recipe, not a long ingredient list, just a really solid chocolate chip cookie done right.
Silas would want me to tell you to make a double batch. He’s not wrong.
If you try these, come back and leave a comment letting me know how they turned out. I read every single one, and if you run into any trouble along the way, ask me your question there and I’ll help you sort it out.