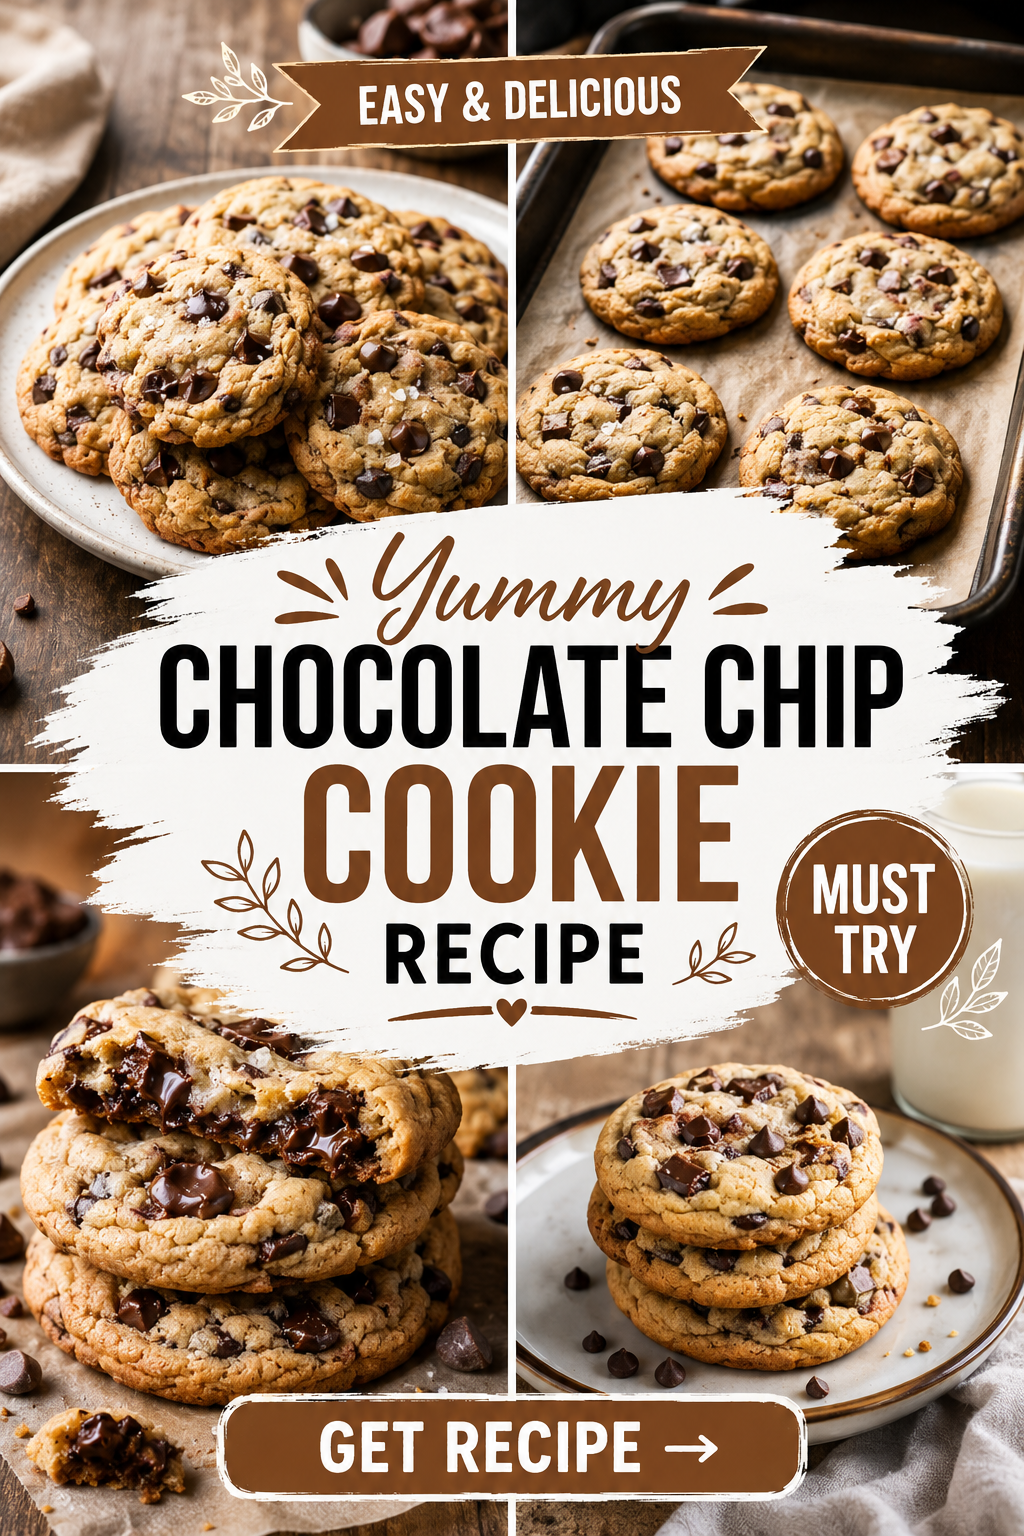
I’ve made a lot of cookies in my life. Burnt ones, flat ones, weirdly cakey ones.
This recipe is the one I finally stopped messing with.
It’s the version my husband asks for by name. The one that disappears off the counter before it even cools. And once you try the little trick in step 4, you’ll probably never bake cookies the old way again. 🍪
Let’s get into it.
What You’ll Need
Dry ingredients:
- 2 ¼ cups all-purpose flour
- 1 tsp baking soda
- 1 tsp salt
Wet ingredients:
- 1 cup unsalted butter, softened
- ¾ cup granulated sugar
- ¾ cup brown sugar, packed
- 2 large eggs
- 2 tsp vanilla extract
The good stuff:
- 2 cups chocolate chips (I use half semi-sweet, half dark)
- Flaky sea salt for topping (optional but highly recommended)
That’s it. Nothing fancy, nothing you can’t find at a regular grocery store.
Tools You’ll Need
- Stand mixer or hand mixer
- Mixing bowls (one large, one medium)
- Measuring cups and spoons
- Baking sheets
- Parchment paper
- Cookie scoop (a spoon works too, but the scoop makes life easier)
- Cooling rack
How to Make These Cookies
- Preheat your oven to 375°F and line your baking sheets with parchment paper.
- Whisk your dry ingredients together in a medium bowl. Flour, baking soda, salt. Set it aside.
- Cream the butter and sugars in your mixer until it’s light and fluffy. This takes about 2-3 minutes. Don’t rush it.
- Here’s the trick. Add your eggs one at a time, mixing well after each one, then stir in the vanilla. This slow build is what gives the cookies that soft, chewy center everyone fights over.
- Slowly add the dry mix into the wet mix. Mix just until combined. Overmixing here is how you end up with tough, sad cookies.
- Fold in the chocolate chips by hand. This keeps the dough from getting overworked.
- Chill the dough for at least 30 minutes (more on why below).
- Scoop the dough into balls, about 2 tablespoons each, and space them 2 inches apart on your baking sheet.
- Sprinkle with flaky sea salt if you’re using it.
- Bake for 9-11 minutes, until the edges are golden and the centers still look slightly underdone. They’ll keep cooking on the tray.
- Let them rest on the baking sheet for 5 minutes before moving them to a cooling rack.
Pro Tips
- Chill your dough. I know it’s tempting to skip this. But 30 minutes in the fridge stops the cookies from spreading into a flat puddle and gives you that thick, bakery-style cookie.
- Underbake them slightly. Pull the tray out when the centers still look a little soft. They firm up as they cool, and this is the difference between a chewy cookie and a dry one.
- Use room temperature eggs. Cold eggs straight from the fridge can make your butter seize up and turn your dough lumpy.
- Weigh your flour if you can. Scooping flour straight from the bag packs it down and you end up with way more than the recipe calls for. A kitchen scale fixes this instantly.
- Rotate your baking sheet halfway through. Ovens have hot spots, and this one small step gives you evenly baked cookies every time.
Substitutions and Variations
- Butter: Swap for a plant-based butter alternative if you’re dairy-free. The texture stays nearly identical.
- Eggs: Use a flax egg (1 tbsp ground flaxseed + 3 tbsp water per egg) for an egg-free version.
- Flour: A 1:1 gluten-free baking flour works well here. Just know the texture will be slightly more delicate.
- Chocolate chips: Try chopped chocolate bars for those gorgeous melty pools, or mix in walnuts or pecans for some crunch.
- Brown butter version: Brown your butter first and let it cool before creaming it with the sugars. It adds a nutty, almost caramel-like flavor that’s worth trying at least once.
Make Ahead Tips
You can make this dough up to 3 days ahead of time and keep it in the fridge, covered.
Honestly, the flavor gets even better after a day or two of resting. The dough deepens and the cookies bake up with a richer taste.
You can also freeze the dough balls on a tray until solid, then transfer them to a freezer bag. Bake straight from frozen, just add 1-2 extra minutes to the bake time.
A Quick Nutrition Snapshot
Here’s roughly what you’re looking at per cookie, based on a batch of 24.
| Nutrient | Approximate Amount |
|---|---|
| Calories | 180 |
| Total Fat | 9g |
| Carbohydrates | 24g |
| Sugar | 15g |
| Protein | 2g |
These numbers will shift a bit depending on the size of your cookies and any substitutions you make.
Leftovers and Storage
- At room temperature: Store in an airtight container for up to 5 days. Add a slice of bread to the container to keep them soft longer.
- In the fridge: They’ll last about 2 weeks, though the texture firms up a bit.
- In the freezer: Baked cookies freeze beautifully for up to 3 months. Just thaw at room temperature or warm them in the microwave for 10-15 seconds.
FAQ
Why did my cookies turn out flat? Your butter was probably too warm, or you skipped the chilling step. Both cause the dough to spread too fast in the oven.
Can I double this recipe? Yes, and I’d recommend it. These freeze so well that having extra dough on hand is never a bad idea.
Why do my cookies look pale even after baking? Ovens vary a lot in actual temperature versus what the dial says. An oven thermometer is a small investment that solves this problem for good.
Can I use salted butter instead of unsalted? You can, just leave out the added salt in the dry ingredients so the cookies don’t turn out too salty.
What makes these different from a basic cookie recipe? The combination of chilling the dough and slightly underbaking is what gives these that bakery-style chew instead of a crisp, snap-in-half texture.
Wrapping Up
This is the kind of recipe that turns into a habit.
You make it once, everyone loses their mind over it, and suddenly you’re the person who “always has cookies.”
Give it a try this week and let me know how they turned out in the comments. Tell me what mix-ins you used, whether you went with the sea salt topping, and if that chilling trick made the difference I promise it will.
I read every comment, so don’t be shy.