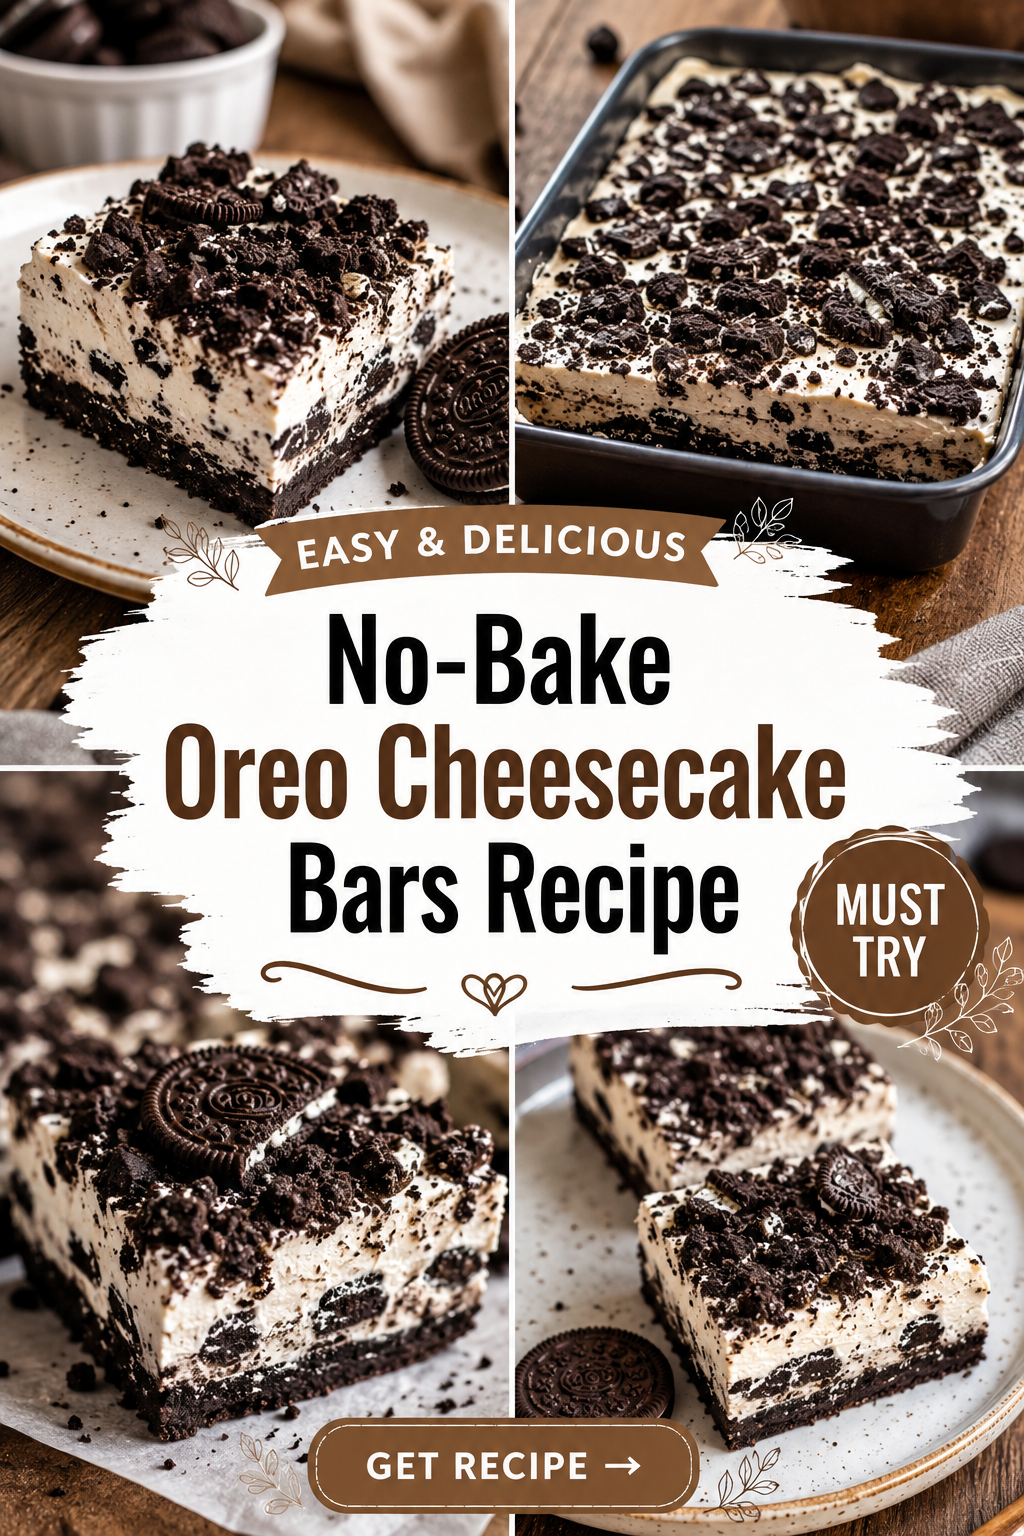
I made these on a 95 degree day when turning on my oven felt like a personal attack.
No joke, I refused to touch the stove for a full week that summer.
That’s actually how this recipe became a regular thing in my house. I needed something creamy, chocolatey, and completely oven-free, and these bars checked every box.
They taste like a cheesecake and an Oreo had a baby, and honestly, that baby is perfect. 🍫
You get a crunchy cookie crust, a thick and tangy cheesecake layer, and a little crushed Oreo on top for good measure.
No oven. No water bath. No cracking on top because you opened the oven door too early (we’ve all been there).
Just mix, press, chill, and you’re basically done.
Let’s get into it.
What You’ll Need
Here’s everything going into these bars:
- 30 Oreo cookies (regular, not double stuf), divided
- 6 tablespoons unsalted butter, melted
- 16 oz cream cheese, softened to room temperature
- 1 cup powdered sugar
- 1 teaspoon vanilla extract
- 1 1/2 cups heavy whipping cream, cold
- Pinch of salt
That’s it. Seven ingredients and most of them are probably already in your kitchen.
Tools You’ll Need
- 9×9 inch baking pan
- Food processor (or a zip-top bag and a rolling pin, if you want to take out some frustration)
- Hand mixer or stand mixer
- Mixing bowls
- Rubber spatula
- Parchment paper
Pro Tips
I’ve made these more times than I can count, so here’s what actually matters.
Save 4 to 5 cookies for the topping. Crush the rest for the crust and roughly chop the leftover cookies for garnish. It gives the bars a little texture on top instead of a flat, boring surface.
Room temperature cream cheese is non-negotiable. Cold cream cheese leaves lumps no amount of mixing will fix. Set it out for at least an hour before you start.
Whip your cream separately, then fold it in. Don’t dump cold cream straight into the cream cheese mixture. Whipping it first is what gives these bars that light, mousse-like texture instead of something dense and heavy.
Line your pan with parchment paper, letting extra hang over the sides. This is the easiest way to lift the whole thing out later without destroying your crust.
Give it the full chill time. I know it’s tempting to cut into these after two hours. Don’t. The full 4 hours (or overnight) is what makes these bars slice clean instead of collapsing into a pile of cheesecake soup.
Substitutions and Variations
This recipe is forgiving, so feel free to play around.
| Original | Swap | Notes |
|---|---|---|
| Regular Oreos | Gluten-free Oreos | Works exactly the same |
| Cream cheese | Reduced-fat cream cheese | Slightly less rich, still good |
| Heavy whipping cream | Cool Whip, thawed | Skip the whipping step entirely |
| Powdered sugar | Same amount of granulated sugar | Blend it fine first so it dissolves |
| Vanilla extract | Almond extract | Use half the amount, it’s stronger |
Want to switch things up? Try one of these:
- Swap Oreos for Golden Oreos for a completely different vibe
- Add a layer of melted chocolate between the crust and filling
- Mix in mini chocolate chips for extra texture
- Drizzle caramel sauce on top before serving
Make Ahead Tips
These bars are honestly better the next day, so making them ahead works in your favor.
You can make them up to 3 days before you plan to serve them. Just keep them covered in the fridge until you’re ready.
You can also freeze the crust and filling separately (unassembled) for up to a month if you want to prep way ahead for a party.
Additional Details
Nutrition (per bar, makes 16 bars): roughly 290 calories, 21g fat, 24g carbs, 3g protein. This will shift depending on which substitutions you use.
For a lighter version: use reduced-fat cream cheese and light Cool Whip instead of heavy cream. You’ll lose a little richness but keep the flavor.
Pairing suggestions: these go really well with a cup of coffee or espresso since the bitterness cuts through the sweetness. A cold glass of milk works too, obviously.
Time efficiency tip: make the crust the night before and let it set in the fridge overnight. That way you’re only doing the filling the next day, cutting your active time in half.
Full Instructions
Step 1: Make the crust. Add 25 of the Oreo cookies (cream filling and all) to a food processor. Pulse until you get fine crumbs.
Pour in the melted butter and pulse again until everything looks like wet sand.
Step 2: Press the crust. Line your 9×9 pan with parchment paper. Press the cookie mixture firmly and evenly into the bottom.
Use the bottom of a measuring cup to really pack it down. Place the pan in the fridge while you make the filling.
Step 3: Make the filling. In a large bowl, beat the softened cream cheese until smooth and fluffy, about 2 minutes.
Add the powdered sugar, vanilla, and salt. Beat again until fully combined.
Step 4: Whip the cream. In a separate bowl, whip the cold heavy cream until stiff peaks form. This takes about 3 to 4 minutes with a hand mixer.
Step 5: Combine. Gently fold the whipped cream into the cream cheese mixture using a rubber spatula. Fold, don’t stir. You want to keep all that air in there.
Step 6: Assemble. Pour the filling over your chilled crust and smooth it out evenly with your spatula.
Crush the remaining Oreos and sprinkle them generously over the top.
Step 7: Chill. Cover the pan and refrigerate for at least 4 hours, though overnight is even better.
Step 8: Slice and serve. Lift the whole thing out using the parchment paper overhang. Slice into 16 bars using a sharp knife, wiping it clean between cuts for the cleanest edges.
Leftovers and Storage
Store leftover bars in an airtight container in the fridge for up to 5 days.
You can also freeze individual bars, wrapped tightly, for up to 2 months. Thaw them in the fridge overnight before eating.
I honestly think they taste even better on day two, once everything has had time to fully set and the flavors have settled in.
FAQ
Can I make these in a bigger pan? Yes, a 9×13 pan works fine. Your bars will just be thinner and you’ll need slightly less chill time.
Why is my filling runny? Your cream cheese probably wasn’t at room temperature, or your whipped cream wasn’t whipped to stiff peaks before folding it in.
Do I have to use a food processor for the crust? No. A zip-top bag and rolling pin work just as well, it just takes a little more arm strength.
Can I add a chocolate ganache layer? Definitely. Melt 1 cup of chocolate chips with 1/2 cup heavy cream, let it cool slightly, then pour it over the crust before adding the cheesecake filling.
Are these overly sweet? Not really. The tanginess from the cream cheese balances out the sweetness from the Oreos and powdered sugar.
Wrapping Up
These bars have saved more summer dinner parties than I can count, and they’ll probably save yours too.
They’re the kind of dessert people ask for the recipe of before they’ve even finished their piece.
Make a batch this week and let me know how they turned out in the comments below. I’d also love to hear if you tried any of the variations, especially that chocolate ganache layer.