You know that feeling when you open the fridge, stare at ground beef and a bag of tater tots, and think “okay… now what?”
That was me on a random Tuesday. And what came out of my oven that night has been on repeat in my house ever since.
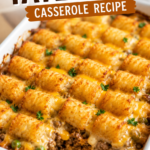
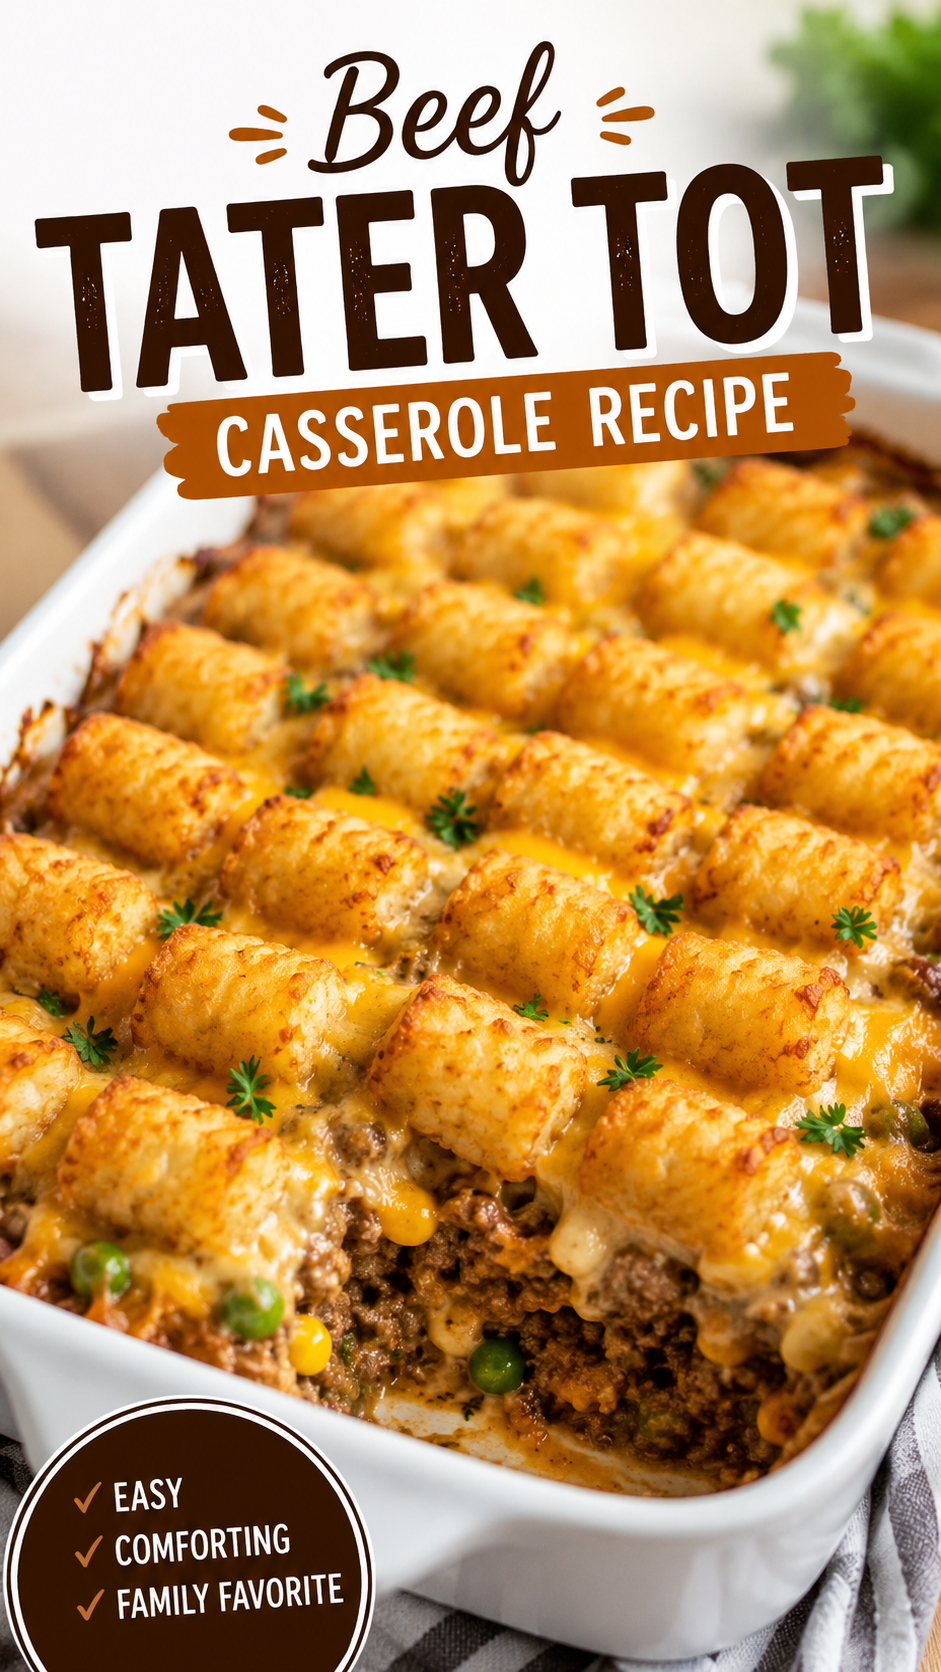
This beef tater tot casserole is cheesy, hearty, ridiculously easy, and it comes together in one dish. My husband asked for seconds before he’d even finished his first plate. That’s basically my rating system now.
Let’s get into it. 🍽️
What You’ll Need
Here’s everything you’ll need to pull this off:
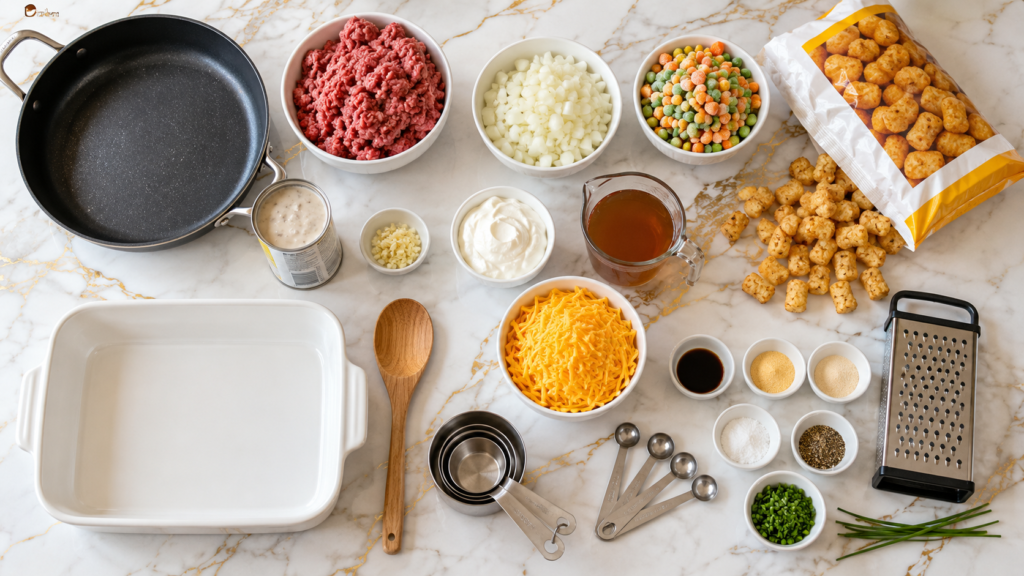
- 1 lb ground beef (85/15 works great)
- 1 small yellow onion, diced
- 2 cloves garlic, minced
- 1 can (10.5 oz) cream of mushroom soup
- 1/2 cup sour cream
- 1/2 cup beef broth
- 1 cup frozen mixed vegetables (corn, peas, carrots)
- 2 cups shredded cheddar cheese, divided
- 1 tsp Worcestershire sauce
- 1 tsp garlic powder
- 1/2 tsp onion powder
- Salt and pepper, to taste
- 1 (32 oz) bag frozen tater tots
- 2 tbsp chopped fresh chives (optional, for topping)
That’s it. Nothing fancy, nothing you need to hunt down at three different stores.
Tools You’ll Need
- Large skillet
- 9×13 inch baking dish
- Mixing spoon
- Measuring cups and spoons
- Cheese grater (if shredding your own)
How to Make Beef Tater Tot Casserole
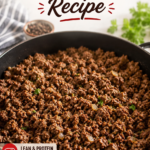
Step 1: Brown the beef
Preheat your oven to 400°F.
In a large skillet over medium heat, cook the ground beef with the diced onion. Break it up as it cooks.
Once the beef is browned and the onion has softened (about 6-7 minutes), add the garlic. Cook for another minute.
Drain any excess grease.
Step 2: Build the filling
Stir in the cream of mushroom soup, sour cream, and beef broth.
Add the frozen mixed vegetables, Worcestershire sauce, garlic powder, onion powder, salt, and pepper.
Let it simmer for 3-4 minutes so everything gets friendly with each other.
Fold in 1 cup of the shredded cheddar.
Step 3: Layer it up
Pour the beef mixture into your greased 9×13 baking dish and spread it evenly.
Arrange the frozen tater tots on top in a single layer. I like to line them up like little soldiers, but you do you.
Step 4: Bake
Bake uncovered for 30-35 minutes, until the tots are golden and crispy.
Pull it out, sprinkle the remaining cup of cheddar over the top, and pop it back in for another 5 minutes until melted.
Step 5: Finish and serve
Let it rest for 5 minutes before serving. This isn’t optional. The casserole needs a minute to set, or it’ll fall apart on the plate.
Top with chives if you’re feeling fancy.
Pro Tips
- Don’t skip draining the beef. Extra grease makes the whole casserole soggy instead of that crispy-on-top, creamy-underneath texture you’re after.
- Give the tots room. Overlapping tots means some stay soft instead of crispy. Spread them in a single, even layer.
- Let it rest. I know it smells incredible and you want to dive in immediately. Give it 5 minutes anyway.
- Use freshly shredded cheese if you can. Pre-shredded cheese has anti-caking agents that keep it from melting as smoothly.
- Broil for the last 2 minutes if you want extra crispy, golden tots on top. Just watch it closely so it doesn’t burn.
Substitutions and Variations
This recipe is flexible, so make it your own:
| Original | Swap |
|---|---|
| Ground beef | Ground turkey or chicken |
| Cream of mushroom soup | Cream of chicken soup |
| Frozen mixed vegetables | Fresh sautéed veggies |
| Cheddar cheese | Pepper jack for a kick |
| Tater tots | Waffle fries or hash browns |
| Sour cream | Plain Greek yogurt |
Want to spice things up? Add a diced jalapeño to the beef mixture, or mix in a tablespoon of taco seasoning for a Southwest twist.
Make Ahead Tips
You can assemble the entire casserole up to 24 hours in advance.
Just prep everything through Step 3, cover tightly with foil, and refrigerate.
When you’re ready to bake, pull it out about 20 minutes before to take the chill off, then bake as directed. You may need to add an extra 5-10 minutes to the bake time.
A Few Extra Details
Nutrition (per serving, based on 6 servings): Roughly 480 calories, 28g protein, 32g fat, and 24g carbs. This will shift depending on the exact brands you use.
Diet swaps: For a lower carb version, swap the tater tots for cauliflower tots. For dairy free, use a dairy free cream soup alternative and skip the cheese or use a plant based version.
Pairing suggestions: This casserole is rich, so I like pairing it with something light. A simple green salad with vinaigrette or steamed green beans balances it out nicely.
Time efficiency tip: Brown a double batch of beef ahead of time and freeze half. Next time you want this casserole, you’ll cut your prep time in half.
Leftovers and Storage
Store leftovers in an airtight container in the fridge for up to 4 days.
To reheat, pop individual portions in the microwave for 1-2 minutes, or reheat in the oven at 350°F for about 15 minutes to keep the tots crispy.
Freezing: This casserole freezes well for up to 3 months. Freeze before adding the final layer of cheese, then thaw overnight in the fridge before baking and adding cheese.
FAQ
Can I use fresh potatoes instead of frozen tater tots? You can, but you’d need to make homemade tots or use another crispy potato topping like hash browns. Frozen tots are just so much easier and honestly taste great.
Why is my casserole watery? This usually happens if the beef wasn’t drained well or if you used extra sauce. Draining the beef thoroughly is key.
Can I make this in a slow cooker? The beef filling can be made in a slow cooker, but you’ll want to add the tots and bake them separately in the oven so they stay crispy instead of getting soggy.
Is this recipe kid friendly? Extremely. My picky nephew asked for this two weekends in a row.
Can I double this recipe? Yes, just use a larger baking dish, like a 9×13 and an 8×8 combined, or two separate 9×13 dishes.
Wrapping Up
This beef tater tot casserole is the kind of recipe that turns a chaotic weeknight into something everyone actually looks forward to.
It’s cheesy, comforting, and it uses ingredients you probably already have sitting in your kitchen right now.
Give it a try this week, and when you do, come back and tell me how it turned out in the comments. I want to know if you added your own twist to it.