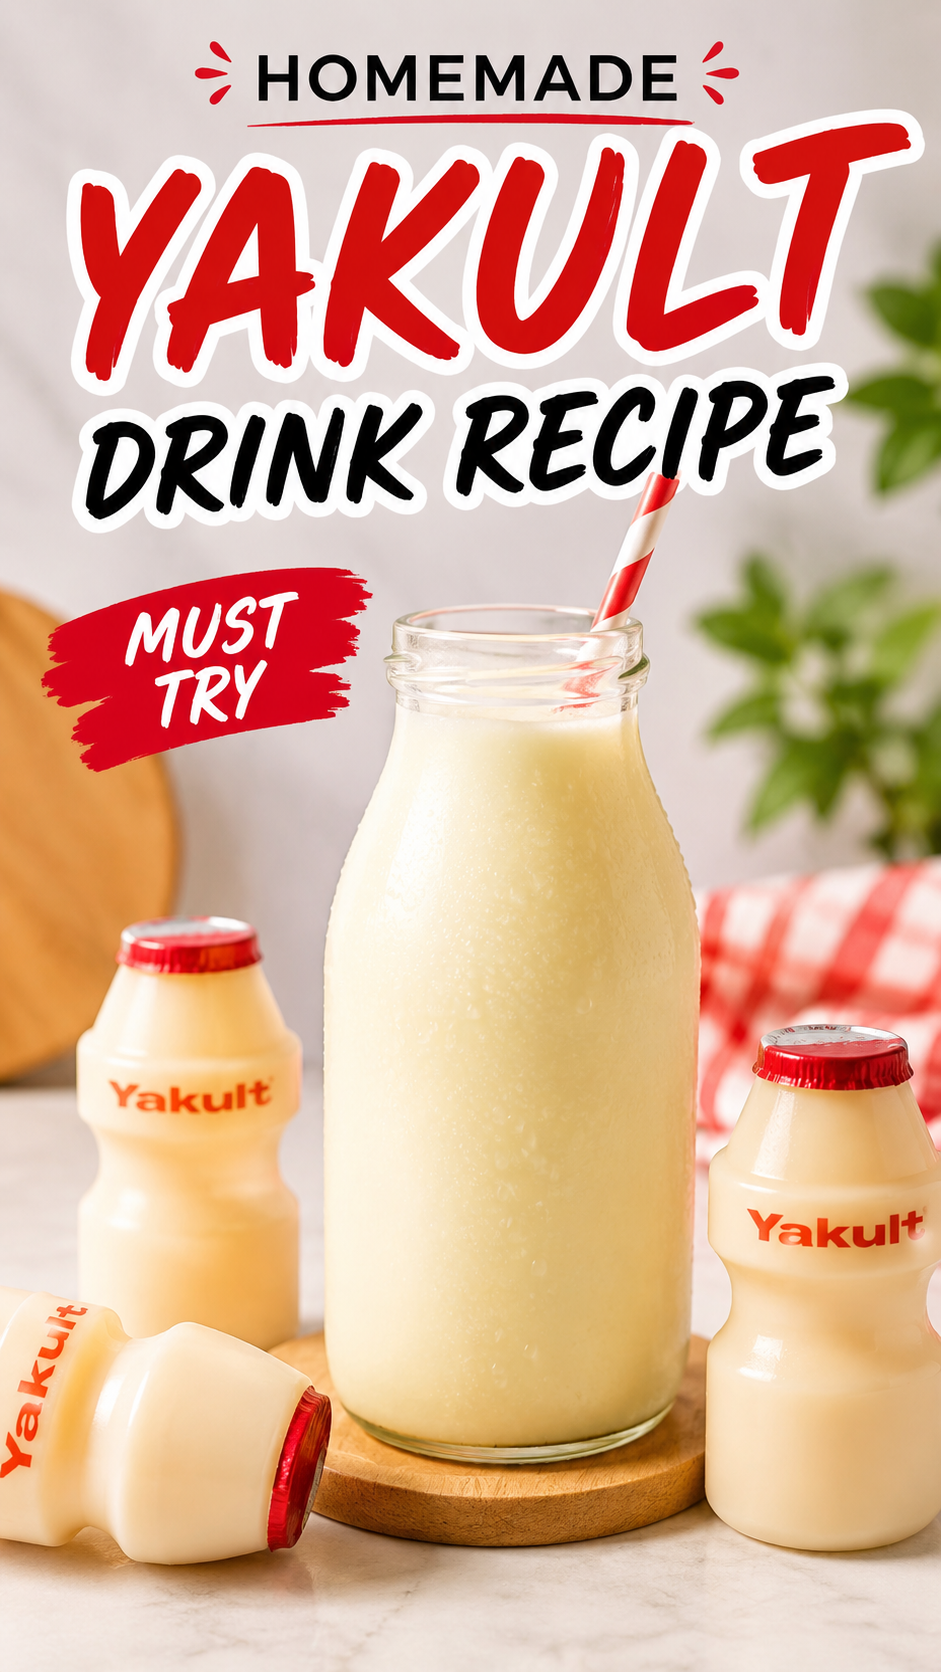
Did you know that tiny Yakult bottle has been around since 1935?
Yeah, that little probiotic drink you find in the fridge section is almost 90 years old.
And once I found out how simple it actually is to make at home, I felt a little silly for buying it in packs of five for years.
This homemade version tastes shockingly close to the original. Sweet, tangy, a little fizzy if you let it ferment right, and packed with the same probiotic punch.
I made it for the first time on a random Tuesday because I ran out of my stash and refused to leave the house. Best decision ever.
Side Note: If you love easy homemade drinks, you’ll probably like my electrolyte drink recipe too.
What You’ll Need
Here’s everything that goes into this recipe. Nothing fancy, I promise.
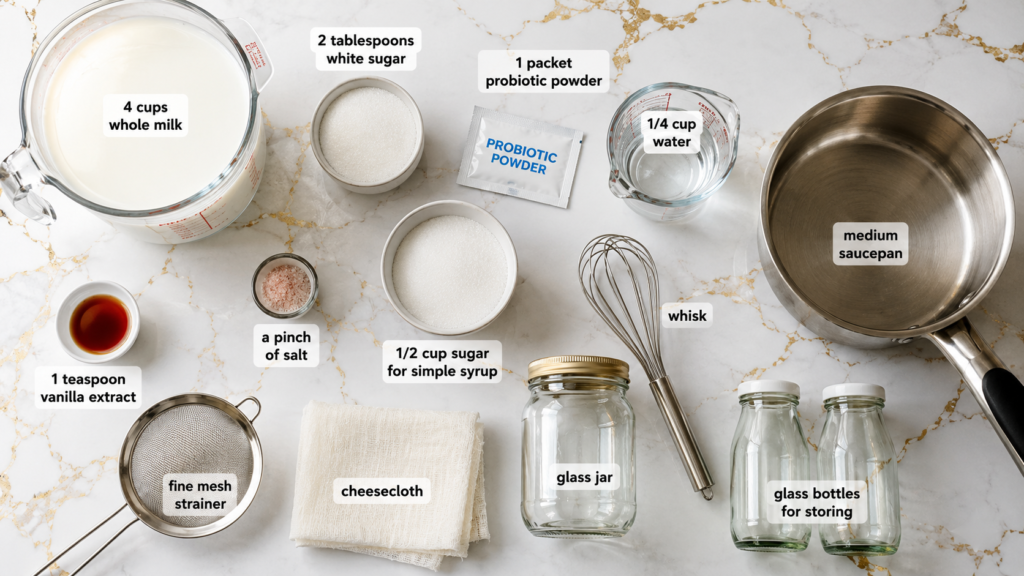
- 4 cups whole milk
- 2 tablespoons white sugar (plus more for the syrup)
- 1 packet probiotic powder OR 2 tablespoons plain yogurt with live cultures
- 1/4 cup water
- 1/2 cup sugar (for the simple syrup)
- 1 teaspoon vanilla extract (optional, but I never skip it)
- Pinch of salt
That’s it. Seven ingredients, most of which are already in your kitchen.
Tools You’ll Need
- Medium saucepan
- Whisk
- Glass jar or fermenting container
- Cheesecloth or a clean kitchen towel
- Fine mesh strainer
- Airtight bottles for storing
How to Make Homemade Yakult
Step 1: Heat the Milk
Pour your milk into a saucepan and heat it gently over medium-low heat.
You want it warm, not boiling. Around 180°F if you have a thermometer.
This step kills off any unwanted bacteria so your good probiotics can do their thing without competition.
Step 2: Cool It Down
Let the milk cool to about 110°F. This part matters more than people think.
Too hot, and you’ll kill your probiotics before they even start working. Too cold, and they won’t activate properly.
I usually just wait until it feels like warm bathwater when I dip a clean finger in.
Step 3: Add the Probiotics
Whisk in your probiotic powder or yogurt with live cultures.
Whisk gently but thoroughly. You want it fully combined, no clumps hiding at the bottom.
Step 4: Let It Ferment
Pour the mixture into your glass jar, cover with cheesecloth, and secure with a rubber band.
Let it sit somewhere warm (around 100°F is ideal) for 24 hours. I usually stick mine in the oven with just the oven light on.
The longer it ferments, the tangier it gets. 24 hours gives you that classic Yakult tang without going overboard.
Step 5: Make the Simple Syrup
While your milk ferments, combine 1/2 cup sugar and 1/4 cup water in a small pot.
Heat until the sugar dissolves completely, then let it cool.
Step 6: Strain and Sweeten
Once fermentation is done, strain your mixture through a fine mesh strainer to remove any curds.
Stir in your simple syrup, vanilla, and a pinch of salt to taste.
Step 7: Chill and Serve
Pour into bottles and refrigerate for at least 2 hours before drinking.
It tastes even better ice cold, straight out of a tiny glass, just like the real thing.
Pro Tips
- Use whole milk, not skim. The fat content gives you that creamy mouthfeel Yakult is known for.
- Don’t skip the cooling step. Adding probiotics to hot milk basically kills them instantly, and then you’re just making warm sweet milk for nothing.
- Taste as you sweeten. Everyone’s tolerance for tang is different, so add your syrup slowly until it hits that sweet spot.
- Sanitize your jar. A quick rinse with boiling water before you start keeps unwanted bacteria out of the mix.
- Give it time. If your first batch tastes more like sweetened milk than Yakult, let it ferment a few hours longer next time.
Substitutions and Variations
| Original | Substitute | Notes |
|---|---|---|
| Whole milk | Oat milk or coconut milk | Great for a dairy-free version, texture will be slightly thinner |
| White sugar | Honey or maple syrup | Adds a different flavor note, still works great |
| Probiotic powder | Kefir grains | Gives a slightly different tang, more sour |
| Vanilla extract | Lemon zest | Adds brightness instead of warmth |
Make Ahead Tips
This drink actually gets better after a day or two in the fridge, so making it ahead works in your favor.
Just store it in airtight bottles and give it a good shake before serving since the ingredients can settle.
I usually make a double batch on Sundays so I have enough for the whole week.
Nutritional Breakdown (Per 100ml Serving)
- Calories: around 65
- Protein: 2g
- Carbohydrates: 11g
- Fat: 1.5g
- Live probiotic cultures: yes, and that’s the whole point
Keep in mind this can shift depending on what milk and sweetener you use.
Meal Pairings
This little drink pairs surprisingly well with:
- Spicy foods, since the tang helps cut through heat
- Light breakfasts like granola or toast
- Afternoon snacks when you need something refreshing but not heavy
Leftovers and Storage
Store your homemade Yakult in the fridge for up to 5 days in an airtight bottle.
I wouldn’t push it much past that since it’s a live culture drink, and freshness really does affect both flavor and probiotic potency.
Freezing isn’t recommended. It changes the texture completely once thawed.
FAQ
Is homemade Yakult as effective as store-bought?
It contains live probiotic cultures just like the original, though the exact strain (Lactobacillus casei Shirota) used in the actual Yakult brand is patented and hard to replicate exactly at home.
Why did my batch turn out grainy?
That usually means it fermented a bit too long or too hot. Curdling happens when the milk proteins break down too much.
Can I make this vegan?
Yes. Swap the milk for a plant-based option and use a vegan probiotic supplement instead of dairy-based cultures.
How long does fermentation actually take?
Anywhere from 18 to 24 hours depending on your kitchen’s temperature. Warmer spots ferment faster.
Can kids drink this?
Generally yes, since it’s essentially fermented milk with sugar, but check with your pediatrician if your child has any dairy sensitivities.
Wrapping Up
There’s something pretty satisfying about making a drink at home that you’ve bought off a shelf your whole life.
Once you get the hang of the fermentation timing, this becomes one of those recipes you’ll make on repeat.
Give it a try this week and let me know in the comments how your batch turned out. And if you have any questions along the way, drop them below, I read every single one.