Can a cake made in the microwave actually have a molten center? I didn’t believe it either.
I made this one on a random Tuesday night, mostly out of desperation. No oven wanted to be preheated. No energy for cleanup. Just a chocolate craving that showed up uninvited around 9pm.
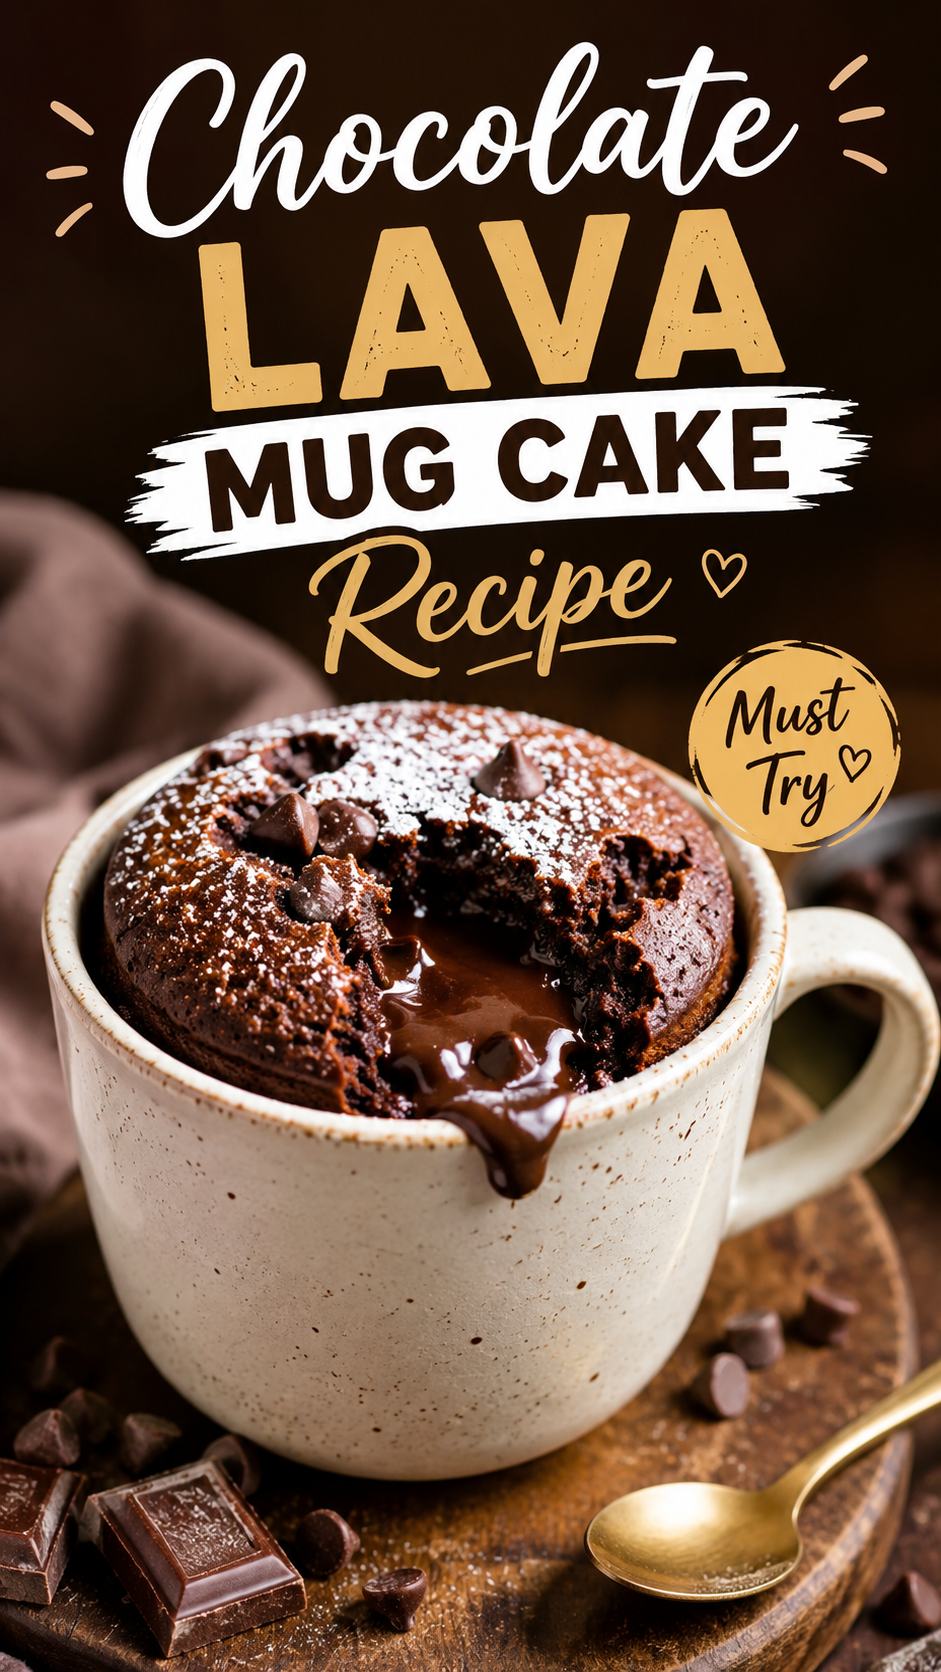
Ninety seconds later, I was staring into a mug with lava pouring out of the middle. 🍫
I’ve made this probably thirty times since then. It works every single time, which honestly still surprises me a little.
This isn’t one of those “microwave cake” recipes that turns out dense and weird and tastes like a sad rubber puck. This one has a real crackly top, a soft cake layer, and a center that oozes when you dig your spoon in.
Let’s get into it.
What You’ll Need
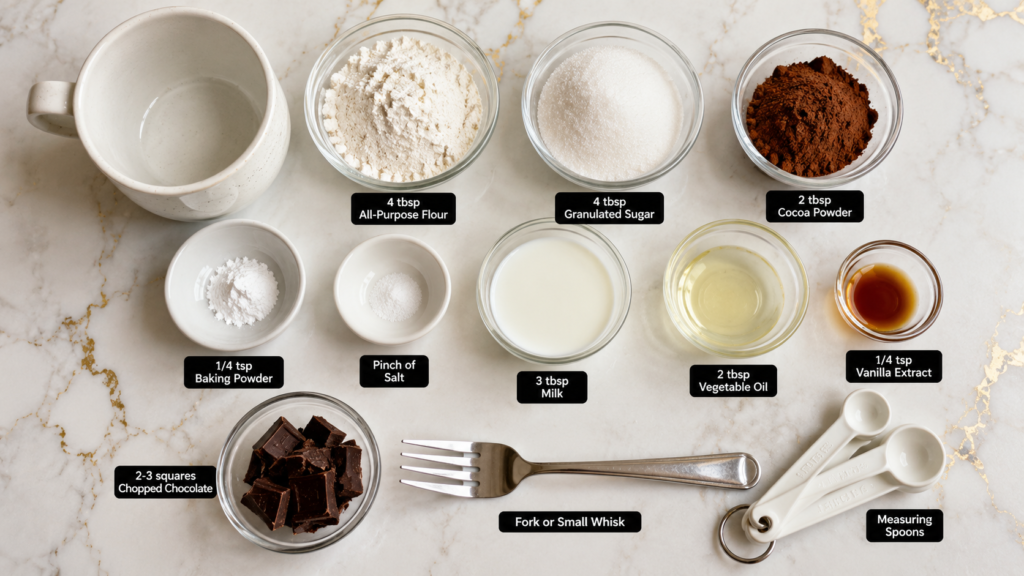
Here’s everything going into this mug:
- 4 tbsp all-purpose flour
- 4 tbsp granulated sugar
- 2 tbsp unsweetened cocoa powder
- 1/4 tsp baking powder
- Pinch of salt
- 3 tbsp milk (whole milk works best)
- 2 tbsp vegetable oil
- 1/4 tsp vanilla extract
- 2-3 squares of chocolate (semi-sweet or dark, roughly chopped)
That’s it. Nine ingredients, most of which are already sitting in your pantry.
Tools You’ll Need
- A microwave-safe mug (12 oz or larger, so it doesn’t overflow)
- A fork or small whisk
- Measuring spoons
- A spoon for eating (obviously)
Pro Tips
1. Don’t skip the chopped chocolate in the center. This is the actual lava. Without it, you just get a plain mug cake. The chocolate melts into a pool while everything around it sets.
2. Use a wide mug, not a tall skinny one. A wider mug means the batter cooks more evenly. Tall mugs tend to cook the edges into rubber before the middle even warms up.
3. Stop the microwave a little early if you’re unsure. Every microwave is different. Start checking at 60 seconds. The top should look just set but still slightly wet in the very center.
4. Let it sit for 60 seconds before eating. I know. I know. But that center is basically molten sugar and chocolate, and you will regret not waiting.
5. Grease the mug first. A light coat of butter or oil on the inside makes cleanup so much easier, and it helps the cake pull away from the sides a bit as it cooks.
How to Make It
Step 1: Mix the dry ingredients. In your mug, whisk together the flour, sugar, cocoa powder, baking powder, and salt until there are no lumps.
Step 2: Add the wet ingredients. Pour in the milk, oil, and vanilla. Stir until you get a smooth, thick batter with no dry streaks.
Step 3: Bury the chocolate. Push your chopped chocolate pieces down into the center of the batter. Don’t stir them in, just tuck them under the surface.
Step 4: Microwave. Cook on high for 70-90 seconds, depending on your microwave’s wattage. The edges should look fully set and the very center should still look slightly underdone.
Step 5: Rest, then dig in. Let the mug sit for 60 seconds. This lets the lava center settle so it doesn’t burn your tongue off.
Substitutions and Variations
| Original Ingredient | Swap Option | Notes |
|---|---|---|
| All-purpose flour | Gluten-free 1:1 blend | Texture stays close to the original |
| Vegetable oil | Melted butter | Adds a richer flavor |
| Whole milk | Oat or almond milk | Works fine, slightly less rich |
| Semi-sweet chocolate | Peanut butter chips | Different but honestly amazing |
| Granulated sugar | Coconut sugar | Slightly less sweet, deeper flavor |
Want a peppermint version? Add a drop of peppermint extract and swap the center chocolate for a mint chocolate square. Feeling extra? Toss in a spoonful of Nutella instead of the chopped chocolate for a hazelnut lava center.
Make-Ahead Tips
You can pre-mix the dry ingredients (flour, sugar, cocoa, baking powder, salt) in small containers or bags ahead of time. Keep a few of these ready in your pantry.
When the craving hits, just add the wet ingredients and chocolate, then microwave. This turns a 5-minute process into a 90-second one.
Nutritional Breakdown (Per Serving)
These numbers are estimates, not lab-tested figures. They’ll shift depending on your exact ingredients.
| Nutrient | Amount |
|---|---|
| Calories | ~380 |
| Total Fat | 18g |
| Carbohydrates | 52g |
| Sugar | 34g |
| Protein | 5g |
| Sodium | 190mg |
Meal Pairings
This mug cake works well after:
- A weeknight pasta dinner
- A light salad-based meal (balances out the richness)
- A cup of black coffee or espresso, which cuts through the sweetness nicely
Storage and Reheating
Honestly, this one is best eaten fresh, right out of the microwave, lava and all.
If you do have leftovers (rare, but it happens), cover the mug and refrigerate for up to 2 days. Reheat in the microwave for 15-20 seconds to soften it back up. It won’t have the same molten center the second time around, but it’s still good.
FAQ
Can I double the recipe? Yes, just use a larger mug or bowl and add about 20-30 extra seconds of cook time. Check it in 10-second increments near the end.
Why did my cake come out rubbery? This usually means it was overcooked. Microwaves vary a lot in strength, so start checking at 60 seconds the first time you make it.
Can I make this without a microwave? You can bake it in an oven-safe ramekin at 350°F for about 12-14 minutes, but the texture will be closer to a traditional lava cake than a mug cake.
Is there a way to make this dairy-free? Swap the milk for oat or almond milk, use oil instead of butter, and pick a dairy-free chocolate for the center.
Why is my center not gooey? Either the chocolate wasn’t buried deep enough, or it cooked a touch too long. Both are easy fixes for next time.
Wrapping Up
This is one of those recipes that solves a very specific problem: you want chocolate cake right now, and you don’t want to deal with an oven, a mixer, or a sink full of dishes.
Give it a try tonight. Then come back and let me know how your lava center turned out, and if you tried any of the variations, I’d love to hear which one you picked.