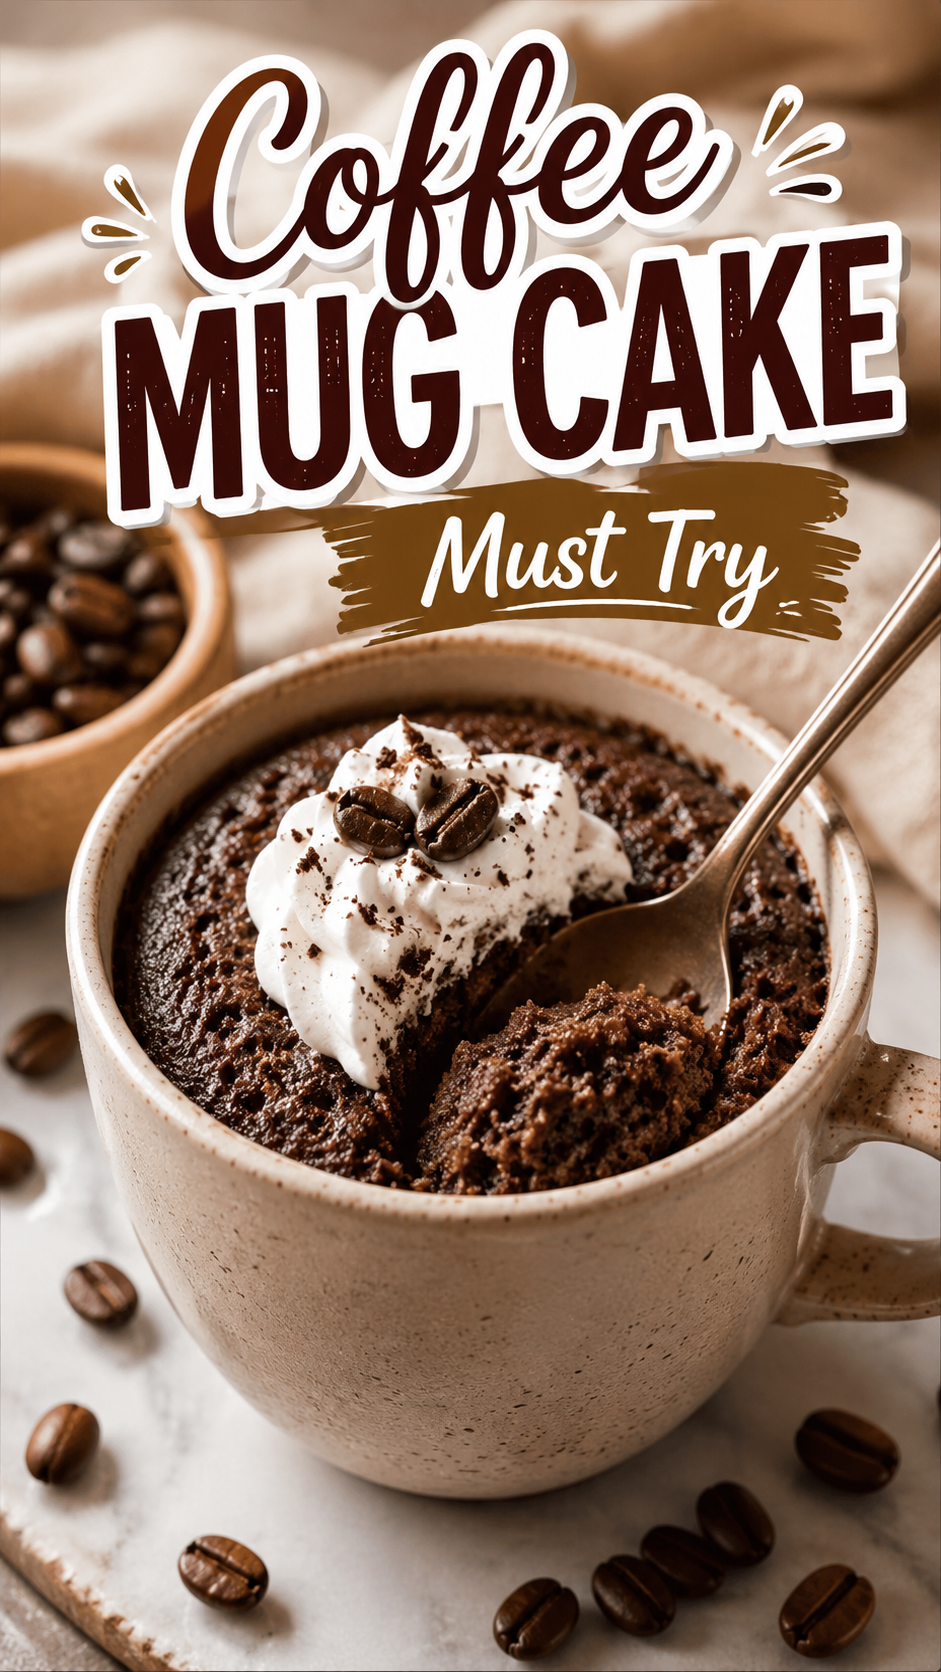
I burned my first mug cake so badly the kitchen smelled like a campfire for two days.
My husband Silas walked in, looked at the black brick in my microwave, and just said “so that’s a no then.”
That was three years ago. I’ve made this exact recipe probably 200 times since, and I’ve never burned it again. 🙂
Here’s the thing about mug cakes. Everyone treats them like a joke recipe. Something you make once for a laugh and never again.
But this one? This one is actually good. Like, “wait, I made this in a microwave?” good.
And it happens to taste like a coffee shop pastry, minus the $6 price tag and the drive.
Let’s get into it.
Why This Recipe Actually Works
Most mug cakes fail for one reason. Too much flour, not enough fat, and a microwave that cooks everything unevenly.
This recipe fixes all three.
The espresso powder does double duty here. It doesn’t just flavor the cake, it also deepens the chocolate flavor if you’re adding cocoa, which most great bakers already know is a classic trick.
The oil (not butter) keeps things moist even after 90 seconds of radiation exposure. And the exact ratio of flour to liquid means it rises like a real cake instead of turning into a rubbery hockey puck.
I tested this recipe more times than I’d like to admit, mostly late at night, mostly in my pajamas. That’s the real story behind Chasing Foxes recipes. Lots of trial. Lots of error. Occasional smoke alarms.
What You’ll Need
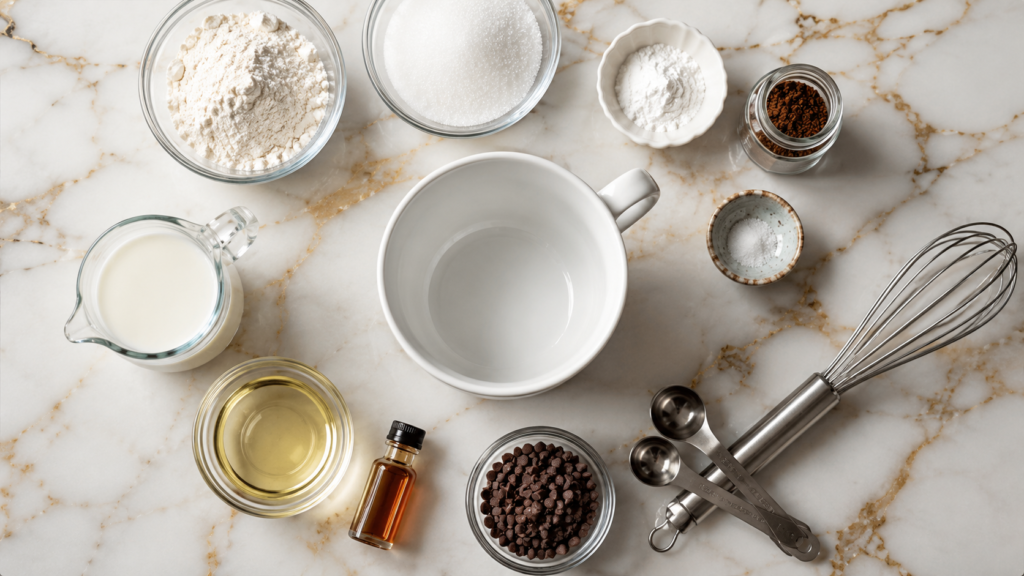
Here’s everything you’ll need for one mug cake. This recipe is easy to double if you’re feeding two people, or your future self at 9pm.
- 4 tablespoons all purpose flour
- 3 tablespoons granulated sugar
- 1/4 teaspoon baking powder
- 1/2 teaspoon instant espresso powder
- Pinch of salt
- 3 tablespoons milk (any kind works)
- 2 tablespoons neutral oil (vegetable or canola)
- 1/4 teaspoon vanilla extract
- 2 tablespoons mini chocolate chips (optional, but come on)
That’s it. Nine ingredients, most of which are probably already in your pantry right now.
Tools You’ll Need
- A large microwave safe mug (12 oz or bigger, trust me on this)
- A small whisk or fork
- Measuring spoons
- A microwave
No mixer, no oven, no cleanup marathon. This is the whole point.
Pro Tips From Someone Who Has Burned This Cake Before
- Use a bigger mug than you think you need. This batter rises fast, and a small mug means cake all over your microwave. I learned this the hard way, twice.
- Whisk the dry ingredients first, separately, before adding anything wet. Skipping this step is how you end up with a pocket of pure baking powder in one bite. Not a fun surprise.
- Don’t walk away while it cooks. Microwaves vary a lot, and 90 seconds in mine might be 75 seconds in yours. Stand there and watch it through the door like a weirdo. It’s worth it.
- Let it sit for one full minute after cooking. I know this is the hardest instruction in this entire post. The center keeps cooking from residual heat, and pulling it too early gives you a gooey mess instead of a set, fluffy cake.
- Add the chocolate chips halfway through cooking, not before. Toss them in after about 45 seconds. They stay gooey instead of melting completely into the batter.
How to Make It
- Add the dry ingredients to your mug. Flour, sugar, baking powder, espresso powder, and salt. Whisk them together with a fork until there are no lumps.
- Pour in the wet ingredients. Milk, oil, and vanilla. Whisk until the batter is smooth and no dry streaks remain.
- Fold in half the chocolate chips, if using. Save the rest for later.
- Microwave on high for 60 seconds. Watch it rise through the door. It should look puffed and mostly set.
- Add the remaining chocolate chips on top, then microwave for another 15 to 30 seconds, depending on your microwave’s strength.
- Let the mug sit for 1 minute before touching it. This step matters more than you’d think.
- Eat straight from the mug, or turn it out onto a small plate if you’re feeling fancy. Both are correct.
Substitutions and Variations
This recipe is forgiving, which is exactly why I keep coming back to it.
| Original Ingredient | Swap Option | Why It Works |
|---|---|---|
| All purpose flour | 1:1 gluten free flour blend | Keeps the same texture, no adjustments needed |
| Granulated sugar | Brown sugar | Adds a deeper, caramel like flavor |
| Milk | Oat milk or almond milk | Works the same, no changes needed |
| Vegetable oil | Melted coconut oil | Adds a slight coconut flavor, still moist |
| Espresso powder | Skip it entirely | Turns this into a plain vanilla mug cake |
| Chocolate chips | Chopped nuts or dried fruit | Different texture, still delicious |
Want a mocha version? Add 1 extra teaspoon of espresso powder. Want it less sweet? Cut the sugar down to 2 tablespoons. This recipe bends around your mood, which is honestly the whole appeal of it.
Make Ahead Tips
You can pre-mix the dry ingredients (flour, sugar, baking powder, espresso powder, salt) and store them in a small jar or bag. That way when the craving hits, you just add the wet ingredients and go.
I keep three of these dry mixes in my pantry at all times. Future me is always grateful.
Nutrition and Pairing
A rough estimate for one mug cake comes in around 350 to 400 calories, depending on your chocolate chip generosity.
Note: These numbers are estimates only. I’d recommend running the exact recipe through Cronometer before treating this as gospel, especially if you’re tracking macros closely.
As for pairing, this cake was basically built for coffee. A shot of espresso or a plain black coffee cuts through the sweetness nicely. If you want something colder, a splash of cold brew over ice works surprisingly well too.
Leftovers and Storage
Mug cakes are best eaten immediately, no question. But if you somehow have willpower and leftovers:
- Store covered at room temperature for up to 1 day.
- Refrigerate for up to 3 days, covered.
- Reheat in the microwave for 15 to 20 seconds to bring back that fresh, warm texture.
I won’t lie to you though. This cake rarely survives long enough to need storage instructions.
FAQ
Can I make this without a microwave? Yes, but the texture changes. Bake it in an oven safe mug at 350°F for about 15 to 18 minutes instead.
Why did my mug cake overflow? Your mug was probably too small, or your microwave runs hotter than average. Use a bigger mug and check it at the 45 second mark next time.
Can I use a regular coffee mug instead of a special ramekin? Absolutely. Any microwave safe mug works. Just make sure it doesn’t have metallic trim.
Is this recipe kid friendly? Very much so, minus the espresso powder if you want to skip caffeine entirely for little ones.
Can I double this recipe in one mug? I don’t recommend it. Doubling in a single mug usually leads to an uneven cook, with a raw center and a burnt top. Make two mugs instead.
Wrapping Up
This mug cake has saved more late nights than I can count, and honestly, it’s one of the recipes I make on autopilot at this point.
It’s quick, it’s forgiving, and it tastes like something you’d pay way too much for at a coffee shop.
Give it a try this week, and let me know in the comments how yours turned out. Did you add extra chocolate chips? Skip the espresso powder? I want to hear all of it.
Looking for more quick treats? Check out [this related dessert recipe] on Chasing Foxes.