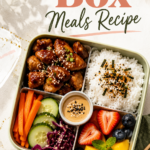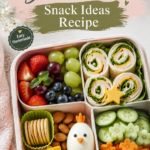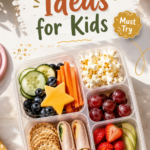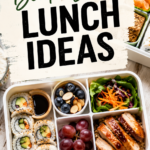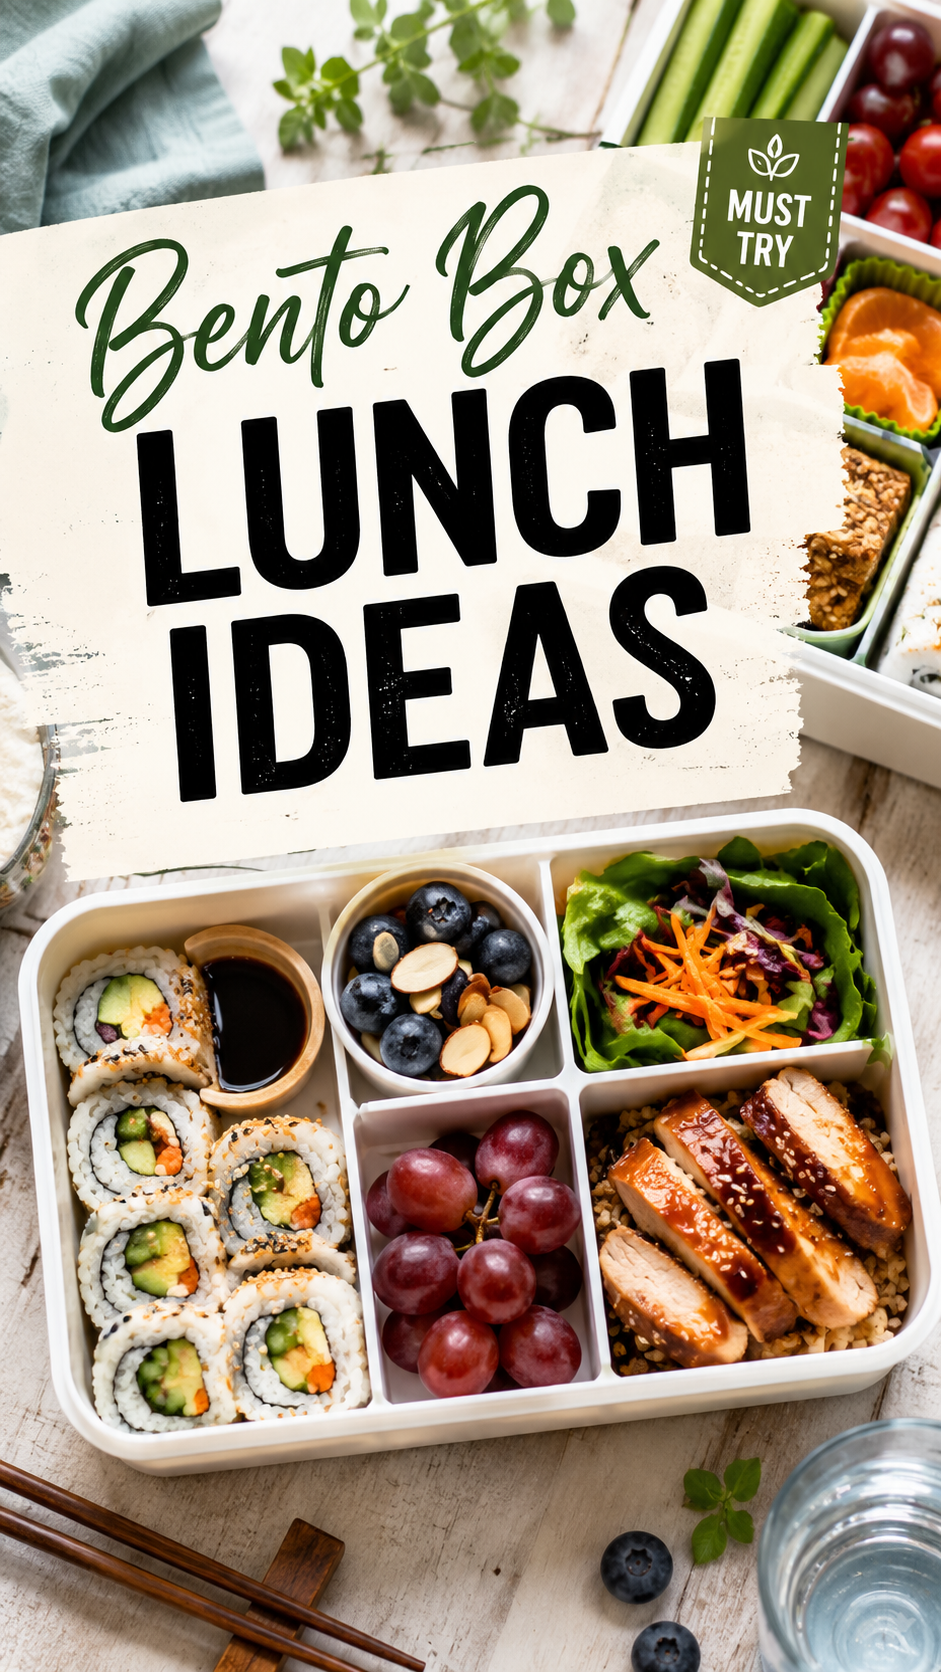
I used to think bento boxes were just a cute Pinterest thing. 📦
Then I made one for myself on a random Tuesday and never went back to sad desk lunches again.
There’s a whole science to building one that actually keeps you full, doesn’t get soggy by noon, and looks good enough that your coworkers ask what app you used to order it.
Spoiler: no app. Just a box, some planning, and about 20 minutes.
Here’s exactly how I build mine, plus every trick I picked up from making these way too many times.
What You’ll Need
Think of this as your bento “pantry.” You won’t use everything every time, but this is the rotation I pull from.
Protein (pick 1-2):
- 2 cups cooked chicken, cubed or shredded
- 4 hard-boiled eggs
- 1 cup edamame, shelled
- 1/2 cup chickpeas, roasted
- 4 oz baked tofu, cubed
Carb base (pick 1):
- 1.5 cups cooked white or brown rice
- 1 cup cooked quinoa
- 1 whole wheat wrap, sliced into pinwheels
- 1 cup cooked pasta (small shapes hold up best)
Veggies (pick 2-3):
- 1 cup cherry tomatoes, halved
- 1 cucumber, sliced
- 1 cup shredded carrots
- 1 cup steamed broccoli
- 1 bell pepper, sliced
Fruit (pick 1-2):
- 1 cup grapes
- 1 apple, sliced
- 1 cup berries
- 1 clementine, peeled and separated
The fun stuff:
- Small block of cheese, cubed
- A few crackers
- A tablespoon of nut butter for dipping
- A small square of dark chocolate
Tools You’ll Need
- A bento box with dividers (I’m partial to the ones with 3-4 compartments)
- A small sauce container for dips or dressing
- Sharp knife for clean slices
- Melon baller if you’re feeling fancy with fruit
Pro Tips From Making Way Too Many of These
1. Cook your carbs the night before. Warm rice creates steam, and steam is the enemy of a good bento box. Let everything cool completely before it goes anywhere near the lid.
2. Cut everything roughly the same size. Sounds small, but it makes the box look intentional instead of thrown together. Uniform bites also just taste better together.
3. Keep wet and dry separate. Anything with dressing or sauce gets its own little container. The second sauce touches your crackers, it’s over.
4. Pack tightest ingredients first. Start with your protein and carb since they hold their shape, then fill gaps with veggies and fruit last.
5. A little acid goes a long way. A squeeze of lemon on cut apples or avocado keeps things from browning by lunchtime. Small move, huge payoff.
How to Build Your Bento (Step by Step)
Step 1: Cook your protein and carb of choice the night before. Store them separately in the fridge once cooled.
Step 2: Wash and slice your veggies and fruit. Pat everything dry so no extra moisture ends up in the box.
Step 3: Add your carb base to the largest compartment first.
Step 4: Add your protein next to it, not on top. Layering traps steam even when things are cold.
Step 5: Fill the remaining compartments with veggies, then fruit.
Step 6: Tuck in your extras like cheese, crackers, or a small dip container.
Step 7: Add any sauce or dressing to its own tiny container, sealed separately.
Step 8: Close it up and refrigerate until you’re ready to eat or head out the door.
That’s genuinely it. Once you’ve done it twice, it takes less time than waiting in a lunch line.
Substitutions and Variations
- Low carb: Swap rice or pasta for extra veggies or a scoop of hummus.
- Vegetarian: Lean on eggs, edamame, chickpeas, and cheese for protein.
- Vegan: Baked tofu, edamame, and roasted chickpeas work great here, just skip the cheese and eggs.
- Kid-friendly: Cut everything into fun shapes and add a small container of ranch. Kids eat with their eyes first.
- Higher protein: Double up on chicken or eggs and cut the carb portion slightly.
Make-Ahead Tips
You can prep almost all of this on a Sunday.
Cook your proteins and carbs in bulk and store them in separate containers for up to 4 days.
Wait to cut fruit until the morning you’re packing it, since some fruits brown fast even with lemon juice.
Assemble the full box the night before or morning of, whichever fits your schedule better.
A Few Extra Details Worth Knowing
Nutrition ballpark per box: roughly 400-550 calories depending on your protein and carb choices, with a solid mix of protein, fiber, and healthy fats if you’re using nut butter or avocado.
Meal pairing: A small thermos of soup on colder days turns this into a full meal without much extra effort.
Time-saving move: Cook a big batch of rice or quinoa once a week and portion it out. Same goes for hard-boiled eggs, they keep for about a week in the fridge.
Leftovers and Storage
Unassembled ingredients keep in the fridge for 3-4 days in separate containers.
Once assembled, eat your bento within 24 hours for the best texture, especially with anything crunchy like crackers or fresh veggies.
Skip freezing a fully assembled box. Veggies and fruit turn mushy once thawed and it’s not worth the disappointment.
FAQ
Can I pack a bento box the night before? Yes, just keep sauces separate and store the box in the fridge overnight.
Will the rice or pasta go bad without a fridge for a few hours? It’s fine for 2-3 hours at room temperature. Beyond that, an ice pack in your bag is a smart move.
Do I need a special bento box? Any container with dividers works. The dividers matter more than the brand.
How do I keep fruit from browning? A squeeze of lemon or lime juice right after cutting slows it down significantly.
Can kids help make these? Definitely, the assembly step is a great one to hand off once everything’s prepped.
Wrapping Up
A good bento box turns lunch into something you actually look forward to instead of something you scramble to figure out at 11:45am.
Pick two or three combos from this list, prep once, and you’ve basically solved lunch for the whole week.
Try one of these and let me know in the comments which combo you went with. And if you’ve got a bento hack of your own, I want to hear it.