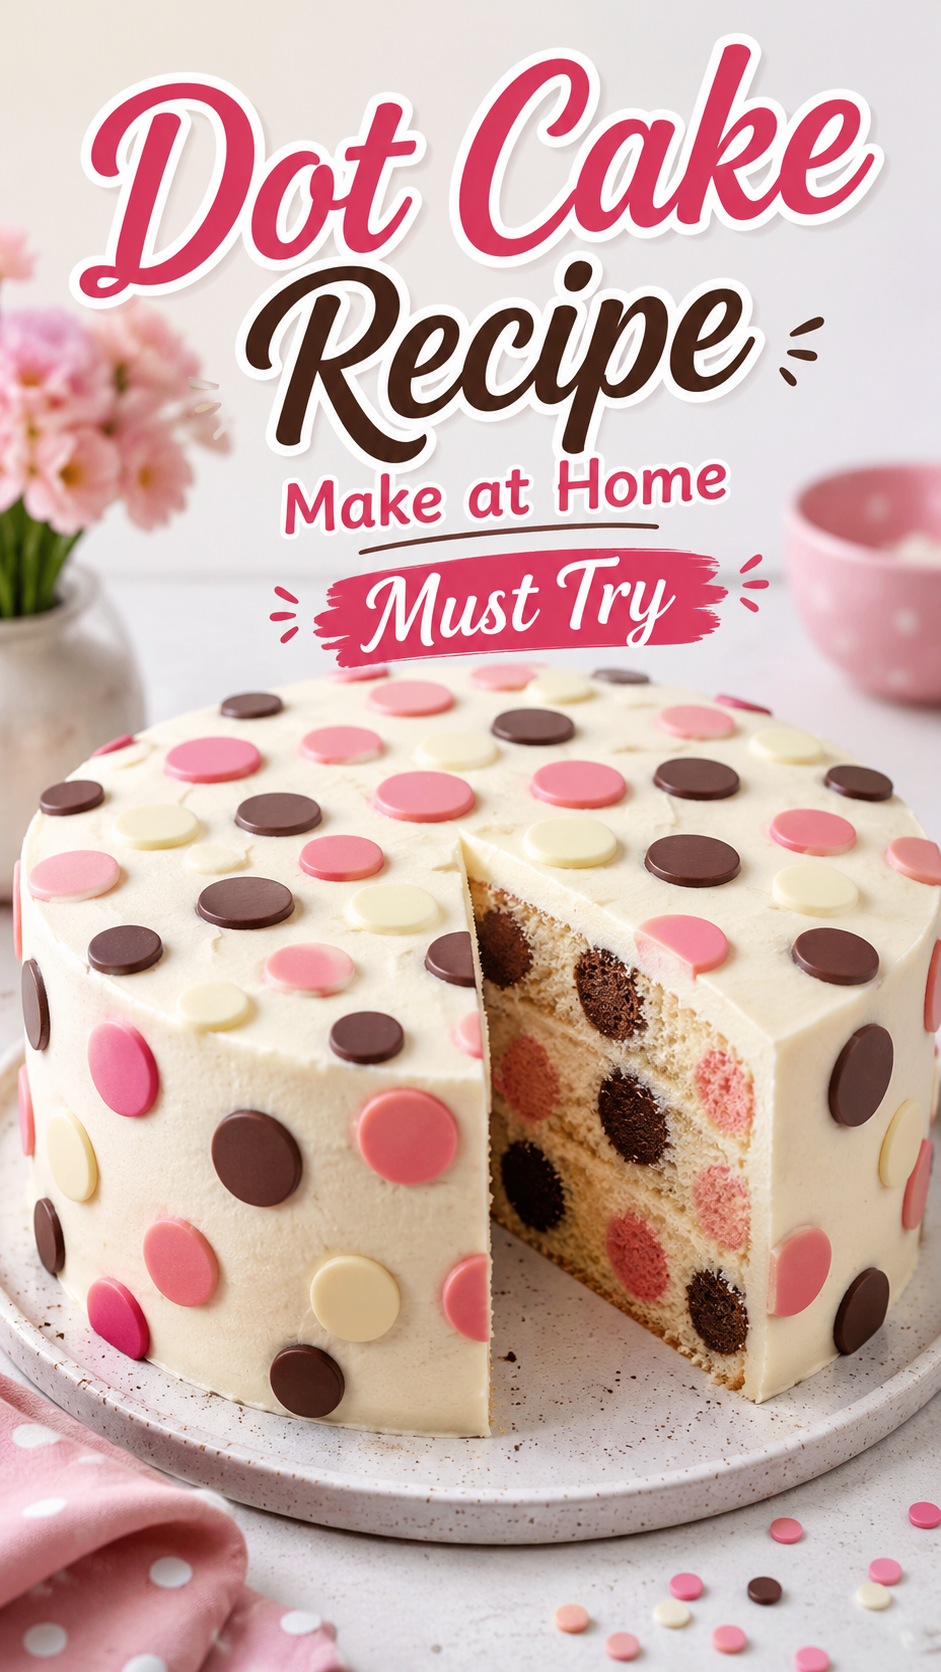
Have you seen the little cake cups covered edge to edge in rainbow sprinkles all over your feed lately?
That’s the Dot Cake. And people are lining up around the block in New York just to pay $11 for one.
I watched about six of these videos in a row before I finally said out loud, “okay, I need to make this.” Silas walked by, saw my screen full of sprinkle cups, and just said, “here we go again.”
He wasn’t wrong. But this one was worth it.
The Dot Cake started at a tiny bakery on Long Island, then blew up even bigger once a grocery store in Manhattan started selling them. Now there’s a two-cake limit per customer and they sell out within the hour.
Good news: you don’t need a plane ticket or a spot in line. You need a mixing bowl, some cups, and a genuinely embarrassing amount of sprinkles.
Let’s get into it.
What Even Is a Dot Cake?
It’s a single-serving cake, baked or cut into small rounds, layered inside a cup with frosting, and then completely coated in tiny round sprinkles called nonpareils.
Think of it as a mini birthday cake that fits in your hand.
The magic is really in that top layer. You get this satisfying crunch of sprinkles, then straight into soft cake and creamy frosting underneath. It’s a texture thing as much as a flavor thing.
And once you make a batch at home, you’ll understand exactly why people are obsessed. It’s genuinely fun to eat.
What You’ll Need
For the Vanilla Cake
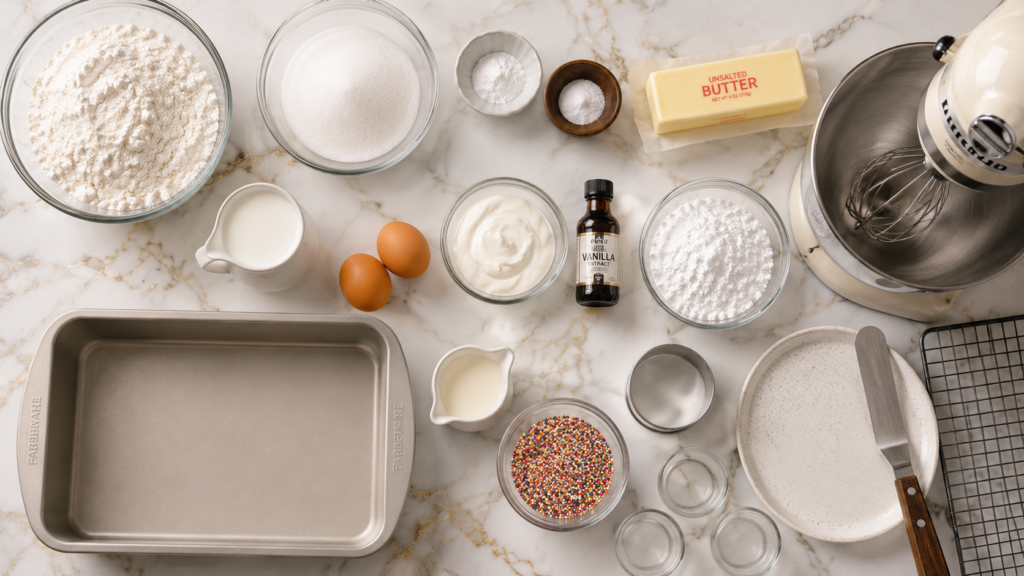
- 1 ½ cups all-purpose flour
- 1 cup granulated sugar
- 1 ½ tsp baking powder
- ¼ tsp salt
- ½ cup unsalted butter, softened
- 2 large eggs
- ½ cup whole milk
- ¼ cup sour cream
- 1 tsp vanilla extract
For the Buttercream
- 1 cup unsalted butter, softened
- 3 cups powdered sugar
- 2 tbsp heavy cream
- 1 tsp vanilla extract
- Pinch of salt
For the Topping
- 1 ½ cups rainbow nonpareil sprinkles (the tiny round ones, not the long jimmies)
Tools You’ll Need
- 9×13 baking pan
- Mixing bowls
- Hand mixer or stand mixer
- 2.5 to 3 inch round cutter (or use your cups as the cutter)
- Small cups, jars, or ramekins (4 to 8 oz size works great)
- Offset spatula or spoon
- Shallow plate or bowl for the sprinkles
- Wire cooling rack
Pro Tips
1. Bake the cake thin. A thinner cake gives you more layers per cup, which means more frosting to sprinkle ratio in every bite. Aim for about ¾ inch thick.
2. Don’t skimp on the frosting layer on top. The sprinkles need something to stick to. If your top layer of frosting is too thin, you’ll get bald patches once you press it into the sprinkles.
3. Use a flat-bottomed cup as your cutter. It gives you a clean edge and doubles as a guide for exactly how big your cake rounds need to be. Just don’t press an upside-down ramekin straight down like a cookie cutter. The dull edge will smush your cake instead of cutting it.
4. Chill before you dip. Popping your assembled cakes in the fridge for 10 minutes before adding sprinkles helps the frosting firm up just enough that the sprinkles actually stay put.
5. Pour your sprinkles onto a plate, not a bowl. A flat plate gives you way more surface area to press into, so you get even coverage instead of one sad clump of sprinkles in the middle.
How to Make Dot Cakes
Step 1: Bake the Cake
Preheat your oven to 350°F. Grease a 9×13 pan and line it with parchment.
In a medium bowl, whisk together the flour, baking powder, and salt.
In a separate bowl, beat the butter and sugar together until light and fluffy, about 2 to 3 minutes.
Add the eggs one at a time, mixing well after each one. Then mix in the vanilla and sour cream.
Alternate adding the dry ingredients and the milk, starting and ending with the dry mix. Mix just until combined. Overmixing here is how you end up with a dense cake, so stop as soon as you don’t see flour streaks.
Pour the batter into your prepared pan and spread it evenly. Bake for 20 to 24 minutes, or until a toothpick comes out clean.
Let the cake cool completely in the pan before moving to the next step. This part matters more than you’d think. A warm cake will fall apart when you try to cut clean rounds.
Step 2: Make the Buttercream
While the cake cools, beat the butter on its own for about 2 minutes until it’s pale and creamy.
Add the powdered sugar one cup at a time, mixing on low so you don’t send a sugar cloud across your kitchen.
Add the heavy cream, vanilla, and salt, then beat on high for another minute until it’s light and fluffy.
Step 3: Cut Your Cake Rounds
Once the cake is fully cooled, use your round cutter (or cup) to cut out circles.
You’ll need two rounds per cup for a layered look.
Save the scraps. Freeze them for a future batch of cake pops or just eat them straight off the cutting board. No judgment.
Step 4: Assemble
Place one cake round in the bottom of each cup.
Spread a thin layer of buttercream on top using a spoon or offset spatula.
Add the second cake round, then top it with a generous layer of frosting, smoothing it flat all the way to the edges.
Step 5: Add the Sprinkles
Pour your sprinkles onto a flat plate.
Flip your cup upside down and press the frosted top firmly into the sprinkles, twisting slightly so every bit of the surface gets coated.
Flip it back over and admire your work.
Repeat until every cup is dressed up.
Substitutions and Variations
| Original | Swap | Why It Works |
|---|---|---|
| Vanilla cake | Chocolate or red velvet | Same method, different flavor base |
| Vanilla buttercream | Cream cheese frosting | Adds tang, pairs great with funfetti |
| Rainbow nonpareils | Jimmies | Softer bite if you don’t love the crunch |
| Whole milk | Buttermilk | Adds a slightly tangier, richer crumb |
| Box cake mix | Homemade base above | Faster option if you’re short on time |
You can also swap the filling entirely. A thin layer of jam, Nutella, or even sliced strawberries between the cake layers takes this in a completely different direction. Just know that once you add fruit or jam, these need to live in the fridge instead of the counter.
Make Ahead Tips
You can bake the cake up to two days ahead. Wrap it tightly and keep it at room temperature.
The buttercream also holds well in the fridge for up to 3 days. Just bring it back to room temp and give it a quick re-whip before using.
Want to go further ahead? Freeze the unfrosted cake rounds for up to 2 months. Thaw them in the fridge overnight before assembling.
I would not recommend fully assembling these more than a few hours ahead though. The sprinkle colors can start to bleed into the frosting after about a day, and you lose that clean, dotted look that makes these so fun in the first place.
Estimated Nutrition (Per Dot Cake)
Based on a batch of 10 dot cakes
- Calories: approximately 340
- Carbohydrates: 42g
- Sugar: 30g
- Fat: 17g
- Protein: 3g
These are estimates only. I’d recommend running the exact recipe through Cronometer if you need precise numbers, especially if you’re tracking for dietary reasons.
Pairing Suggestions
These are rich, so a little goes a long way alongside:
- A cold glass of milk (classic for a reason)
- Iced coffee or a cold brew
- Fresh berries on the side to cut the sweetness
- A scoop of vanilla ice cream if you’re feeling extra
Storage and Leftovers
Fridge: Cover and store for up to 3 days. The frosting firms up nicely when chilled.
Room temperature: Fine for up to 2 hours if you’re serving at a party.
Freezer: Assembled dot cakes don’t freeze well because of the sprinkles and frosting texture. Instead, freeze the plain cake rounds and assemble fresh when you’re ready to serve.
FAQ
Can I use a box cake mix instead of baking from scratch? Yes. Any vanilla, funfetti, or chocolate box mix works fine here. The recipe is really more about assembly than the cake itself.
Do I need special cups? Not at all. Small mason jars, ramekins, or even sturdy paper cups all work. Just make sure they’re wide enough to fit your cake rounds.
Why did my sprinkles fall off? Your frosting layer was probably too thin, or you didn’t press firmly enough when dipping. A thicker frosting layer gives the sprinkles something solid to grip.
Can I make these for a big group? Definitely. One 9×13 cake will get you around 10 dot cakes depending on your cup size, so just double the batch for a bigger crowd.
Are these very sweet? Yes, they’re a genuinely sweet treat between the cake, frosting, and sprinkles. I’d serve these in smaller cups if you want something less intense.
Wrapping Up
There’s a reason this trend hasn’t slowed down. It’s genuinely satisfying to make, and even more satisfying to crack that spoon through the sprinkle layer.
Give this one a try this weekend and let me know how yours turned out in the comments below. I’d love to see what flavor combos you come up with too.
And if you run into any hiccups along the way, drop a question in the comments. I read every single one.