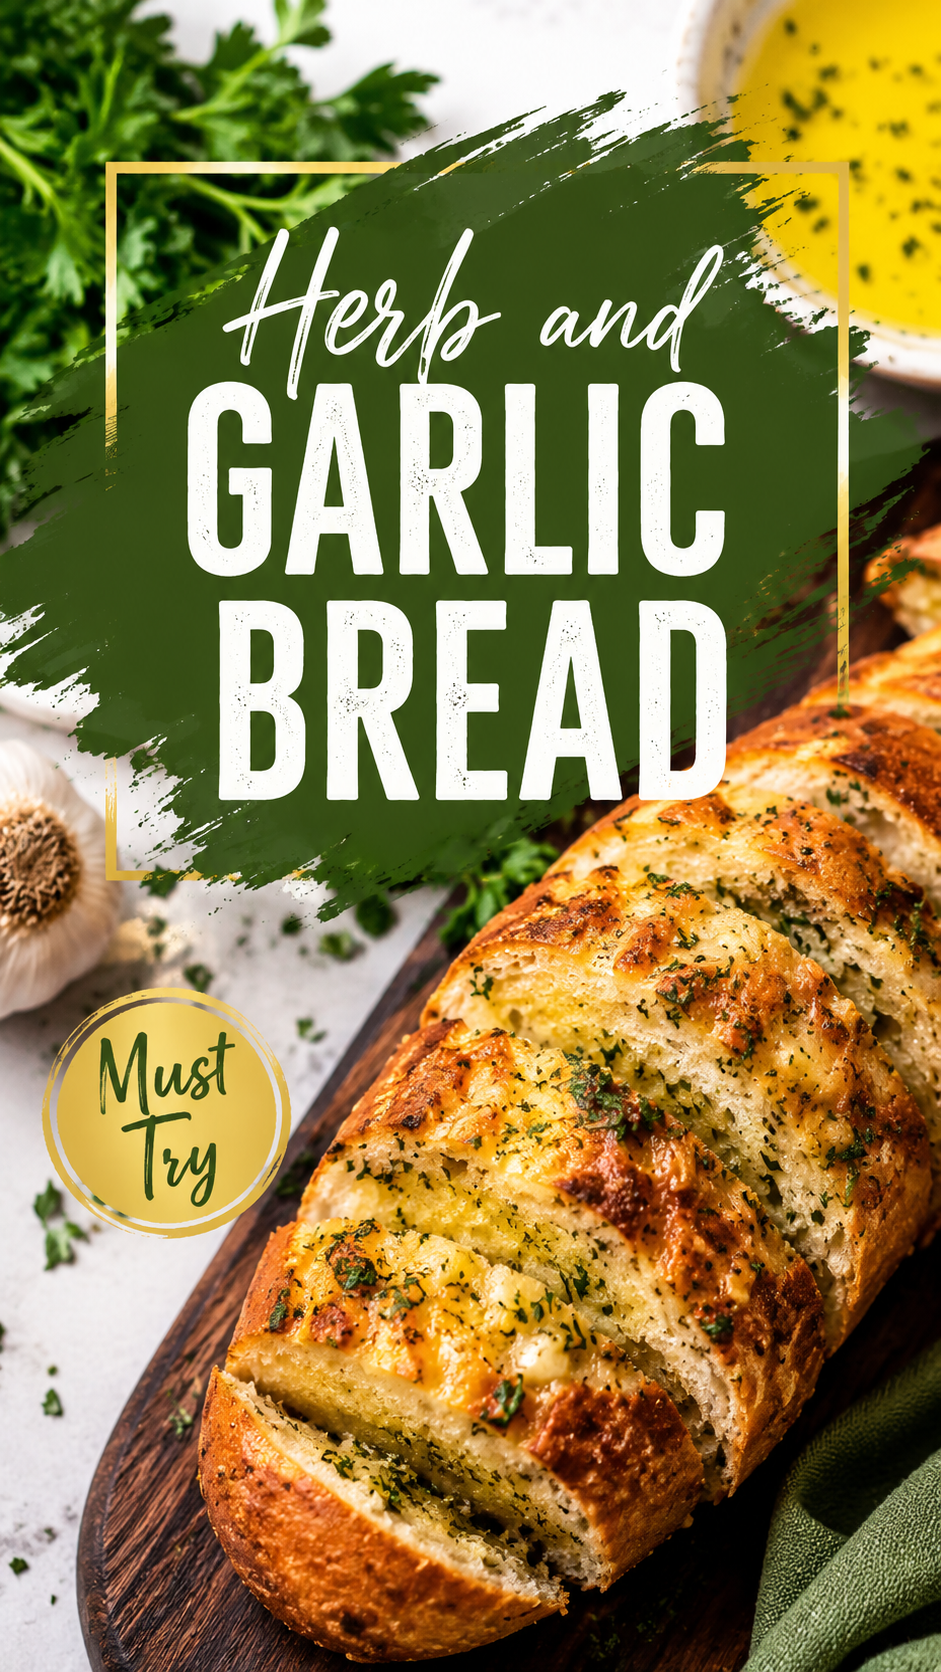
Here’s a question for you. Why do we still buy garlic bread from the freezer aisle?
I used to be the queen of tossing a foil-wrapped log of the stuff in the oven and calling it homemade. Silas caught me mid-unwrap one night and just… stared at me. Like I’d betrayed him personally.
So I made a batch from scratch. Fresh herbs, real garlic, real butter. He ate four pieces standing at the counter before dinner even started.
That was the last time frozen garlic bread touched our kitchen.
This recipe uses one soft, pillowy dough loaded with garlic and herbs baked right in, not just brushed on top. It’s crispy on the outside, soft in the middle, and honestly kind of dangerous to have sitting on your counter while you’re waiting for the rest of dinner.
And no, you don’t need any fancy baking experience for this one. If you’ve never worked with yeast before, this is a really forgiving place to start.
Let’s get into it.
Why This Recipe Works
Most garlic bread recipes are really just butter recipes. You take a loaf that’s already baked, slather on garlic butter, and call it a day.
That’s fine. But it’s not the same as bread where the garlic and herbs get folded straight into the dough itself.
Here, the flavor builds in layers. The dough carries a subtle garlic backbone all the way through, and then the butter on top adds that final punch of flavor and shine.
The texture is different too. Because this is a yeasted dough, you get an actual soft, chewy crumb on the inside instead of a hard, cracker-like base. It’s the difference between garlic toast and garlic bread, if that makes sense.
What You’ll Need
| Ingredient | Amount |
|---|---|
| Warm water (110°F) | 1 cup |
| Active dry yeast | 2 ¼ tsp (1 packet) |
| Granulated sugar | 1 tbsp |
| All-purpose flour | 3 cups |
| Salt | 1 tsp |
| Olive oil | 2 tbsp |
| Garlic cloves, minced | 6 |
| Unsalted butter, softened | 4 tbsp |
| Fresh parsley, chopped | 2 tbsp |
| Fresh rosemary, chopped | 1 tbsp |
| Fresh thyme, chopped | 1 tbsp |
| Flaky sea salt | For topping |
That’s it. Nothing weird, nothing you have to hunt down at three different stores.
Tools You’ll Need
- Large mixing bowl
- Measuring cups and spoons
- Wooden spoon or dough whisk
- Clean kitchen towel
- Baking sheet
- Parchment paper
- Small saucepan or microwave-safe bowl (for the garlic butter)
- Pastry brush
Pro Tips
Before you start, a few things I learned the hard way.
- Check your water temperature. Too hot and you’ll kill the yeast before it even gets started. Aim for warm bathwater, not hot shower.
- Don’t skip the rise time. I know it’s tempting to rush this. But a full rise is what gives you that soft, fluffy inside instead of a dense brick.
- Mince the garlic small. Big chunks burn in the oven and turn bitter. Small pieces melt into the butter and spread the flavor evenly.
- Use fresh herbs if you can. Dried herbs work in a pinch, but fresh ones make this bread taste like it came from a bakery, not a box.
- Brush the butter on twice. Once before baking, once right when it comes out. That second brush is where the magic happens. 🧈
How to Make Herb and Garlic Bread
Step 1: Activate the Yeast
In a large bowl, combine the warm water, yeast, and sugar. Let it sit for 5 to 10 minutes until it looks foamy on top.
If it doesn’t foam, your yeast is dead. Toss it and grab a fresh packet.
Step 2: Mix the Dough
Add the flour, salt, and olive oil to the yeast mixture. Stir with a wooden spoon until a shaggy dough forms.
Step 3: Knead
Turn the dough out onto a floured surface. Knead for about 8 minutes, until it’s smooth and springs back when you poke it.
Your arms will get a little workout. That’s normal.
Step 4: First Rise
Place the dough in a lightly oiled bowl. Cover with a kitchen towel and let it rise somewhere warm for 1 hour, or until it’s doubled in size.
Step 5: Make the Garlic Herb Butter
While the dough rises, melt the butter in a small saucepan over low heat. Add the minced garlic and cook for 1 to 2 minutes, just until fragrant.
Take it off the heat and stir in the parsley, rosemary, and thyme.
Step 6: Shape the Dough
Punch down the risen dough and turn it out onto a floured surface. Shape it into an oval loaf, about 12 inches long.
Place it on a parchment-lined baking sheet.
Step 7: Second Rise
Cover the shaped loaf loosely and let it rest for another 30 minutes.
Step 8: Score and Brush
Preheat your oven to 400°F.
Use a sharp knife to make a few diagonal slashes across the top of the loaf. Brush half of the garlic herb butter generously over the top.
Step 9: Bake
Bake for 22 to 25 minutes, until the top is golden brown and it sounds hollow when you tap the bottom.
Step 10: Finish
Pull the bread out and immediately brush it with the remaining garlic herb butter. Sprinkle with flaky sea salt.
Let it cool for at least 10 minutes before slicing. I know that’s hard. Do it anyway or you’ll end up with a squished, gummy loaf.
Substitutions and Variations
| Original | Swap |
|---|---|
| All-purpose flour | Bread flour for a chewier texture |
| Active dry yeast | Instant yeast (skip the foaming step) |
| Fresh herbs | 1 tsp dried herbs per fresh tablespoon |
| Unsalted butter | Olive oil for a dairy-free version |
| Parsley, rosemary, thyme | Chives, oregano, or basil |
Want a spicy version? Add a pinch of red pepper flakes to the garlic butter. Want it cheesy? Sprinkle shredded parmesan on top before the last 5 minutes of baking.
Make Ahead Tips
You can make the dough up to a day ahead. After the first rise, punch it down, wrap it tightly, and refrigerate it overnight.
Let it come to room temperature for about 30 minutes before shaping and moving on to the second rise.
The garlic herb butter can also be made up to 3 days ahead and stored in the fridge. Just warm it slightly before brushing it on.
Nutrition (Estimated)
| Nutrient | Per Slice (approx.) |
|---|---|
| Calories | 165 |
| Carbohydrates | 22g |
| Protein | 4g |
| Fat | 6g |
| Sodium | 210mg |
These numbers are estimates based on a 12-slice loaf. Every ingredient brand is different, so if you need exact numbers for tracking or dietary reasons, I’d recommend plugging your specific ingredients into Cronometer before you rely on these.
What to Serve It With
This bread doesn’t need much of an introduction to a meal. It just fits.
- A big bowl of pasta with red sauce
- Any kind of soup, especially something creamy like tomato or potato
- A simple green salad with vinaigrette
- Grilled chicken or steak
- Just butter, honestly, and a glass of wine
Storage and Reheating
Store leftover bread wrapped in a kitchen towel or paper bag at room temperature for up to 2 days. Avoid plastic bags. They trap moisture and make the crust soft.
For longer storage, wrap it tightly in plastic wrap and foil, then freeze for up to 3 months.
To reheat, wrap slices in foil and warm in a 350°F oven for about 10 minutes. This brings the crust back to life in a way the microwave never will.
FAQ
Can I make this without a stand mixer? Yes. This recipe is written for hand kneading. No mixer required.
Why didn’t my dough rise? Usually it’s the yeast. Either the water was too hot, too cold, or the yeast was expired. Double check your water temperature and yeast freshness next time.
Can I use garlic powder instead of fresh garlic? You can, but the flavor will be noticeably milder. If you go this route, use about 1 tablespoon of garlic powder mixed into the melted butter.
Is this bread good for sandwiches? It’s better sliced and served alongside a meal. The texture is a little too soft and open for stacking sandwich fillings.
Can I add cheese into the dough itself? Yes. Fold in ½ cup of shredded mozzarella or parmesan during the shaping step for a cheesy version.
Why is my bread dense instead of fluffy? This usually means the dough didn’t rise long enough, or your kitchen was too cold. Find a warmer spot, like near a sunny window or inside your oven with just the light on, and give it more time.
Can I double this recipe? Absolutely. Just use two separate baking sheets so the loaves have room to spread and bake evenly. Don’t try to cram two loaves onto one pan.
Wrapping Up
This bread turned a regular Tuesday dinner into something Silas still brings up. That’s really all I want from a recipe.
Give it a try this week. Pull it apart while it’s still warm, let the butter run down your fingers a little, and don’t feel bad about it.
Then come back and tell me how it turned out. Did you try a variation? Did anyone in your house eat half the loaf before dinner even started? I want to hear about it in the comments.