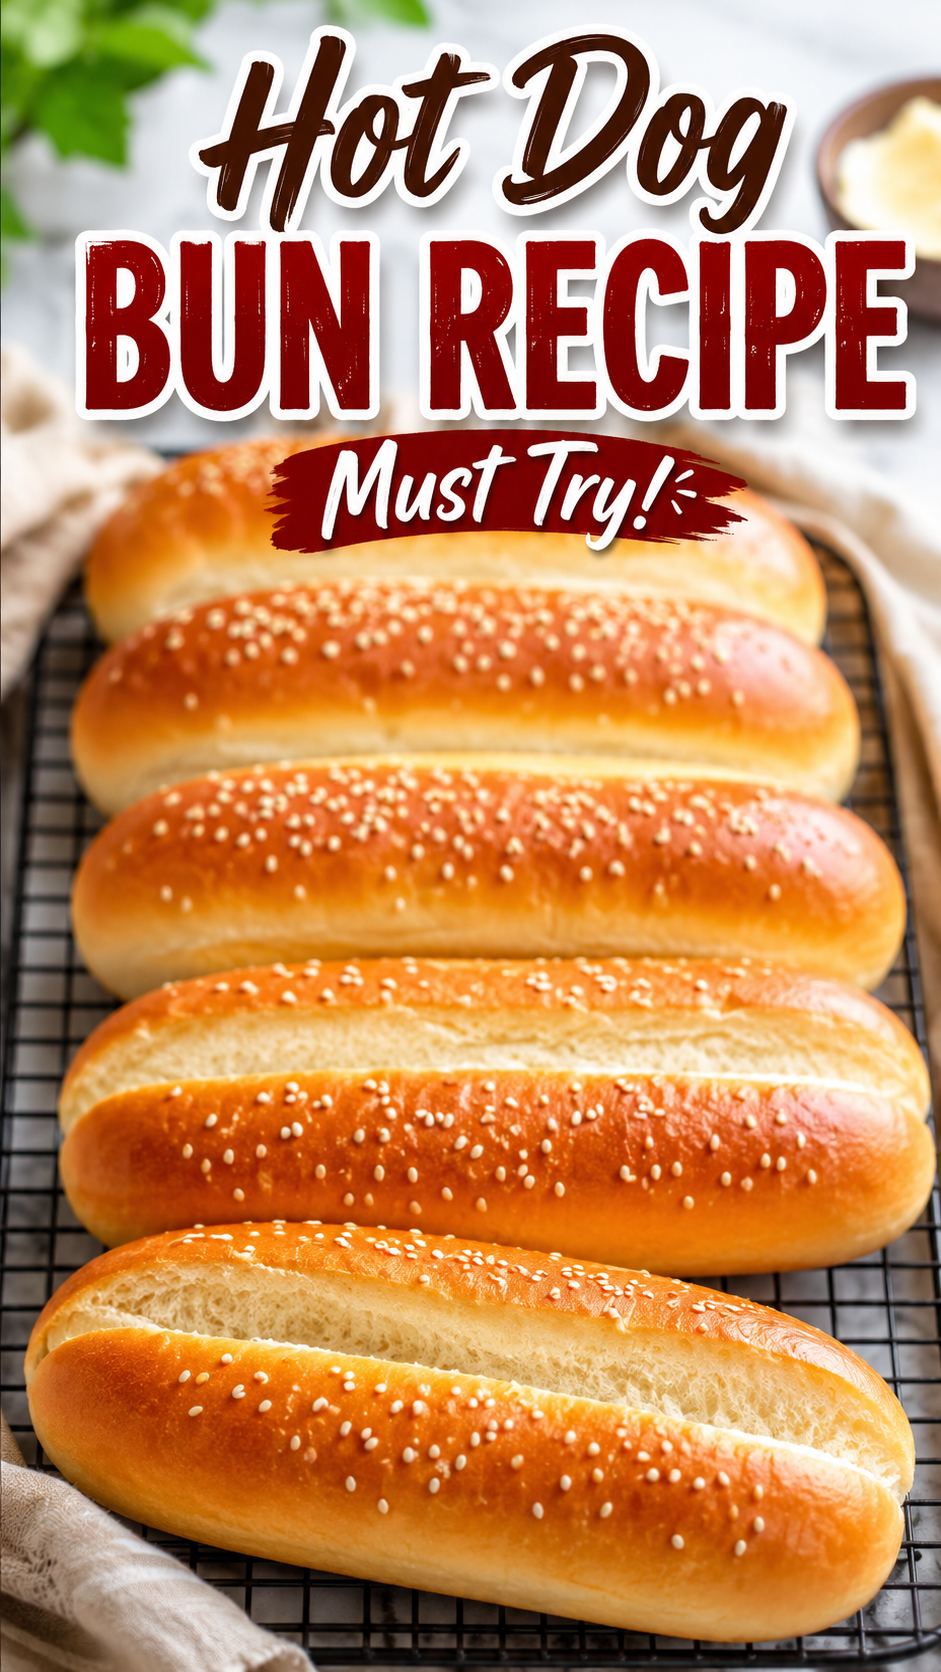
I used to think hot dog buns were one of those things you just buy. Like napkins or ketchup. No thought required.
Then my neighbor brought a batch of homemade ones to a backyard cookout last summer, and honestly, it kind of ruined store-bought buns for me forever. 🌭
They were soft, slightly sweet, and had this pillowy texture that made the hot dogs taste like a completely different food. I asked her for the recipe on the spot.
She laughed and said “there is no recipe, I just wing it,” which was extremely unhelpful. So I spent the next few weekends testing batches until I landed on something that’s consistently soft, easy to shape, and doesn’t require any fancy equipment.
This is that recipe. It takes some patience because of the rising time, but the actual hands-on work is pretty minimal. And once you taste the difference, you’ll get why I stopped buying the plastic-bagged versions.
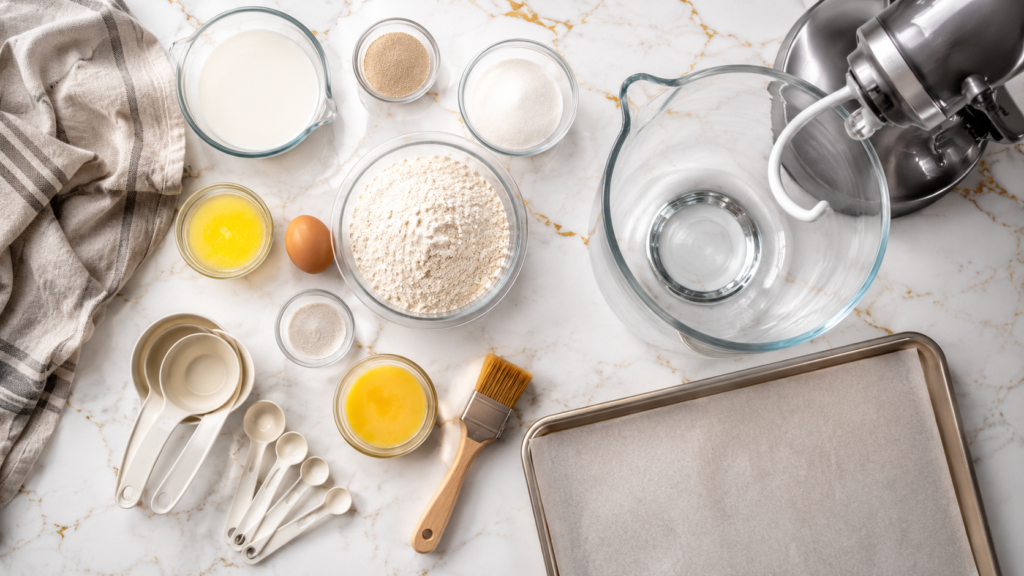
What You’ll Need
| Ingredient | Amount |
|---|---|
| Warm milk (110°F) | 1 cup |
| Active dry yeast | 2 ¼ tsp (1 packet) |
| Granulated sugar | ¼ cup |
| Unsalted butter, melted | 3 tbsp |
| Large egg | 1 |
| All-purpose flour | 3 ½ cups |
| Salt | 1 ½ tsp |
| Egg wash (1 egg + 1 tbsp water) | for brushing |
Tools You’ll Need
- Large mixing bowl
- Stand mixer with dough hook (or your hands, if you’re feeling strong)
- Measuring cups and spoons
- Baking sheet
- Parchment paper
- Kitchen towel or plastic wrap
- Pastry brush
Pro Tips
- Check your milk temperature. If it’s too hot, it kills the yeast. If it’s too cold, the yeast won’t activate. Aim for warm bathwater, around 110°F.
- Don’t skip the second rise. I know it’s tempting to throw them in the oven right after shaping, but that second rise is what gives you that soft, fluffy texture instead of dense bread.
- Shape them slightly longer than you think you need. Dough shrinks a little as it bakes, and you want buns that actually fit your hot dogs, not the other way around.
- Keep them close together on the pan. Buns that touch while baking end up with soft sides, which is exactly what you want for that classic hot dog bun texture.
- Brush with egg wash twice. Once before the second rise and once right before baking. It gives you that shiny, bakery-style top.
Step-by-Step Instructions
Activate the Yeast
In a small bowl, combine the warm milk, yeast, and sugar. Let it sit for 5 to 10 minutes until it gets foamy on top. If it doesn’t foam, your yeast is probably dead and you’ll want to start over with a fresh packet.
Mix the Dough
In a large bowl or stand mixer, combine the yeast mixture with the melted butter and egg. Mix well.
Add the flour and salt gradually, mixing until a shaggy dough forms.
Knead
Knead the dough for 6 to 8 minutes, either with a stand mixer’s dough hook or by hand on a floured surface. The dough should be smooth, elastic, and just slightly tacky.
First Rise
Place the dough in a lightly greased bowl, cover with a towel, and let it rise somewhere warm for 1 to 1.5 hours, or until doubled in size.
Shape the Buns
Punch down the dough and divide it into 8 equal pieces. Roll each piece into a log shape about 5 to 6 inches long.
Place them on a parchment-lined baking sheet, spaced closely together so their sides touch as they rise and bake.
Second Rise
Cover loosely and let the shaped buns rise for another 30 to 45 minutes, until puffy.
Bake
Preheat your oven to 375°F. Brush the buns with egg wash right before baking.
Bake for 15 to 18 minutes, until golden brown on top.
Let them cool for at least 10 minutes before slicing. I know that’s hard. Do it anyway.
Substitutions and Variations
| Original | Substitution | Notes |
|---|---|---|
| Whole milk | Oat or almond milk | Works fine for dairy-free, texture is slightly less rich |
| Butter | Neutral oil | Slightly less flavor but still soft |
| All-purpose flour | Bread flour | Gives a slightly chewier texture |
| Sugar | Honey | Use 3 tbsp instead of ¼ cup |
| Plain buns | Everything bagel seasoning | Sprinkle on before baking for a fun twist |
Make-Ahead Tips
You can prepare the dough the night before and let it do its first rise in the fridge overnight instead of on the counter. Just pull it out and let it come to room temperature before shaping.
Baked buns also freeze really well. Wrap them tightly and freeze for up to 2 months. Thaw at room temperature or warm them in a low oven.
Estimated Nutritional Breakdown
These numbers are estimates and will vary depending on exact ingredients used.
| Nutrient | Per Bun (approx.) |
|---|---|
| Calories | 190 |
| Carbohydrates | 32g |
| Protein | 5g |
| Fat | 5g |
| Sugar | 4g |
| Sodium | 220mg |
Meal Pairings
These buns are obviously perfect for hot dogs, but don’t stop there. They’re great for:
- Bratwurst or sausages
- Pulled pork sandwiches
- Veggie dogs
- Mini sliders, if you cut them down a bit
Storage and Reheating
Store cooled buns in an airtight container or bag at room temperature for up to 3 days.
To reheat, wrap in foil and warm in a 300°F oven for about 5 minutes, or microwave for 10 to 15 seconds if you’re in a hurry.
FAQ
Can I make these without a stand mixer? Yes. Kneading by hand takes a bit longer, around 10 minutes, but it works just as well.
Why didn’t my buns rise? Usually it’s the yeast. Either it was expired or the milk was too hot when you added it.
Can I make the dough gluten-free? You can try a 1:1 gluten-free flour blend, though the texture will be denser and less stretchy.
How do I get that soft, glossy top? The egg wash is key. Brush it on twice, once before the second rise and again right before baking.
Can I double this recipe? Absolutely, and I’d honestly recommend it. These disappear fast at cookouts.
Wrapping Up
Once you make hot dog buns from scratch, it’s genuinely hard to go back to the grocery store bag. The texture alone makes it worth the rise time.
If you try this recipe, come back and leave a comment letting me know how it turned out. And if you run into any questions along the way, ask them below and I’ll help however I can.