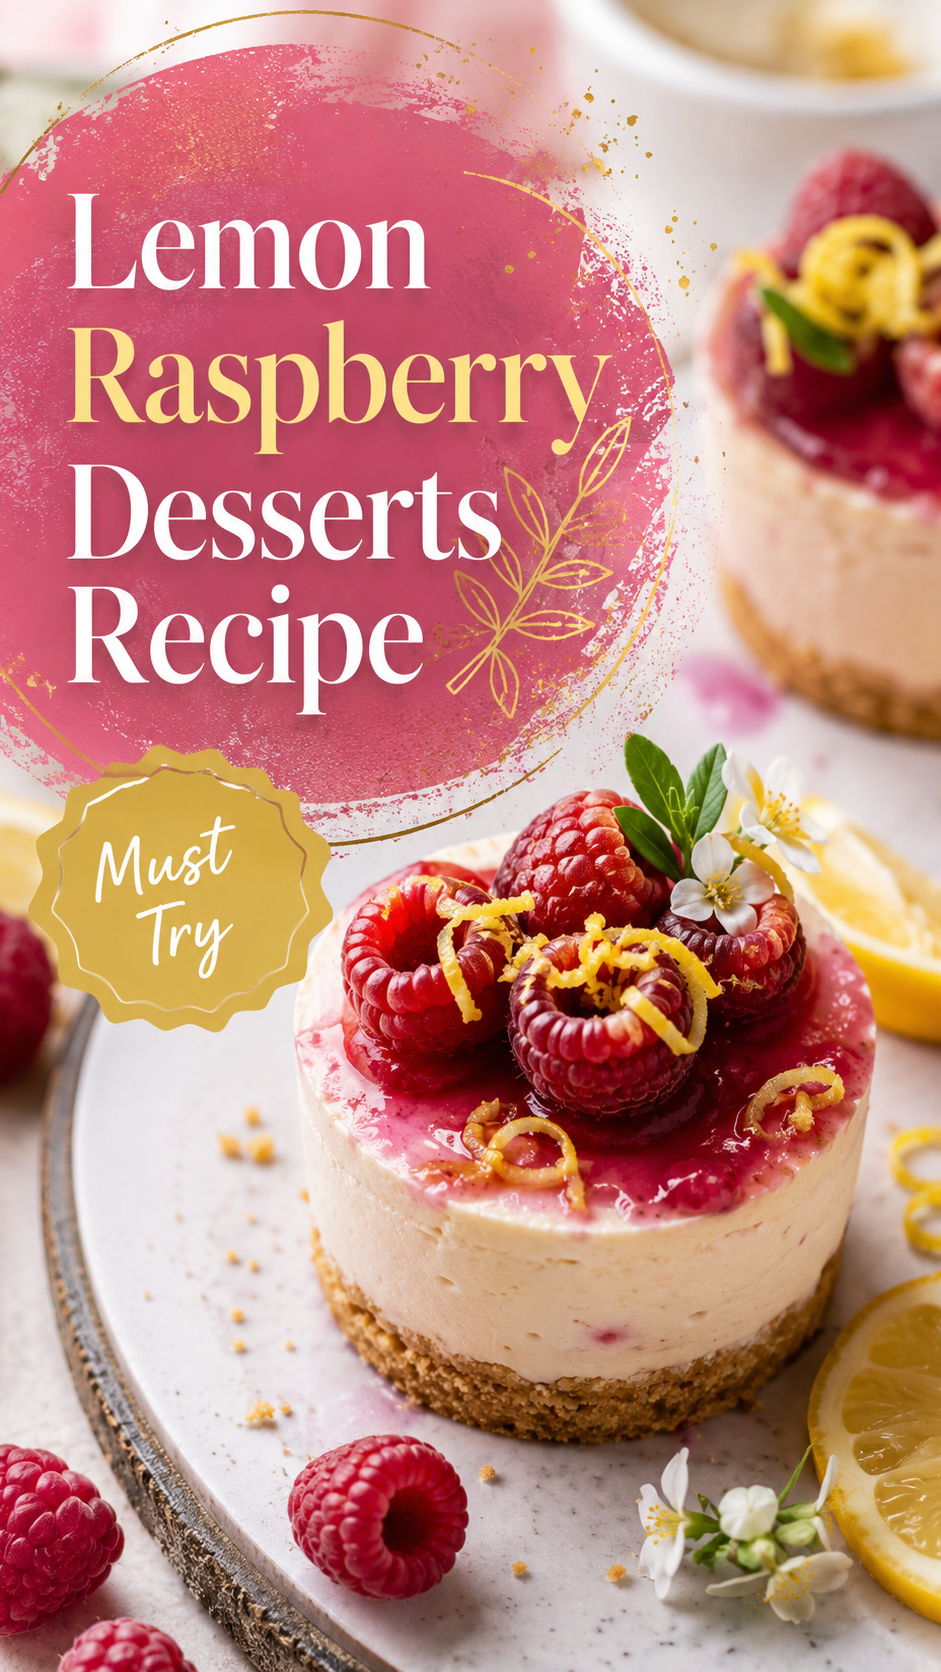
I made these on a random Tuesday and my husband asked if we were “celebrating something.”
We weren’t. That’s just what happens when lemon and raspberry end up in the same pan.
These bars are creamy, a little tart, a little sweet, and somehow taste fancier than the effort they actually take. 🍋
If you’ve ever been intimidated by cheesecake, this is the version that fixes that. No water bath. No cracking anxiety. Just a buttery crust, a smooth lemon filling, and a swirl of raspberry that looks way more impressive than it is to make.
Let’s get into it.
What You’ll Need
For the crust:
- 1 ½ cups graham cracker crumbs
- 5 tablespoons unsalted butter, melted
- 2 tablespoons granulated sugar
- Pinch of salt
For the lemon cheesecake filling:
- 16 oz cream cheese, softened
- ¾ cup granulated sugar
- 2 large eggs
- 2 tablespoons fresh lemon juice
- 1 tablespoon lemon zest
- 1 teaspoon vanilla extract
- ¼ cup sour cream
For the raspberry swirl:
- 1 cup fresh or frozen raspberries
- 2 tablespoons sugar
- 1 teaspoon lemon juice
Tools You’ll Need
- 8×8 inch baking pan
- Parchment paper
- Mixing bowls
- Hand mixer or stand mixer
- Small saucepan
- Fine mesh strainer (optional, for a seedless swirl)
How to Make Lemon Raspberry Cheesecake Bars
Step 1: Make the crust
Preheat your oven to 325°F. Line your pan with parchment paper, leaving some overhang on the sides so you can lift the bars out later.
Mix the graham cracker crumbs, melted butter, sugar, and salt until it looks like wet sand.
Press it firmly into the bottom of the pan. Bake for 8 minutes, then set aside to cool slightly.
Step 2: Make the raspberry sauce
While the crust bakes, add raspberries, sugar, and lemon juice to a small saucepan over medium heat.
Cook for about 5 minutes, mashing the berries as they soften. You want a jammy, spoonable sauce.
If you want it seedless, push it through a fine mesh strainer. If you don’t mind seeds, skip that step entirely.
Step 3: Make the cheesecake filling
Beat the softened cream cheese until smooth. This step matters more than people think, since lumpy cream cheese means lumpy bars.
Add sugar and beat again until combined.
Add the eggs one at a time, mixing just until incorporated. Overmixing here can add too much air, and air is what causes cracks.
Mix in lemon juice, lemon zest, vanilla, and sour cream until smooth.
Step 4: Assemble and swirl
Pour the cheesecake filling over the cooled crust.
Drop spoonfuls of raspberry sauce on top, then drag a knife or toothpick through it to create swirls. Don’t overdo it, or the colors will muddy together.
Step 5: Bake
Bake at 325°F for 30 to 35 minutes. The edges should look set, but the center should still have a slight jiggle.
Turn off the oven and let the bars sit inside with the door cracked for 10 minutes. This helps prevent cracking.
Step 6: Chill
Let the bars cool to room temperature, then refrigerate for at least 4 hours, ideally overnight.
This is the hardest part. Not the baking. The waiting.
Pro Tips
- Room temperature everything. Cold cream cheese and cold eggs are the number one reason cheesecake filling turns lumpy instead of silky.
- Don’t skip the parchment overhang. Lifting the whole thing out of the pan makes clean slices so much easier than cutting inside the pan.
- A hot knife makes prettier slices. Run your knife under hot water, wipe it dry, then cut. Repeat between slices for that bakery-style clean edge.
- Frozen raspberries work great, and honestly sometimes taste more concentrated than fresh ones once cooked down.
- Patience beats heat. If you rush the chilling time, the bars won’t set properly and will fall apart when you cut them.
Substitutions and Variations
| Swap This | For This | Why |
|---|---|---|
| Graham crackers | Digestive biscuits or vanilla wafers | Similar texture, different flavor note |
| Raspberries | Strawberries or blackberries | Same method, different berry |
| Sour cream | Greek yogurt | Slightly tangier, still creamy |
| Regular cream cheese | Light cream cheese | Works, but filling will be a bit less rich |
Want a lighter dessert? Cut the bars smaller and call them “bites.” Nobody will argue with that logic.
Make Ahead Tips
These bars are honestly better the next day, once the flavors settle.
You can make them up to 2 days ahead and store them covered in the fridge. Just wait to slice until you’re ready to serve, since the edges dry out faster once cut.
Nutritional Notes and Pairing Ideas
A single bar (cut into 16 pieces) comes in around 210 to 230 calories, depending on your exact ingredients.
For a lighter version, swap half the cream cheese for Greek yogurt. It won’t taste identical, but it holds up.
These pair well with:
- A cup of black coffee, to balance the sweetness
- Fresh mint on top for a pop of color
- A glass of chilled rosé, if you’re feeling fancy on a Tuesday
Leftovers and Storage
Store bars in an airtight container in the fridge for up to 5 days.
To freeze, wrap individual bars tightly in plastic wrap, then place in a freezer bag for up to 2 months. Thaw overnight in the fridge before eating.
Do not leave these out at room temperature for more than 2 hours, since the cream cheese filling needs to stay cold.
FAQ
Why did my cheesecake bars crack?
Usually it’s from overbaking or overmixing the eggs. Mix just until combined, and pull the bars out while the center still jiggles slightly.
Can I use frozen raspberries?
Yes. Thaw them first if you want a smoother sauce, though you can cook them straight from frozen too.
Do I have to use a water bath?
No. Because these are bars instead of a full cheesecake, the thinner layer bakes evenly without one.
Can I double the recipe?
Yes, using a 9×13 pan. Baking time will increase slightly, so check for that slight jiggle rather than relying on the clock alone.
Why is my filling lumpy?
Cold cream cheese is almost always the culprit. Let it sit out for at least an hour before mixing.
Wrapping Up
These bars are proof that dessert doesn’t need a special occasion to be worth making.
They’re creamy, bright, a little tart, and genuinely one of those recipes that makes your kitchen smell like something worth bragging about. 🍓
Make a batch this week. Bring them to someone. Watch what happens.
Then come back and tell me how yours turned out, what you swapped, or what questions popped up along the way. I read every comment.