Silas has a drawer in our kitchen dedicated entirely to gadgets he swore would change our lives.
Most of them are still in the box.
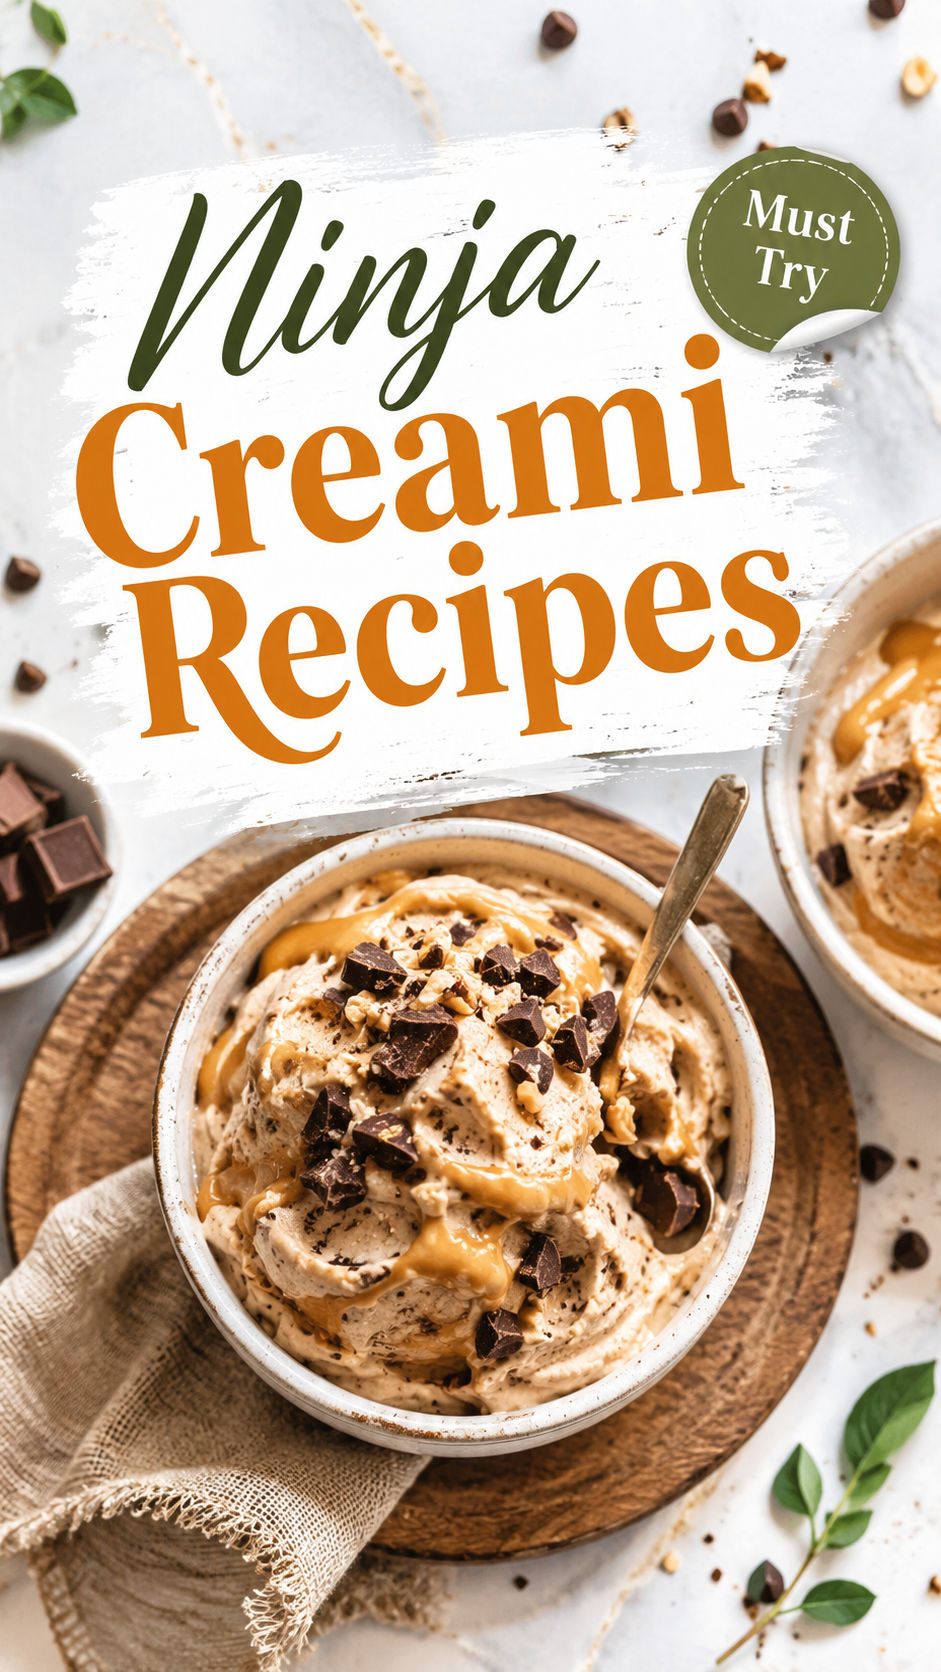
But the Ninja Creami is the one exception, and it earned that spot the hard way. 🍦
He bought it on a whim after watching one too many TikToks, and I rolled my eyes so hard I nearly pulled something. I figured it’d sit next to the sous vide machine and the bread maker, gathering dust and quiet judgment.
Instead, it’s been running almost every single day for the past three weeks.
The first batch we made was a basic vanilla base, mostly because I didn’t trust the machine enough to commit to anything fancier. Turns out that was the smartest move I could’ve made, because once you nail the base, everything else becomes easy.
This is the recipe. It’s simple, it’s foolproof, and it’s the one you’ll come back to over and over.
What You’ll Need
Here’s everything that goes into the base. Nothing complicated, nothing you can’t find at a regular grocery store.
| Ingredient | Amount |
|---|---|
| Whole milk | 1 cup |
| Heavy cream | 1 cup |
| Granulated sugar | 2/3 cup |
| Vanilla extract | 1 tablespoon |
| Vanilla bean paste (optional, but worth it) | 1 teaspoon |
| Pinch of salt | 1/8 teaspoon |
That’s it. Six ingredients and you’re already halfway to homemade ice cream that beats anything from the freezer aisle.
Tools You’ll Need
- Ninja Creami machine (obviously)
- Ninja Creami pint container (the one that came with your machine)
- Mixing bowl
- Whisk
- Measuring cups and spoons
Pro Tips
A few things I learned the hard way so you don’t have to.
- Freeze the pint for a full 24 hours. I tried to rush it at 18 hours once and ended up with soup. Give it the full day, no shortcuts.
- Don’t skip the salt. It sounds pointless in a vanilla recipe, but it sharpens the sweetness in a way you’ll actually notice.
- Run the “Ice Cream” setting first, and only add a respin if it still looks crumbly. Most bases don’t need it.
- Let the sugar fully dissolve before freezing. If you can still feel granules when you rub the mixture between your fingers, whisk it longer.
- Add mix-ins after the first spin, not before. The blades will pulverize anything you toss in from the start.
Instructions
- In a mixing bowl, whisk together the milk, heavy cream, and sugar until the sugar is completely dissolved. This takes about 2 minutes of steady whisking.
- Stir in the vanilla extract, vanilla bean paste, and salt.
- Pour the mixture into your Ninja Creami pint container, staying below the fill line.
- Freeze the container flat for a full 24 hours. No less.
- Once frozen solid, remove the lid and place the pint into the outer bowl, then lock it into the machine.
- Select the Ice Cream function and let it run.
- Check the texture. If it’s crumbly instead of creamy, add a splash of milk and run the Re-Spin function.
- Scoop, serve, and try not to eat it straight from the container. I fail at this part every time.
Substitutions and Variations
| Original | Swap | Result |
|---|---|---|
| Whole milk | 2% milk | Slightly lighter texture |
| Heavy cream | Half and half | Softer, less rich scoop |
| Granulated sugar | Monk fruit sweetener | Lower sugar version |
| Whole milk + cream | Coconut milk | Dairy free, coconut forward flavor |
| Vanilla base | Add cocoa powder | Instant chocolate version |
| Vanilla base | Add crushed cookies after first spin | Cookies and cream |
Make Ahead Tips
You can prep the base up to 3 days ahead and just leave it in the freezer until you’re ready to spin it. This is genuinely one of the best parts of owning this machine. Silas preps three or four pints on a Sunday and we have a different flavor every night that week without any extra work.
Estimated Nutritional Breakdown
This is an estimate only, not a lab-tested value. Actual numbers will vary based on exact brands and swaps used.
| Per 1/2 cup serving | Amount |
|---|---|
| Calories | ~210 |
| Fat | 14g |
| Carbohydrates | 18g |
| Sugar | 17g |
| Protein | 2g |
Meal Pairings
This vanilla base is basically a blank canvas, so here’s where it shines.
- Warm brownies straight out of the oven
- A slice of pie you didn’t have room for after dinner
- Root beer floats on a hot afternoon
- Fresh berries and a drizzle of honey
- Just a bowl, a spoon, and zero shame
Storage and Reheating
Keep the pint in the freezer with the lid on, and it’ll stay good for about 2 weeks. After that, the texture starts to get icy.
If it’s frozen solid again after storage, just run it through the Ice Cream function one more time before serving. No need to thaw it on the counter first.
FAQ
Can I use a different sweetener? Yes. Monk fruit and allulose both work well in this base without changing the texture much.
Why is my ice cream crumbly after spinning? This almost always means the base needs a respin, sometimes with a splash of milk added first. It’s a totally normal part of the process, not a sign you did something wrong.
Do I need the vanilla bean paste? No, it’s optional. The extract alone gives you a good vanilla flavor. The paste just adds those little specks and a slightly deeper taste.
Can I double the recipe? Not in the same pint. Ninja Creami pints have a fill line for a reason, so you’ll need to make two separate batches if you want more.
How long does the base need to freeze? A full 24 hours, no exceptions. This is the step people rush the most, and it’s the one that matters most.
Wrapping Up
This vanilla base is the one I’d tell you to start with if you’re new to the Ninja Creami, because once it works, you’ll trust the machine with everything else.
Make it once, get comfortable with the process, and then start experimenting with mix-ins and flavors.
If you try it, come back and leave a comment letting me know how it turned out, or ask away if anything trips you up along the way.