I used to be the person driving to the gas station at 10pm for a candy bar.
Not anymore.
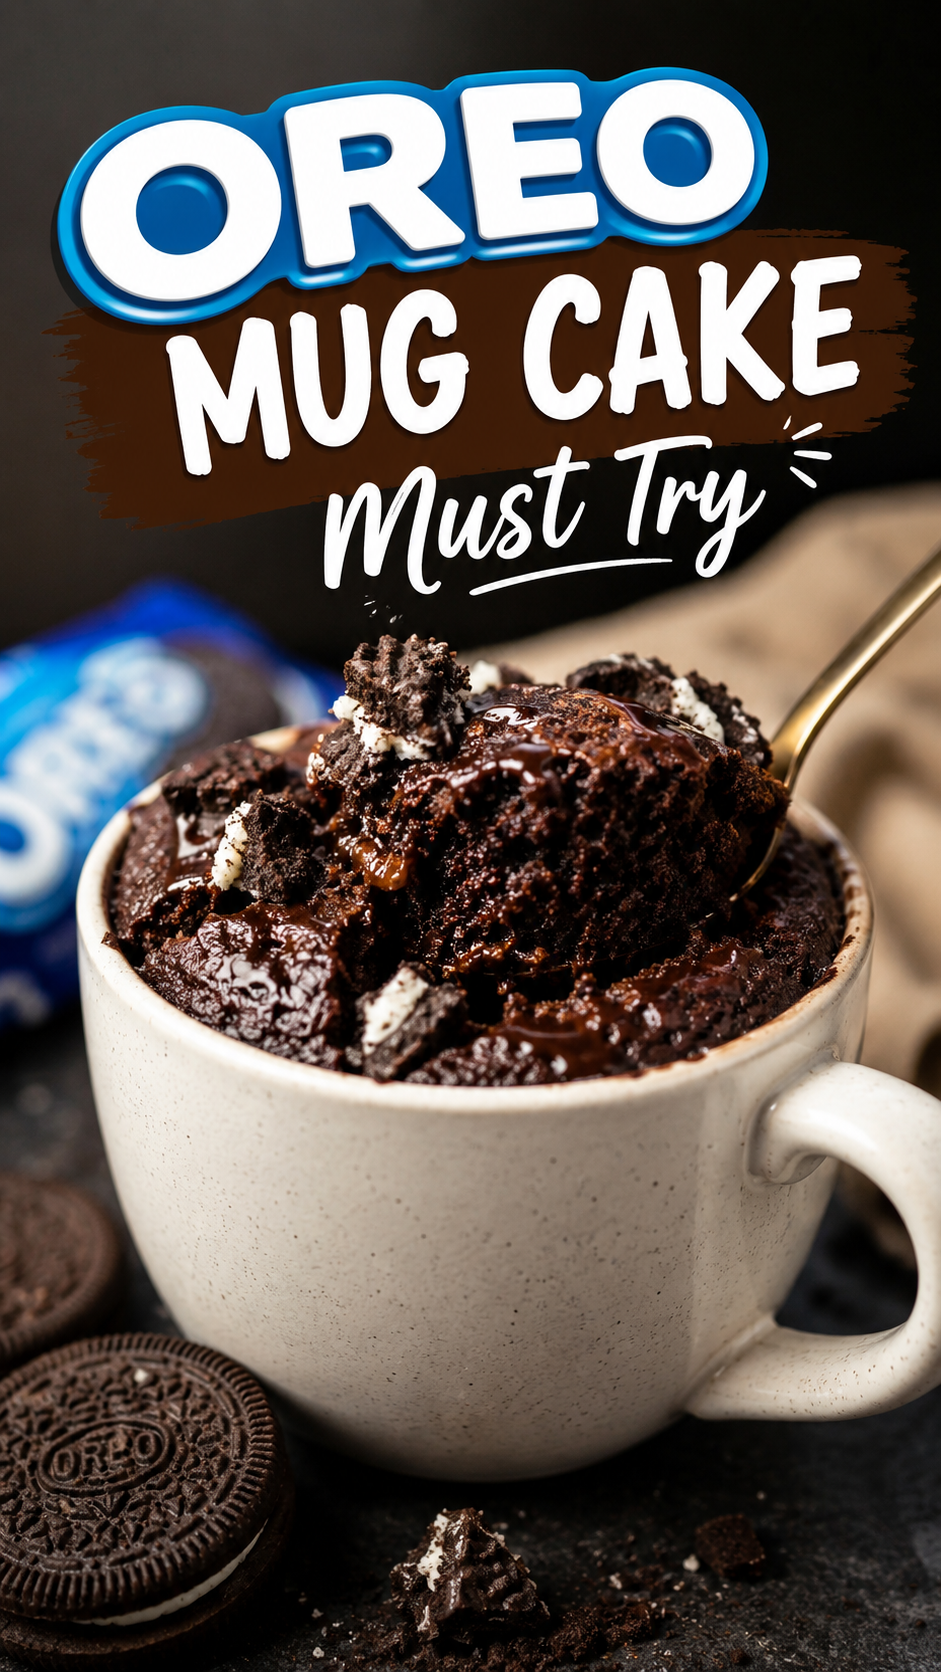
Now I just open my cupboard, grab a mug, and 90 seconds later I’m eating warm, gooey Oreo cake straight out of it.
No oven. No mixer. No dishes to feel guilty about.
Just a mug, a microwave, and a few Oreos you were probably going to eat anyway.
I actually stumbled onto this recipe by accident. I was testing a regular mug cake and had a sleeve of Oreos sitting next to me, and I thought, why not just throw the whole thing in there?
Best accident of my kitchen life.
The texture surprised me the most. It’s soft and a little fudgy in the middle, almost like a lava cake, but with that unmistakable Oreo flavor running through every bite.
Side Note: If you love easy dessert hacks like this one, you’ll probably love these 3-ingredient desserts too.
What You’ll Need
Here’s everything going into your mug:
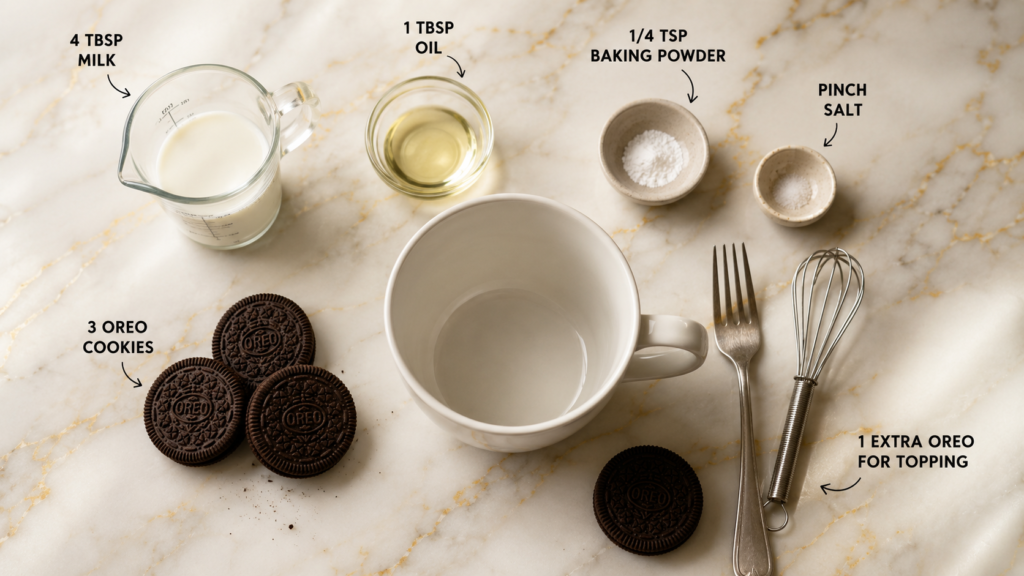
- 3 Oreo cookies (plus 1 extra for topping, optional)
- 4 tablespoons milk
- 1 tablespoon vegetable oil (or melted butter)
- 1/4 teaspoon baking powder
- A tiny pinch of salt
That’s it. Five ingredients, most of which you already have.
Tools You’ll Need
- A microwave-safe mug (12 oz or larger, so it doesn’t overflow)
- A fork or small whisk
- A small bowl (optional, for crushing the Oreos first)
- A microwave
How to Make an Oreo Mug Cake
Step 1: Crush the Oreos.
Break the 3 Oreos into small pieces right inside the mug, or use a small bowl if you want more control. I like leaving a few slightly bigger chunks for texture.
Step 2: Add the wet ingredients.
Pour in the milk and oil. Mix everything together with a fork until it looks like a thick, slightly lumpy batter.
Step 3: Add the dry ingredients.
Sprinkle in the baking powder and salt. Stir again until it’s combined. Don’t worry about making it perfectly smooth. A few Oreo chunks are exactly what you want.
Step 4: Microwave it.
Microwave on high for 60 to 90 seconds. Every microwave is different, so start checking at 60 seconds.
Step 5: Let it rest.
Pull it out and let it sit for 1 minute. This is the part everyone skips, and it’s the part that matters most.
Step 6: Top it off.
Crumble that extra Oreo on top while it’s still warm. Grab a spoon and go.
Pro Tips
I’ve made this recipe more times than I can count, so here’s what actually makes a difference:
- Don’t overcook it. A mug cake goes from perfect to rubbery in about 15 seconds. Pull it early if you’re unsure, since it keeps cooking a little from the residual heat.
- Use a wide mug, not a tall skinny one. Wide mugs cook more evenly, so you avoid that raw middle, cooked edges problem.
- Crush your Oreos unevenly. Some fine crumbs, some bigger chunks. It gives you that classic cookies-and-cream texture instead of a flat, uniform cake.
- Let it rest before eating. I know it’s tempting to dig in right away, but that one minute of resting lets the center finish setting without drying out the edges.
- Add a splash of milk if your batter looks too thick. Oreo brands vary slightly in how much filling they have, which changes the moisture level.
Substitutions and Variations
This recipe is flexible, and I’ve played around with quite a few versions:
| Swap This | For This | Why |
|---|---|---|
| Regular milk | Oat milk or almond milk | Works great for dairy-free versions |
| Vegetable oil | Melted butter | Adds a richer flavor |
| Regular Oreos | Golden Oreos | Gives a vanilla twist instead of chocolate |
| Baking powder | Baking soda (half the amount) | In a pinch, though texture is slightly denser |
Want it extra indulgent? Add a small scoop of vanilla ice cream on top right when it comes out of the microwave. The warm cake meets melting ice cream and it’s genuinely one of my favorite quick desserts now.
Want it more cake-like and less fudgy? Add 1 extra tablespoon of milk and microwave for closer to 90 seconds.
Make Ahead Tips
This one’s best fresh, honestly, since the whole point is that warm, gooey center.
But if you want to prep ahead:
- Crush your Oreos and store them in a small container for up to 3 days.
- Pre-measure your dry ingredients into a small bag so all you have to do is add milk and oil when the craving hits.
Nutritional Breakdown (Approximate, per serving)
- Calories: 320-360
- Carbs: 38g
- Fat: 17g
- Sugar: 22g
- Protein: 4g
This will vary depending on the milk and oil you use, but it gives you a general idea.
Leftovers and Storage
Mug cakes are really meant to be eaten right away, but if you somehow have leftovers:
- Cover the mug with plastic wrap and store in the fridge for up to 2 days.
- Reheat in the microwave for 15-20 seconds to bring back that soft texture.
- I don’t recommend freezing this one. The texture gets weirdly dense once thawed.
FAQ
Can I double this recipe?
Yes, just use a larger mug or bowl and add about 30 extra seconds to the microwave time.
Why did my mug cake turn out rubbery?
It’s almost always from overcooking. Even 15 extra seconds can dry it out, so start checking earlier than you think you need to.
Can I bake this in the oven instead?
You can, though the texture and cook time change quite a bit. Bake at 350°F for around 12-15 minutes in an oven-safe ramekin.
Do I need to sift the Oreo crumbs?
Not at all. Uneven crumbs are actually what give this cake its signature texture.
Can kids help make this?
Definitely. Crushing the Oreos is genuinely a fun step for kids, and the whole thing comes together in under 5 minutes with supervision around the microwave.
Wrapping Up
This recipe started as a random experiment on a random weeknight, and now it’s become one of those things I make without even thinking.
It’s the kind of dessert that fits into a busy schedule, a random craving, or a lazy Sunday, all without turning on the oven.
Go grab that sleeve of Oreos sitting in your pantry and give this one a try tonight.
Then come back and let me know in the comments how yours turned out, or if you tried one of the variations above. I’d love to hear which twist becomes your new favorite.