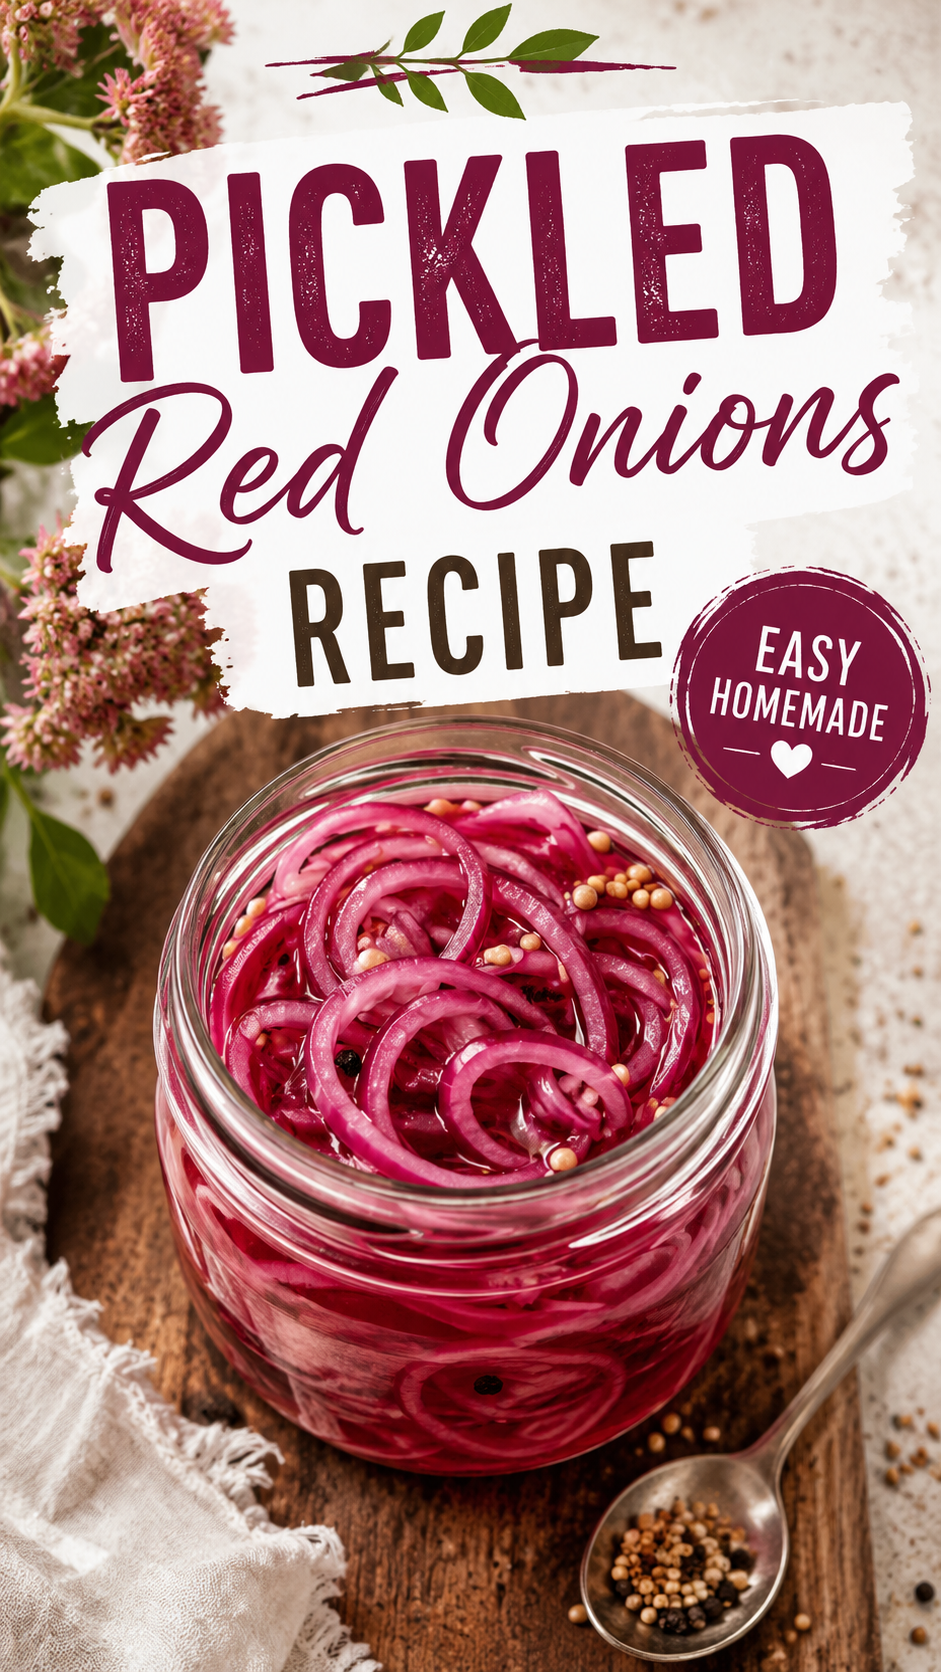
I used to think pickled red onions were one of those “fancy restaurant” things.
Turns out, they’re one of the easiest things you’ll ever make in your kitchen. No canning equipment. No weird chemistry. Just a jar, some vinegar, and 15 minutes of your life.
Once I started making these at home, I couldn’t stop. They went on tacos, burgers, salads, eggs, even straight out of the jar with a fork (no judgment, please).
If you’ve never made your own, today’s the day. Let’s get into it.
What You’ll Need
Here’s everything you’ll need to pull this off:
- 2 large red onions, thinly sliced
- 1 cup apple cider vinegar (or white vinegar)
- 1 cup water
- 2 tablespoons granulated sugar
- 1 tablespoon kosher salt
- 2 cloves garlic, smashed (optional, but I always add it)
- 1 teaspoon black peppercorns (optional)
- 1 bay leaf (optional)
That’s it. No obscure ingredients, no trip to a specialty store required.
Tools You’ll Need
- A sharp knife (or mandoline if you have one)
- A cutting board
- A small saucepan
- A 16 oz mason jar or any glass jar with a lid
- Measuring cups and spoons
How to Make Pickled Red Onions
Step 1: Slice the onions.
Peel your red onions and slice them as thin as you can manage. A mandoline makes this fast and even, but a sharp knife works just fine too.
Step 2: Pack the jar.
Stuff the sliced onions into your mason jar. Push them down a bit so they’re snug, but don’t force it.
Step 3: Make the brine.
In a small saucepan, combine the vinegar, water, sugar, and salt. Heat over medium until the sugar and salt dissolve completely. You don’t need it boiling, just warm enough to dissolve everything.
Step 4: Pour it over.
Pour the hot brine directly over the onions in the jar. Add the garlic, peppercorns, and bay leaf if you’re using them.
Step 5: Let it sit.
Let the jar cool on the counter for about 15 to 20 minutes. You’ll notice the onions turning a brighter, almost neon pink right before your eyes.
Step 6: Seal and chill.
Screw on the lid and pop it in the fridge. They’re technically ready to eat after 30 minutes, but they get better after a few hours.
Pro Tips
1. Slice thin, slice even.
Thicker slices take longer to pickle and end up crunchier instead of that soft, tangy bite you’re after. A mandoline is worth it here.
2. Don’t skip the warm brine.
Cold vinegar works in a pinch, but warm brine pulls color and flavor out of the onions much faster. That vibrant pink you see in restaurant photos? That’s warm brine doing its job.
3. Use a glass jar, not plastic.
Vinegar can react with certain plastics over time and affect the taste. Glass keeps everything clean and neutral.
4. Add a pinch of red pepper flakes for heat.
This one isn’t in the base recipe, but if you like a little kick, toss in a pinch when you pour the brine. It transforms the jar into something you’ll want on literally everything.
5. Make a double batch.
I promise you’ll go through the first jar faster than you expect. Once people in your house discover these exist, the jar empties fast.
Substitutions and Variations
| Swap | Why It Works |
|---|---|
| White onions instead of red | Milder flavor, less vibrant color |
| White vinegar instead of apple cider vinegar | Sharper, more classic pickle taste |
| Honey or maple syrup instead of sugar | Great for a slightly less processed version |
| Lime juice added in | Gives a citrusy, taco-truck style flavor |
| Sliced jalapeño added to the jar | Adds heat and color |
You can also play with the sugar and salt ratio depending on how tangy or sweet you like things. I’ve made batches leaning heavier on sugar for burger toppings and lighter for salads.
Make Ahead Tips
These are basically made to be made ahead.
I usually make a jar on Sunday and use it all week long. The flavor actually improves the longer it sits, up to about a week in.
If you’re prepping for a party or a big weeknight dinner, make the jar the night before. You’ll thank yourself later when everything else is still cooking and this part is already done.
Nutritional Breakdown and Diet Notes
A rough estimate per 2-tablespoon serving:
- Calories: 10-15
- Sugar: 1-2g
- Sodium: 90-120mg
- Fat: 0g
These are naturally vegan, gluten-free, and dairy-free as written. If you’re watching sodium, cut the salt down to half a tablespoon. It’ll still pickle, just with a milder tang.
Meal Pairing Suggestions
Once you have a jar in your fridge, here’s where it goes:
- On tacos or burrito bowls
- Piled on top of burgers or hot dogs
- Mixed into salads for a tangy crunch
- Layered on avocado toast
- Stirred into grain bowls
- On top of eggs (this one surprised me the most)
Honestly, once you have a jar going, you’ll start finding excuses to put it on things.
Leftovers and Storage
Store the jar in the fridge with the lid on tight. They’ll stay good for 2 to 3 weeks, though I’ve personally pushed mine to a month with no issues.
The onions will soften more the longer they sit, which some people actually prefer. If they start looking dull or the liquid gets cloudy, it’s time to toss them.
FAQ
Do I need to boil the vinegar mixture?
No. You just need it warm enough to dissolve the sugar and salt completely. A simmer is more than enough.
Can I reuse the brine for a second batch of onions?
You can, but the second batch won’t pickle as strongly since the brine gets diluted with onion juice from the first round. I’d recommend making fresh brine each time.
Why did my onions turn brown instead of pink?
This usually happens with white or yellow onions instead of red ones. Red onions are what give you that classic bright pink color.
Can I can these for long-term shelf storage?
This recipe is a quick pickle, meant for the fridge, not shelf-stable canning. If you want a shelf-stable version, you’ll need a proper water bath canning process with sterilized jars.
How long before they’re ready to eat?
Technically 30 minutes, but the flavor really rounds out after a few hours or overnight.
Wrapping Up
There’s a reason this recipe shows up in so many kitchens once people try it. It’s fast, it’s cheap, and it makes almost every meal taste a little more exciting.
Make a jar this week and see where it ends up on your plate. I’d love to hear what you put it on, drop a comment below and let me know how it turned out for you.