I’m going to tell you something that might ruin the magic a little.
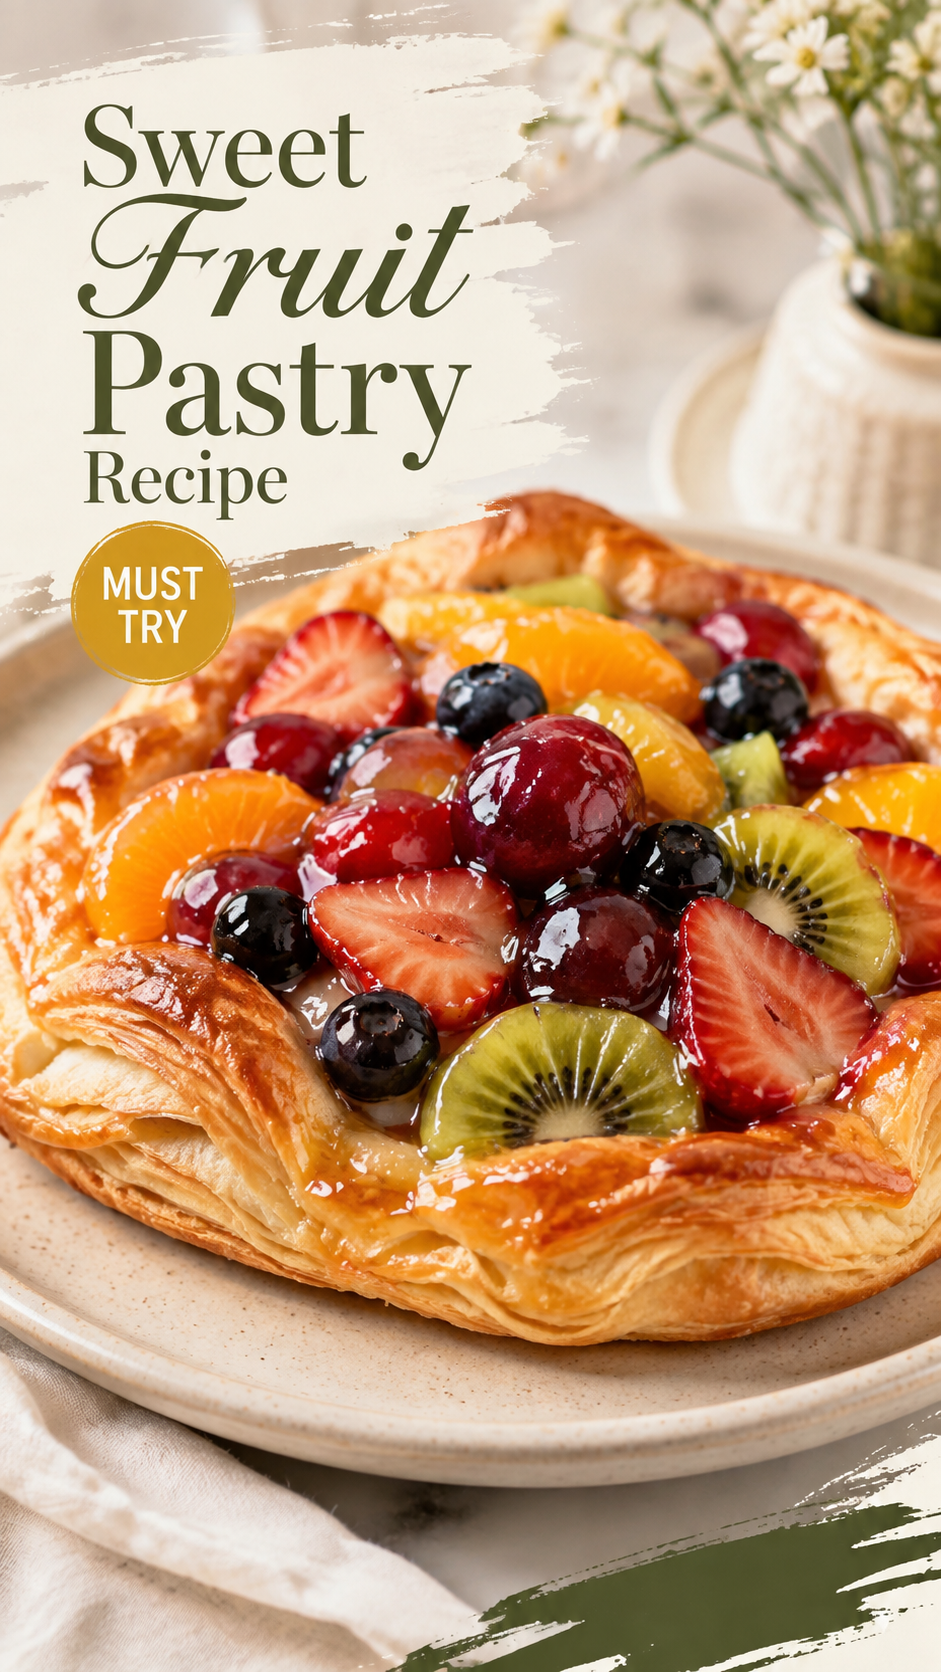
These pastries look like they came from a fancy French bakery. The kind with the little tongs and the marble counters and the price tags that make you wince.
They didn’t.
They came from my kitchen, using one box of store-bought puff pastry and whatever fruit was about to go bad in my fridge. 🍓
Silas walked in while these were cooling on the counter and asked which bakery I hit up. I let him believe it for a solid five minutes before I told him the truth.
That’s the whole appeal here. Minimal effort, maximum “wait, you made this?”
If you’ve got 45 minutes and a fridge full of berries, you’re basically done already.
Why This Recipe Works So Well
Puff pastry is doing all the heavy lifting.
It’s laminated with butter in hundreds of thin layers, so when it hits the oven, it puffs up into these crackly, golden layers without you doing a single fold yourself.
That’s the secret every bakery doesn’t really want you to know. You don’t need pastry skills. You need a freezer aisle.
The fruit filling cooks down into something jammy and glossy in about 8 minutes on the stove. No pectin, no candy thermometer, no stress.
And because everything bakes together in one shot, you get a dessert that looks like it took hours but actually took less time than a sitcom episode.
There’s also the flexibility factor. This recipe bends to whatever’s sitting in your produce drawer. Berries going soft? Perfect. Half a bag of frozen peaches from last summer? Also perfect. The technique stays the same no matter what you’re stuffing inside.
What You’ll Need
Here’s everything going into this batch. Nothing exotic, nothing you’ll only use once.
| Ingredient | Amount |
|---|---|
| Puff pastry sheets (thawed) | 1 box (2 sheets) |
| Mixed berries (strawberries, blueberries, raspberries) | 2 cups, chopped if large |
| Granulated sugar | 1/3 cup |
| Cornstarch | 1 tablespoon |
| Lemon juice | 1 tablespoon |
| Vanilla extract | 1 teaspoon |
| Egg | 1, beaten (for egg wash) |
| Coarse sugar (optional, for sprinkling) | 2 tablespoons |
| Powdered sugar (for drizzle) | 1/2 cup |
| Milk | 1-2 tablespoons |
Tools You’ll Need
- Baking sheet
- Parchment paper
- Small saucepan
- Pastry brush
- Sharp knife or pizza cutter
- Rolling pin (only if your pastry needs a little help)
Pro Tips Before You Start
1. Keep your pastry cold. Warm puff pastry gets sticky and stops puffing right. If it’s sweating on your counter, pop it back in the fridge for 10 minutes before working with it.
2. Don’t skip the cornstarch. It’s the difference between a filling that stays put and one that oozes all over your baking sheet like a science experiment gone wrong.
3. Vent your pastries. Cut a few small slits on top before baking. Steam needs somewhere to go, or your pastries turn into soggy little pillows.
4. Chill the assembled pastries for 10 minutes before baking. This one’s easy to skip and honestly kind of tempting to skip, but it keeps the butter layers firm so they puff up tall instead of spreading flat.
5. Watch them, not the timer. Ovens lie. You want deep golden brown, not pale and not burnt. Start checking at the 15-minute mark.
How to Make Sweet Fruit Pastries
Step 1: Make the Filling
Add the berries, sugar, cornstarch, and lemon juice to a small saucepan.
Cook over medium heat, stirring occasionally, for about 8 minutes. You’re looking for it to thicken up and turn glossy.
Pull it off the heat and stir in the vanilla. Let it cool while you deal with the pastry.
This step matters more than it seems. A warm filling on cold pastry means melted butter and flat pastries. Give it at least 10 minutes to cool down.
Step 2: Prep the Pastry
Unfold your thawed puff pastry sheets onto a lightly floured surface.
Cut each sheet into 6 equal squares or rectangles. You’ll end up with 12 pieces total.
Step 3: Fill and Fold
Spoon about a tablespoon of the cooled fruit filling onto the center of half your pastry pieces.
Don’t overfill. I know the temptation. Resist it. Overfilled pastries burst open and lose all their fruit to the baking sheet.
Top each filled piece with a second piece of pastry. Press the edges together firmly, then crimp with a fork to seal.
Step 4: Chill, Brush, and Vent
Transfer your assembled pastries to a parchment-lined baking sheet.
Chill in the fridge for 10 minutes.
Brush the tops with your beaten egg. Sprinkle with coarse sugar if you’re using it. Cut 2-3 small slits in the top of each one.
Step 5: Bake
Preheat your oven to 400°F while the pastries chill.
Bake for 18-22 minutes, until they’re puffed up and deep golden brown.
Let them cool for at least 10 minutes on the pan. The filling is lava-level hot straight out of the oven.
Step 6: Drizzle and Serve
Whisk the powdered sugar with milk, one tablespoon at a time, until you get a drizzle-able glaze.
Drizzle it over the cooled pastries and let it set for a few minutes before serving.
Substitutions and Variations
| Instead of… | Try… |
|---|---|
| Mixed berries | Diced peaches, apples, or cherries |
| Puff pastry | Phyllo dough (adjust bake time down, watch closely) |
| Coarse sugar | Cinnamon sugar for a warmer flavor |
| Powdered sugar glaze | Cream cheese glaze (mix in 2 oz softened cream cheese) |
| Fresh berries | Frozen berries, thawed and drained well |
Want to make these savory instead? Skip the sugar and vanilla, and fill with brie and fig jam. Wildly different, equally addictive.
Make Ahead Tips
You can prep the fruit filling up to 3 days ahead and keep it in the fridge in a sealed container.
You can also assemble the full pastries, unbaked, and freeze them on a tray until solid. Once frozen, transfer to a freezer bag. Bake straight from frozen, just add an extra 5-7 minutes to the bake time.
What you shouldn’t do is glaze them ahead of time. That glaze needs to go on after baking, once they’ve cooled, or it just melts into a sugary puddle.
Storage and Leftovers
These are best the day they’re made, but leftovers still hold up.
Store cooled pastries in an airtight container at room temperature for up to 2 days.
To bring back that flaky texture, reheat in a 350°F oven for 5-7 minutes. Skip the microwave. It turns the pastry soft and a little sad instead of crisp.
They also freeze well after baking. Wrap tightly and freeze for up to 2 months. Thaw at room temperature, then reheat in the oven.
Pairing Suggestions
A scoop of vanilla ice cream on the side turns this into a full dessert instead of just a treat.
For breakfast (yes, this counts as breakfast in my house), pair one with black coffee and something savory like eggs, so you’re not eating pure sugar first thing.
They also travel well, so they’re a solid pick for a brunch spread or a potluck where you want something that looks more impressive than it was to make.
If you’re hosting, set out a couple different glazes in small bowls (plain powdered sugar and cream cheese) and let people drizzle their own. It turns a simple pastry into a mini dessert bar without any extra effort on your end.
And if you’re pairing with a drink for an evening version, a sweet dessert wine or a strong iced tea both work nicely against the tartness of the berries.
Estimated Nutrition (Per Pastry)
This is an estimate based on standard ingredient brands. Numbers will shift depending on the exact products you use, so double check if you’re tracking closely.
| Nutrient | Amount |
|---|---|
| Calories | ~180 |
| Carbohydrates | 22g |
| Sugar | 10g |
| Fat | 9g |
| Protein | 2g |
FAQ
Can I use frozen puff pastry straight from the freezer? No, thaw it first. Frozen pastry cracks and tears when you try to work with it. Let it sit in the fridge overnight or on the counter for about 40 minutes.
Why did my pastries leak filling everywhere? Usually it’s overfilling or not sealing the edges tightly enough. A firm crimp with a fork goes a long way here.
Can I make these bigger, like a full-sized turnover? Yes. Just cut larger squares and add a few extra minutes to the bake time. Check for that deep golden color instead of relying on the clock.
Do I have to chill the pastries before baking? You don’t have to, but I’d really recommend it. It keeps the layers from spreading out flat instead of puffing up.
What’s the best fruit for this if I only have one kind? Strawberries and peaches both hold their shape well and don’t turn to mush. Blueberries work too, they just release a bit more juice.
Wrapping Up
So that’s the whole trick behind pastries that look way more impressive than they actually are to make.
One box of puff pastry, some fruit, and 45 minutes, and suddenly you’ve got something that looks like it came from a bakery with a French name you can’t pronounce.
Give these a try this week and let me know how they turned out in the comments below. I want to know what fruit you used, and I want to know if your own personal Silas also assumed you bought them somewhere fancy. 😄
Got questions about the process? Drop them below too, I read every comment.