A one-pan plant-based meal that’s on the table in 20 minutes. And it tastes nothing like “eating healthy.”
I used to think Swiss chard was just kale’s less popular cousin. The kind of leafy green you walk past at the grocery store, feel virtuous for noticing, and then never actually buy.
Then I made this dish.
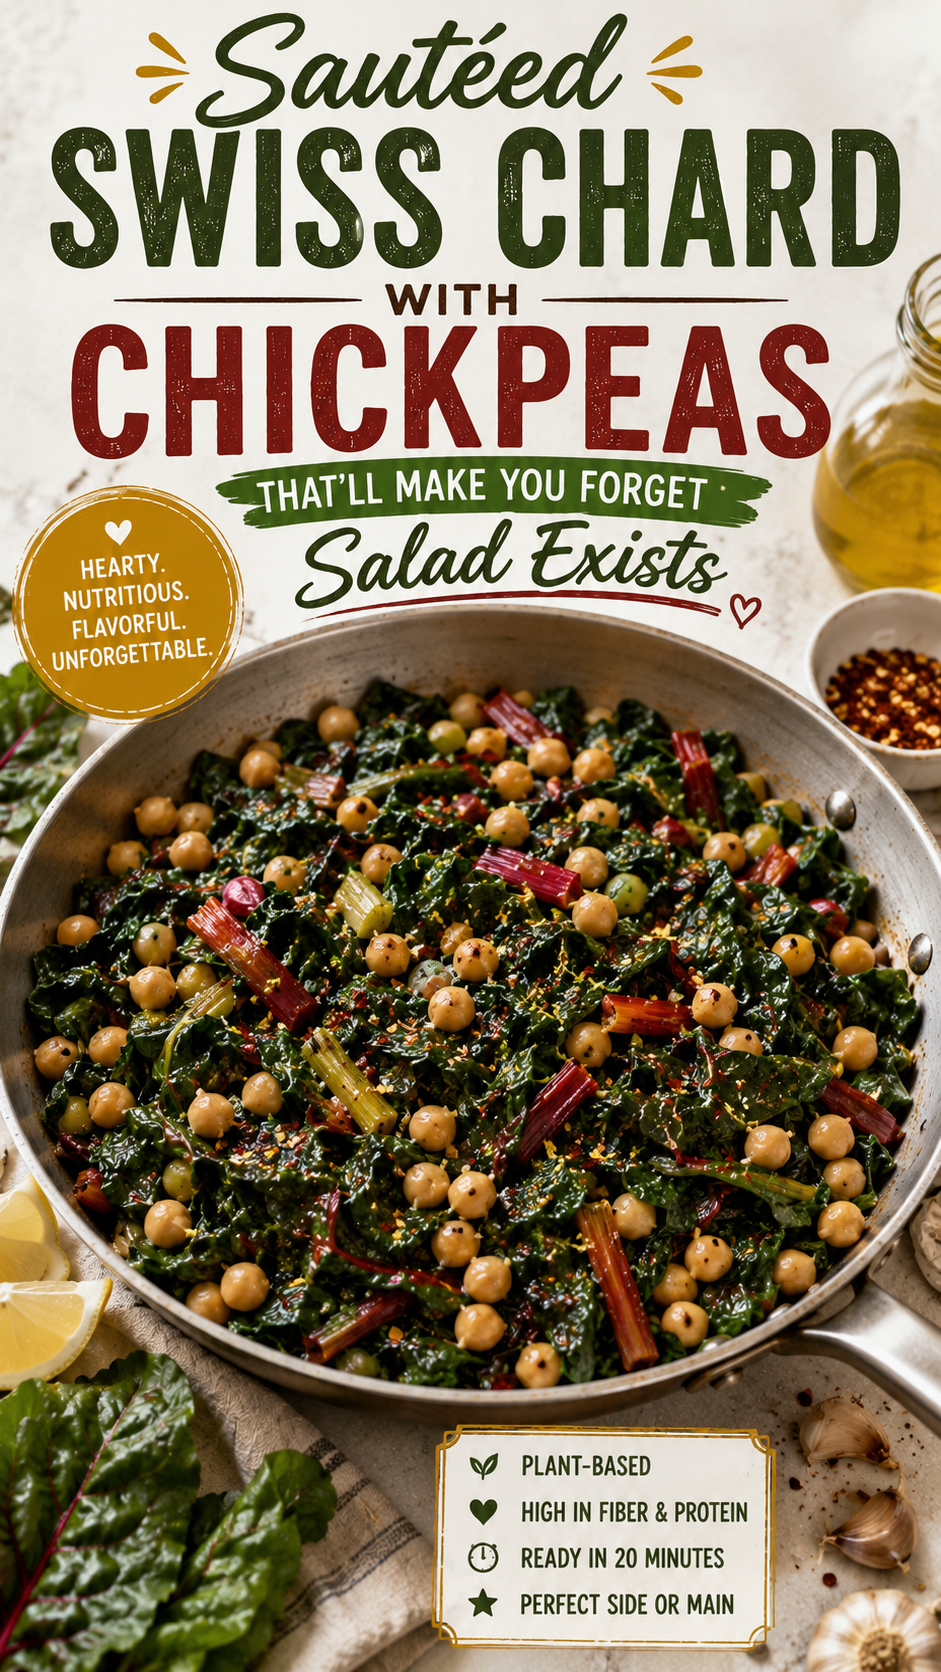
Sautéed Swiss chard with chickpeas has been one of those weekly staples I never saw coming. It’s earthy, garlicky, slightly lemony, and the chickpeas add this satisfying bite that makes it feel like an actual meal — not a side dish you eat while wishing you’d ordered pizza.
It takes 20 minutes. Uses one pan. And costs almost nothing to make.
The people who are most surprised by this recipe? Meat eaters. Every single time.
What You’ll Need
Serves 4 | Prep: 5 min | Cook: 15 min
Produce:
- 1 large bunch of Swiss chard (about 10–12 large leaves), stems and leaves separated
- 5 cloves of garlic, minced
- 1 medium yellow onion, diced
- 1 lemon (zested + juiced)
- Red chili flakes (a pinch or more, your call)
Pantry:
- 1 can (15 oz / 425g) chickpeas, drained and rinsed
- 3 tablespoons extra virgin olive oil
- 1/2 teaspoon smoked paprika
- Salt and black pepper to taste
Optional but worth it:
- 2 tablespoons nutritional yeast (adds a cheesy, nutty depth)
- 1/4 teaspoon cumin
Tools You’ll Need
- Large skillet or sauté pan (12-inch works great)
- Sharp chef’s knife
- Cutting board
- Wooden spoon or silicone spatula
- Colander (for rinsing the chickpeas)
- Citrus juicer or just your hands — no judgment
Pro Tips
These come from making this recipe way too many times to count:
- Don’t skip separating the stems. The stems take longer to cook than the leaves. Add them first, let them soften for 2–3 minutes, then add the leaves. This one step makes a huge difference in texture.
- Dry your chickpeas before they hit the pan. Pat them with a paper towel after rinsing. Wet chickpeas steam instead of sauté, and you lose that slightly crispy edge that makes them so good here.
- Let the garlic get golden — not burnt. There’s a 10-second window between perfect golden garlic and bitter, acrid garlic. Stay close. Medium heat is your friend.
- Add the lemon juice at the very end. If you add it too early, it turns the chard a sad army-green color. Off the heat, squeeze it on top, toss everything together, and the color stays vivid.
- Taste before you serve. Swiss chard can be naturally bitter depending on the bunch. If it tastes a little sharp, add a tiny pinch of sugar or a drizzle of olive oil. Fixed every time.
Substitutions and Variations
Swap the Swiss chard for:
- Kale (add a splash of water and cook 2 extra minutes)
- Spinach (cook time drops to 2 minutes total — spinach wilts fast)
- Lacinato (Tuscan) kale for a milder, more tender bite
Swap the chickpeas for:
- White cannellini beans (creamier texture, milder flavor)
- Lentils, already cooked (earthy and filling)
- Diced firm tofu, pan-fried first (adds protein + a great texture)
Make it spicy: Double the chili flakes and add 1/4 teaspoon cayenne.
Make it creamy: Stir in 2 tablespoons of tahini right at the end with a splash of water. It turns this into something completely different — in the best way.
Make it Mediterranean: Add sun-dried tomatoes, kalamata olives, and a crumble of feta on top before serving.
Make Ahead Tips
This dish reheats beautifully, which makes it perfect for meal prepping.
- Prep the vegetables in advance: Chop everything up and store in airtight containers in the fridge for up to 2 days before cooking.
- Make the full dish ahead: Cook it completely, let it cool, and refrigerate. It actually tastes better the next day once the flavors have had time to settle.
- Reheat method: Warm it in a skillet over medium heat with a splash of water or olive oil. Microwave works too, but the skillet keeps the chickpeas from going mushy.
How to Make It
Step 1: Prep the chard. Wash and dry the Swiss chard well. Slice the stems off and cut them into 1-inch pieces. Stack the leaves, roll them up, and slice into rough ribbons. Keep the stems and leaves in two separate piles — they go into the pan at different times.
Step 2: Sauté the aromatics. Heat the olive oil in your skillet over medium heat. Add the diced onion and cook for 3–4 minutes until soft and translucent. Add the garlic and chili flakes and cook for another 60–90 seconds, stirring constantly. You want the garlic golden, fragrant, and just starting to color.
Step 3: Cook the chard stems. Add the chard stems to the pan. Season with salt, smoked paprika, and cumin if using. Cook for 2–3 minutes, stirring occasionally, until the stems start to soften.
Step 4: Add the chickpeas. Toss in the drained, dried chickpeas. Stir everything together and let it sit for 1–2 minutes undisturbed so the chickpeas get a little color on them. Then stir again.
Step 5: Add the chard leaves. Add all the chard ribbons in batches if needed — they’ll look like a mountain at first, but they wilt down significantly within 2–3 minutes. Toss everything together and cook until fully wilted.
Step 6: Season and finish. Remove the pan from heat. Add the lemon zest, lemon juice, nutritional yeast if using, and a generous pinch of black pepper. Taste and adjust salt. Serve immediately.
Nutritional Breakdown
Per serving (approx.)
| Nutrient | Amount |
|---|---|
| Calories | ~280 kcal |
| Protein | 10g |
| Carbohydrates | 32g |
| Fiber | 9g |
| Fat | 11g |
| Iron | 25% DV |
| Vitamin K | 300%+ DV |
| Vitamin C | 45% DV |
Swiss chard is genuinely one of the most nutrient-dense leafy greens you can eat. It has more iron per calorie than beef. That’s not a typo. 🌿
Meal Pairing Ideas
This dish is a complete meal on its own, but here’s what it plays well with:
- Crusty sourdough bread — for mopping up all the garlicky olive oil at the bottom of the pan
- Steamed basmati or brown rice — makes it more filling and stretches it further
- A fried or poached egg on top — takes it from plant-based to just-works-for-everyone
- Warm flatbread or pita — scoop it up like a dip situation
Leftovers and Storage
Refrigerator: Store in an airtight container for up to 4 days. The flavors intensify overnight, so day-two leftovers are genuinely great.
Freezer: You can freeze it, but the texture of the chard changes significantly. The chickpeas hold up fine. If you’re going to freeze it, blend it into a soup instead — it turns into something incredible with some vegetable broth added.
Repurpose leftovers as:
- A filling for stuffed pita or wraps
- A topping for toast with hummus
- Stirred into scrambled eggs for breakfast
- Mixed with pasta and a little pasta water for a quick weeknight dinner
FAQ
Can I use canned Swiss chard or frozen? Fresh is strongly preferred here. Canned chard is over-cooked and mushy before it even hits your pan. Frozen spinach can work as a substitute, but it’s a different dish at that point.
My chard tastes really bitter. What do I do? Add a small pinch of sugar or a tiny drizzle of honey to the pan. Acidity from the lemon also helps counteract bitterness. Some batches of chard are just naturally more bitter than others — it’s not something you did wrong.
Can I make this oil-free? Yes. Sauté the onion and garlic in 3–4 tablespoons of vegetable broth instead of oil, adding more as needed to prevent sticking. The result is slightly less rich, but still really good.
Is this recipe gluten-free? Yes, naturally. Every ingredient in this recipe is gluten-free. Just double-check your canned chickpeas if you’re highly sensitive, as some brands process them in shared facilities.
Can I double the recipe? Absolutely. Use a larger pan or do it in two batches so the chard has room to wilt properly instead of steaming in a pile.
The chickpeas aren’t getting crispy — what am I doing wrong? Two likely culprits: the pan isn’t hot enough, or the chickpeas are still wet. Make sure they’re well-dried after rinsing, and let them sit in a single layer without stirring for a full minute or two.
Wrapping Up
If you’ve been sleeping on Swiss chard the way I used to, this is your sign to actually buy it this week.
This dish is the kind of meal that makes you feel genuinely good — during, after, and the next day when you’re eating it cold straight from the container. It’s fast, affordable, nutrient-packed, and it tastes like something you’d order at a restaurant and then feel clever for recreating at home.
Give it a try. And when you do, drop a comment below — I want to hear how it went, what you swapped in, and whether you liked it more on day one or day two. Someone in the comments once said they added tahini and za’atar and I’ve been thinking about it ever since.
Ask questions too. No question is too small when you’re cooking something for the first time. 👇