You know that one dish that somehow feels like a restaurant meal but takes almost no effort to pull off at home?
This is it.
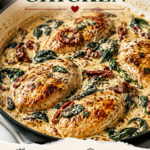
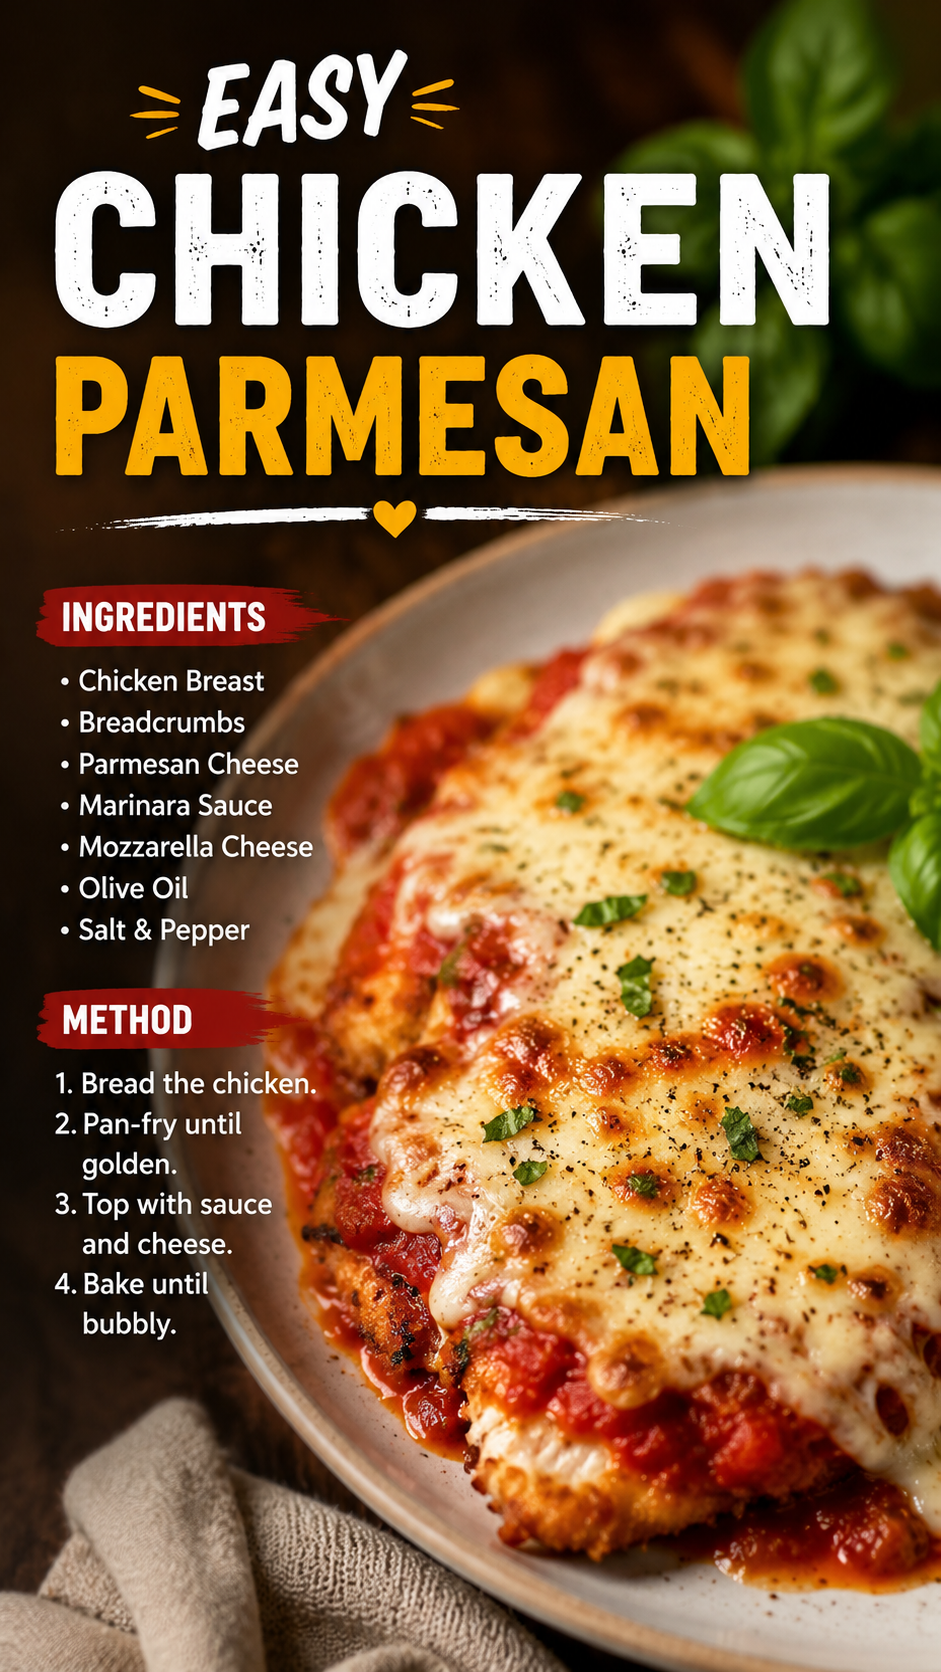
Chicken parmesan sounds fancy. It’s not. It’s crispy breaded chicken, covered in marinara, smothered in melted cheese, and baked until golden. And once you try a homemade version, you’ll never order it out again.
I mean it. This recipe is that good.
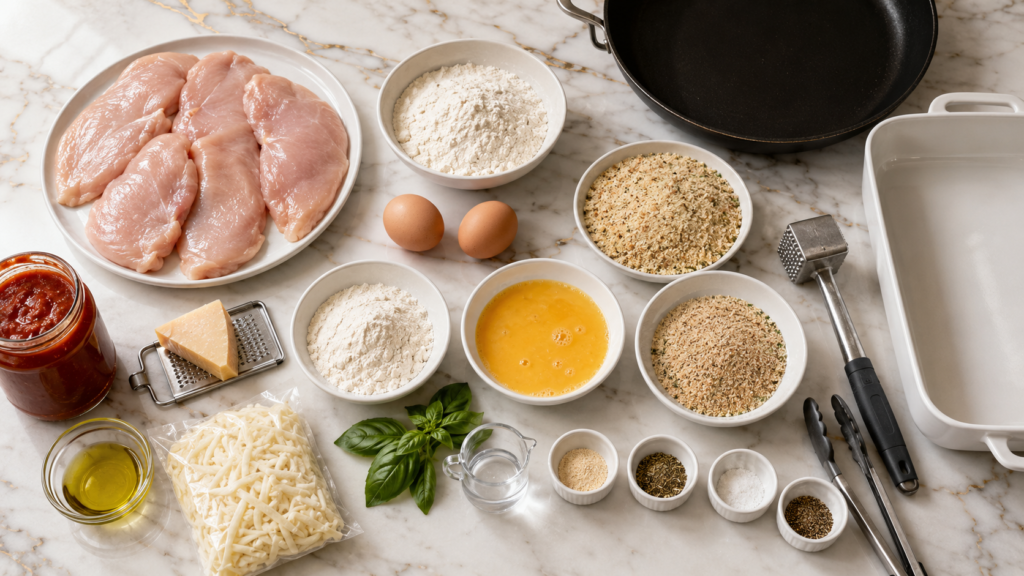
What You’ll Need
For the Chicken
- 2 large boneless, skinless chicken breasts (halved lengthwise to make 4 thin cutlets)
- 1 cup all-purpose flour
- 2 large eggs
- 1 tablespoon water
- 1 cup Italian breadcrumbs
- ½ cup grated Parmesan cheese (plus more for topping)
- 1 teaspoon garlic powder
- 1 teaspoon dried oregano
- ½ teaspoon salt
- ½ teaspoon black pepper
- ½ cup olive oil (for pan-frying)
For the Topping
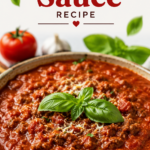
- 1½ cups marinara sauce (store-bought or homemade)
- 1½ cups shredded low-moisture mozzarella cheese
- Fresh basil leaves (optional, for serving)
Tools You’ll Need
- Large skillet or frying pan
- Baking dish (9×13 inch)
- 3 shallow bowls or plates (for the breading station)
- Meat mallet or rolling pin
- Tongs
- Paper towels
- Wire rack (optional but great)
- Oven
Pro Tips
These are the things that actually make a difference — especially if this is your first time making it.
- Pound your chicken thin. Thick cutlets take forever to cook through and the outside burns before the inside is done. Aim for about ½ inch thick. Evenly thin = perfectly cooked every time.
- Season every layer. Add salt and pepper to the flour, to the egg wash, and to the breadcrumbs. This is the secret to chicken parm that actually has flavor all the way through — not just on the outside.
- Don’t skip the pan-fry. Some recipes go straight into the oven. Do not do this. A quick fry first gets you that golden, crispy crust that holds up under all that sauce and cheese. The oven alone just won’t get you there.
- Less sauce is more. Drown the chicken and you’ll lose all that crispiness you just worked for. A light layer of marinara over the top is all you need.
- Let it rest for 5 minutes after baking. I know it’s tempting to dig in immediately. Give it just 5 minutes — the cheese sets, the juices redistribute, and the whole thing holds together way better on the plate.
Substitutions and Variations
Cooking for different dietary needs or just want to switch things up?
- Gluten-free: Use gluten-free flour and breadcrumbs. Works perfectly.
- Dairy-free: Sub in dairy-free mozzarella and nutritional yeast instead of Parmesan. It’s surprisingly good.
- Baked, not fried: Brush the breaded chicken with olive oil and bake at 425°F (220°C) for 20 minutes before adding the toppings. You’ll get less crunch but it’s still delicious.
- Chicken thighs: Boneless, skinless thighs work great here. They’re juicier and a little more forgiving if you overcook them slightly.
- Spicy kick: Add ½ teaspoon of red pepper flakes to the breadcrumb mixture.
- Fresh mozzarella: Swap shredded mozzarella for fresh slices. It melts beautifully and gives the whole dish a more elevated feel.
Make-Ahead Tips
- Bread the chicken cutlets up to 24 hours in advance and store them uncovered on a wire rack in the fridge. This actually helps the coating stick better.
- The fully assembled (but unbaked) dish can sit in the fridge for up to 8 hours before baking. Just add 5-7 extra minutes to the bake time since it’ll be cold.
- Marinara sauce can be made 3-4 days ahead and stored in the fridge.
Nutritional Breakdown (Per Serving, Approx.)
| Nutrient | Amount |
|---|---|
| Calories | ~520 kcal |
| Protein | ~45g |
| Carbohydrates | ~28g |
| Fat | ~24g |
| Saturated Fat | ~8g |
| Sodium | ~780mg |
| Fiber | ~2g |
Based on 4 servings using pan-fried method. Values are estimates.
Diet swaps:
- Keto-friendly: Use almond flour and crushed pork rinds instead of breadcrumbs
- Lower calorie: Bake instead of fry and use part-skim mozzarella
- High protein: Serve with a side of white beans or pair with lentil pasta
Meal pairing suggestions:
- Classic spaghetti with marinara
- Garlic bread
- Caesar salad
- Roasted zucchini or asparagus
- Simple arugula salad with lemon and olive oil
How to Make Chicken Parmesan
Step 1: Prep the Chicken
Place the chicken breasts on a cutting board and slice them in half lengthwise to create 4 thinner cutlets.
Cover with plastic wrap and pound them to about ½ inch thickness using a meat mallet or rolling pin. This step matters — don’t skip it.
Pat the chicken completely dry with paper towels. Moisture is the enemy of a crispy crust.
Step 2: Set Up Your Breading Station
Grab 3 shallow bowls or plates and set them up in a row:
- Bowl 1: Flour, ½ teaspoon salt, ½ teaspoon black pepper
- Bowl 2: Eggs whisked with 1 tablespoon water
- Bowl 3: Breadcrumbs, grated Parmesan, garlic powder, dried oregano
Step 3: Bread the Chicken
Working one cutlet at a time:
- Coat in flour, shaking off the excess
- Dip in the egg wash, letting the excess drip off
- Press into the breadcrumb mixture on both sides until fully coated
Set the breaded cutlets on a plate while you bread the rest.
Step 4: Pan-Fry Until Golden
Heat ½ cup olive oil in a large skillet over medium-high heat. You’ll know it’s ready when a pinch of breadcrumbs sizzles immediately on contact.
Cook the chicken 2-3 minutes per side until deep golden brown. You’re not cooking it through here — just getting that gorgeous crust.
Transfer to a paper towel-lined plate and pat off any excess oil.
Step 5: Assemble and Bake
Preheat your oven to 400°F (200°C).
Arrange the fried cutlets in a single layer in your baking dish. Spoon about 2-3 tablespoons of marinara sauce over each cutlet (not drowning them — just a layer).
Top with shredded mozzarella and a sprinkle of Parmesan.
Bake for 15-18 minutes until the cheese is melted and bubbling with golden spots on top.
Step 6: Rest and Serve
Let the dish rest for 5 minutes before serving. Top with fresh basil if you have it.
Serve over pasta, with garlic bread, or honestly just on its own. It’s that good either way.
Leftovers and Storage
- Fridge: Store leftovers in an airtight container for up to 3 days
- Freezer: Freeze individually for up to 2 months — freeze before adding sauce and cheese for the best results when reheating
- Reheating: Oven at 375°F (190°C) for 10-15 minutes is the move. Microwaving works but you’ll lose the crisp. Air fryer at 350°F for 5-6 minutes is actually amazing
- Pro storage tip: Store the pasta separately from the chicken so neither gets soggy
Frequently Asked Questions
Can I use store-bought marinara sauce? Yes, and honestly a really good jarred marinara is completely fine here. Look for one with simple ingredients — tomatoes, olive oil, garlic, basil. Rao’s Homemade is a crowd favorite for a reason.
Why is my chicken parm soggy? A few things could cause this: too much sauce, not patting the chicken dry before breading, or not getting the oil hot enough before frying. Also — don’t cover it while it bakes. Steam = soggy crust.
Do I have to pound the chicken? Short answer: yes. Uneven thickness means uneven cooking. You’ll end up with parts that are overcooked and dry while other parts are still underdone. 5 minutes of pounding saves the whole dish.
Can I make this ahead for a dinner party? Absolutely. Bread the chicken a day in advance and store on a wire rack in the fridge. Fry, assemble, and refrigerate up to 8 hours before. Bake when guests arrive. Everyone thinks you’ve been cooking all day. 😄
What’s the difference between chicken parmesan and chicken milanese? Chicken Milanese is basically the fried cutlet without the sauce and cheese. Chicken Parmesan takes it a step further with the marinara and melted mozzarella on top. Both are incredible — but parm wins for pure comfort.
Can I use chicken thighs? Yes! Boneless, skinless thighs are juicier and a bit harder to overcook. They work perfectly with this same method.
My breading keeps falling off. What am I doing wrong? Make sure you’re patting the chicken completely dry before you start. Also press the breadcrumbs firmly into the chicken — don’t just sprinkle them on. And don’t move the chicken around in the pan while it fries. Let it sit and get a good crust before you flip.
Wrapping Up
If there’s one recipe to add to your weekly rotation this month, it’s this one.
It looks impressive, it tastes like something from a restaurant, and it genuinely isn’t that hard. You’re just frying some chicken and melting some cheese. But the result? Completely worth it every single time.
Give it a go this week and come back to leave a comment below. Tell me how it turned out, what you served it with, or any swaps you made. I genuinely love hearing how these recipes work out in your kitchen.
And if you ran into any issues or have questions I didn’t cover — drop them in the comments too. I’ll get back to you. 👇