Have you ever made something so good that you got a little smug about it?
That’s what happened the first time I made these beef short ribs.
My husband took one bite, put his fork down, and said “why would I ever order these out again.” I’ve been riding that high ever since. 🙌
Short ribs have this reputation for being fancy restaurant food. Something you order on date night, not something you make on a random Tuesday.
But here’s the thing nobody tells you: they’re actually one of the easiest cuts of meat to cook well. The oven does basically all the work.
You just need a little patience and a good sear. That’s it. That’s the secret.
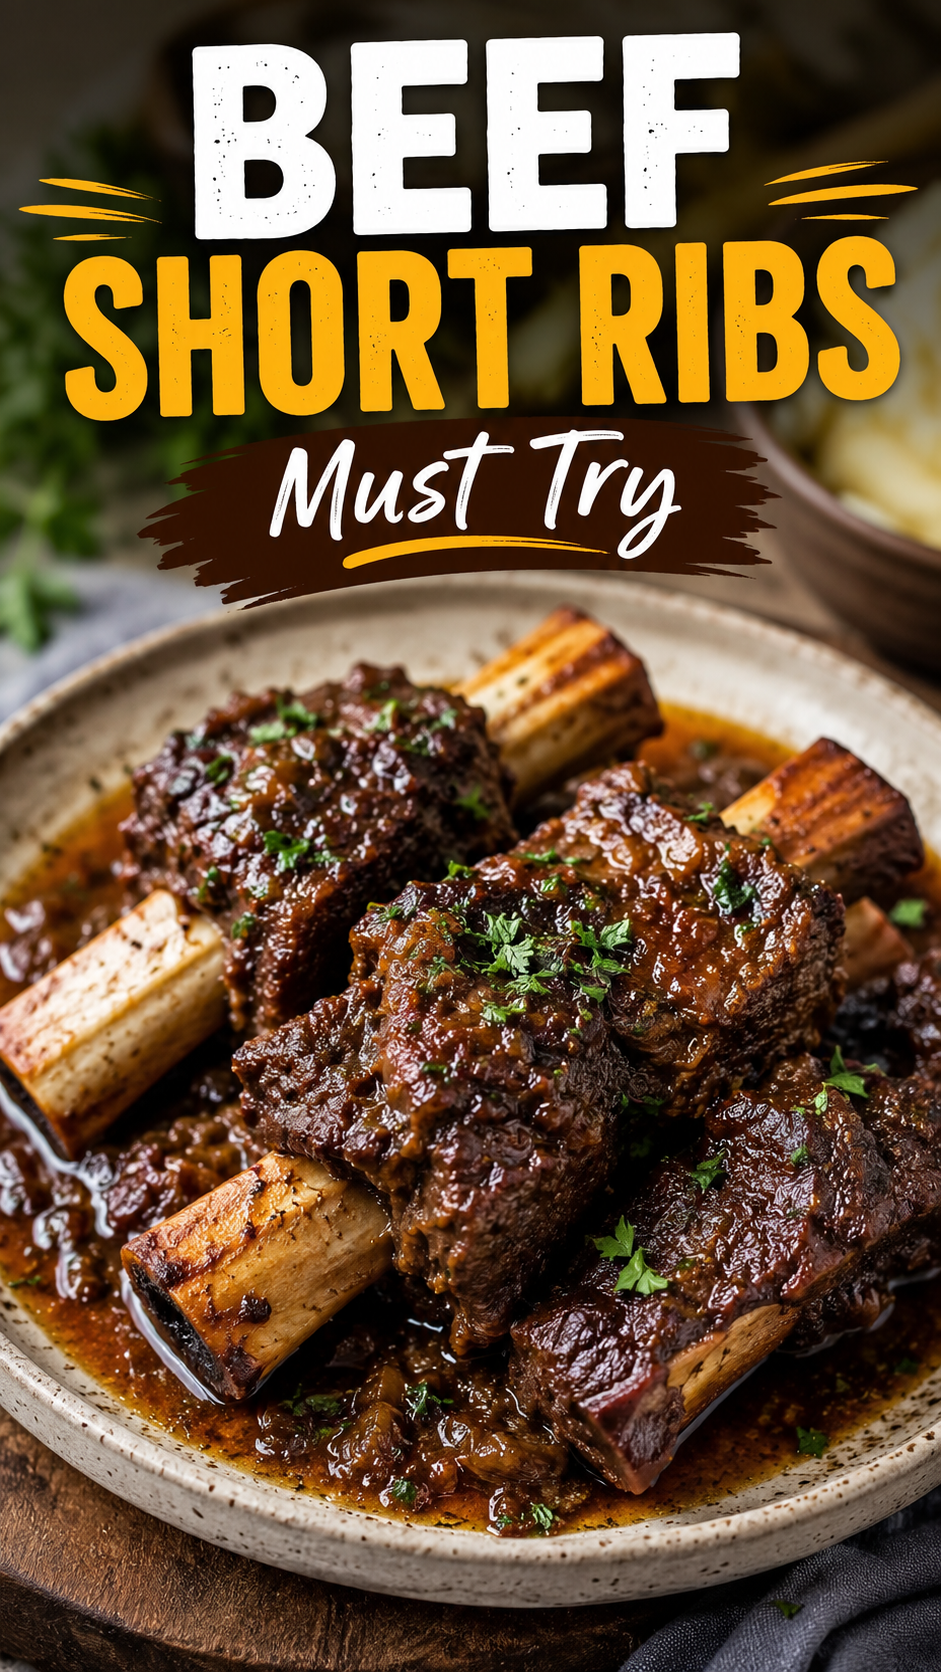
By the end of this, you’ll have deeply browned, fall-apart-tender short ribs sitting in a rich, savory sauce that tastes like it took all day (because it kind of did, but you weren’t the one doing the work).
Let’s get into it.
Why This Recipe Works
Short ribs are a tough cut of meat, packed with connective tissue and fat.
Cook them fast and hot like a steak, and they’ll be chewy and sad. Cook them low and slow, and that connective tissue melts into gelatin, basically self-basting the meat until it’s silky and tender.
That’s the whole trick. Time + low heat = magic.
The braising liquid also does double duty here. It tenderizes the meat AND turns into a rich sauce you’ll want to drink with a straw.
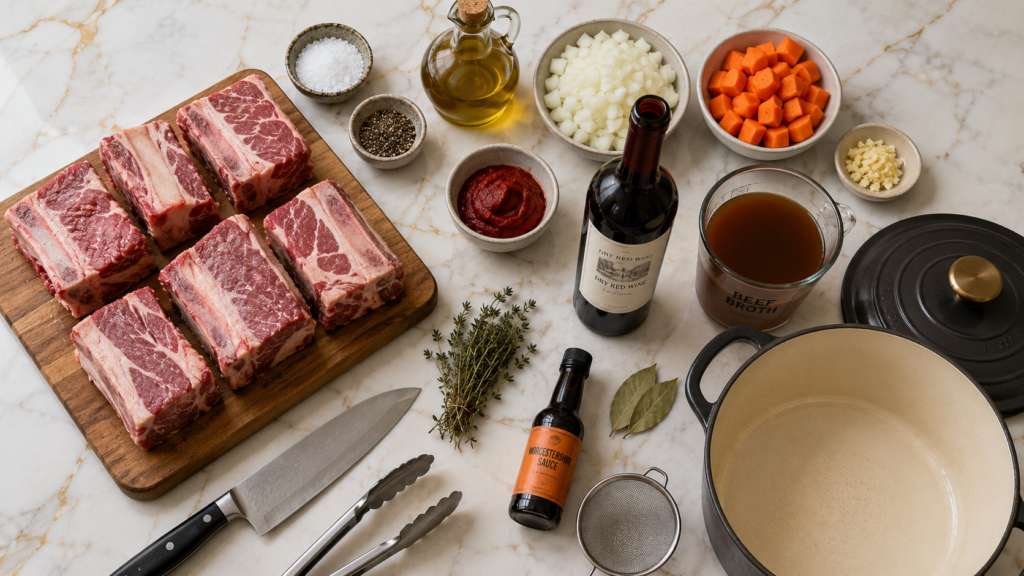
What You’ll Need
For the short ribs:
- 4 lbs bone-in beef short ribs (English cut works best)
- 2 tsp kosher salt
- 1 tsp black pepper
- 2 tbsp olive oil
For the braising liquid:
- 1 large yellow onion, diced
- 3 carrots, chopped into large chunks
- 4 garlic cloves, minced
- 2 tbsp tomato paste
- 1 cup dry red wine (something you’d actually drink)
- 2 cups beef broth
- 2 sprigs fresh thyme
- 2 bay leaves
- 1 tbsp Worcestershire sauce
Tools You’ll Need
- Large Dutch oven (or any heavy, oven-safe pot with a lid)
- Tongs
- Cutting board + sharp knife
- Measuring cups and spoons
- Fine mesh strainer (optional, for a smoother sauce)
Pro Tips
- Don’t skip the sear. I know it’s tempting to just throw everything in the pot. But those brown, crispy bits on the meat are where most of the flavor comes from. Give each side a solid 3-4 minutes.
- Pat the ribs dry before searing. Wet meat steams instead of browns, and you’ll end up with a gray, sad-looking sear. A few paper towels fix this instantly.
- Low and slow really means it. I know 300°F for 3 hours feels excessive. It’s not. Rushing this with higher heat will leave you with tough, chewy meat, which defeats the entire point of a short rib.
- Skim the fat before serving. Once the braising liquid cools slightly, the fat rises to the top. A quick skim with a spoon makes the sauce so much cleaner and less greasy.
- Make it a day ahead if you can. Short ribs are one of those rare dishes that taste even better the next day, once the flavors have had time to sit together.
Step-by-Step Instructions
1. Season and sear the ribs. Pat the short ribs completely dry, then season generously with salt and pepper on all sides.
Heat olive oil in your Dutch oven over medium-high heat until it’s shimmering.
Sear the ribs in batches (don’t crowd the pot) for 3-4 minutes per side, until deeply browned. Set aside on a plate.
2. Build the base. In the same pot, drop the heat to medium and add your onions and carrots.
Cook for about 5 minutes, until the onions turn soft and translucent. Add the garlic and cook for another minute, just until fragrant.
3. Add the tomato paste. Stir in the tomato paste and cook for 1-2 minutes. This step deepens the flavor so don’t rush past it.
4. Deglaze with wine. Pour in the red wine, scraping up all those browned bits stuck to the bottom of the pot. This is where a huge chunk of the flavor lives, so don’t skip it.
Let the wine simmer for 2-3 minutes to cook off some of the alcohol.
5. Add everything else. Pour in the beef broth and Worcestershire sauce, then nestle the short ribs back into the pot along with the thyme sprigs and bay leaves.
The liquid should come about halfway up the ribs. Add a splash more broth if needed.
6. Braise low and slow. Bring everything to a gentle simmer on the stovetop, then cover and transfer to a 300°F oven.
Braise for 3 to 3.5 hours, until the meat is fork-tender and practically falling off the bone.
7. Rest, strain, and serve. Remove the ribs and set aside. Strain the braising liquid, discarding the solids, and skim off the excess fat.
If you want a thicker sauce, simmer the strained liquid on the stovetop for 5-10 minutes until it reduces slightly.
Spoon the sauce generously over the ribs and serve hot.
Substitutions and Variations
| Original | Swap | Notes |
|---|---|---|
| Red wine | Extra beef broth + 1 tbsp balsamic vinegar | Still rich, alcohol-free |
| English cut short ribs | Flanken cut | Cooks a bit faster, slightly different texture |
| Beef broth | Chicken or vegetable broth | Slightly lighter flavor |
| Fresh thyme | 1/2 tsp dried thyme | Use less, dried is more concentrated |
| Carrots | Parsnips or celery | Any sturdy root vegetable works |
Variation idea: Add a splash of soy sauce and a knob of fresh ginger for an Asian-inspired twist. It sounds unusual, but it works shockingly well with the richness of the beef.
Make Ahead Tips
This recipe is genuinely one of those dishes that’s built for making ahead.
Braise the ribs completely, let them cool in the liquid, then store everything together in the fridge for up to 3 days.
When you’re ready to eat, just reheat everything gently on the stovetop until warmed through. The flavor actually improves overnight.
You can also freeze the cooked ribs and sauce together for up to 3 months. Thaw overnight in the fridge before reheating.
Nutrition and Pairing Suggestions
Nutrition estimates below are approximate and calculated per serving (based on 6 servings total). I’d recommend running the exact ingredients through Cronometer before publishing anything official, since brands and cuts of meat can vary quite a bit.
Approximate values per serving:
- Calories: 520
- Protein: 38g
- Fat: 34g
- Carbohydrates: 8g
Pairing suggestions:
- Creamy mashed potatoes or polenta (something to soak up that sauce)
- Roasted garlic green beans
- A simple arugula salad with lemon vinaigrette to cut the richness
- The same red wine you cooked with, for serving
Storage and Reheating
Fridge: Store in an airtight container for up to 4 days.
Freezer: Freeze in a freezer-safe container, submerged in the sauce, for up to 3 months.
Reheating: Gently reheat on the stovetop over low heat, covered, until warmed through. You can also reheat in a 300°F oven for about 20 minutes. Avoid the microwave if you can. It tends to dry out the meat.
FAQ
Can I make this in a slow cooker? Yes. Sear the ribs first (don’t skip this part), then transfer everything to a slow cooker and cook on low for 8 hours or high for 4-5 hours.
Do I have to use wine? Nope. Check the substitutions table above for an alcohol-free option that still packs plenty of flavor.
Why are my short ribs still tough after cooking? This almost always means they need more time. Short ribs are forgiving, but they do need that long, slow cook to break down properly. If they’re still tough, just cover and cook longer.
Can I use boneless short ribs? Yes, though bone-in tends to give more flavor to the sauce. If using boneless, check for doneness a bit earlier since they may cook slightly faster.
What’s the difference between English cut and flanken cut? English cut is thicker, with the bone running along one side. Flanken cut is sliced thinner across the bones. Either works here, though cooking times may vary slightly.
Wrapping Up
If you’ve been intimidated by short ribs, I hope this convinced you they’re actually one of the easiest things you can make.
Most of the work is just waiting, and your kitchen is going to smell incredible the entire time.
Give this one a try this weekend, and let me know how it turns out in the comments below. I’d love to hear if you tried any of the variations, or if this became a new favorite in your house like it did in mine.