Can one pot of chili actually make you rethink your entire dinner rotation?
Mine did.
I wasn’t expecting much when I threw this together on a random Tuesday. Just ground beef, some pantry staples, and a pot I almost didn’t feel like washing.
Two bowls later, my husband asked if we could have it again the next night. That never happens.
So here’s the recipe, written exactly the way I made it, with every shortcut and trick I picked up along the way. 🌶️
Why This Beef Chili Recipe Works
This isn’t a fussy, all-day simmer situation.
It’s a weeknight chili that still tastes like it’s been cooking since noon.
The secret is layering the spices twice instead of once. Most recipes skip this step, and it’s honestly the difference between “fine chili” and the kind people ask you to make again.
A few things you’ll notice about this one:
- It’s ready in about an hour, start to finish
- It uses one pot (less cleanup, more time to actually enjoy dinner)
- It’s freezer friendly, so you can double it without thinking twice
- It’s easy to adjust for spice level, diet, or whatever’s in your fridge
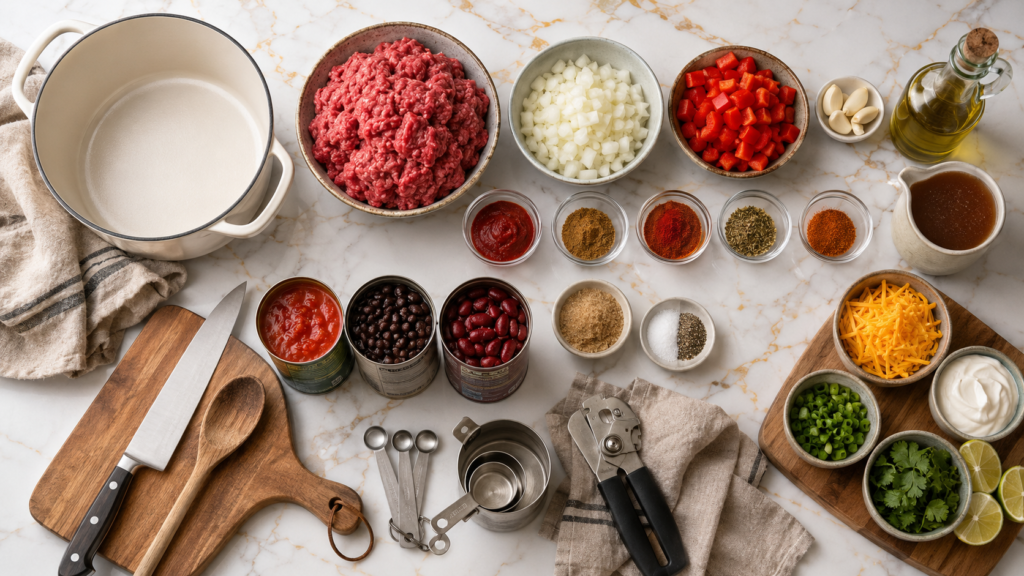
What You’ll Need
Here’s everything that goes into the pot.
For the chili:
- 2 lbs ground beef (80/20 works best)
- 1 large yellow onion, diced
- 1 red bell pepper, diced
- 4 garlic cloves, minced
- 2 tbsp tomato paste
- 2 tbsp chili powder
- 1 tbsp ground cumin
- 1 tsp smoked paprika
- 1 tsp dried oregano
- 1/2 tsp cayenne pepper (optional, for heat)
- 1 (28 oz) can crushed tomatoes
- 1 (15 oz) can black beans, drained and rinsed
- 1 (15 oz) can kidney beans, drained and rinsed
- 1 1/2 cups beef broth
- 1 tbsp brown sugar
- Salt and pepper, to taste
- Olive oil, for the pot
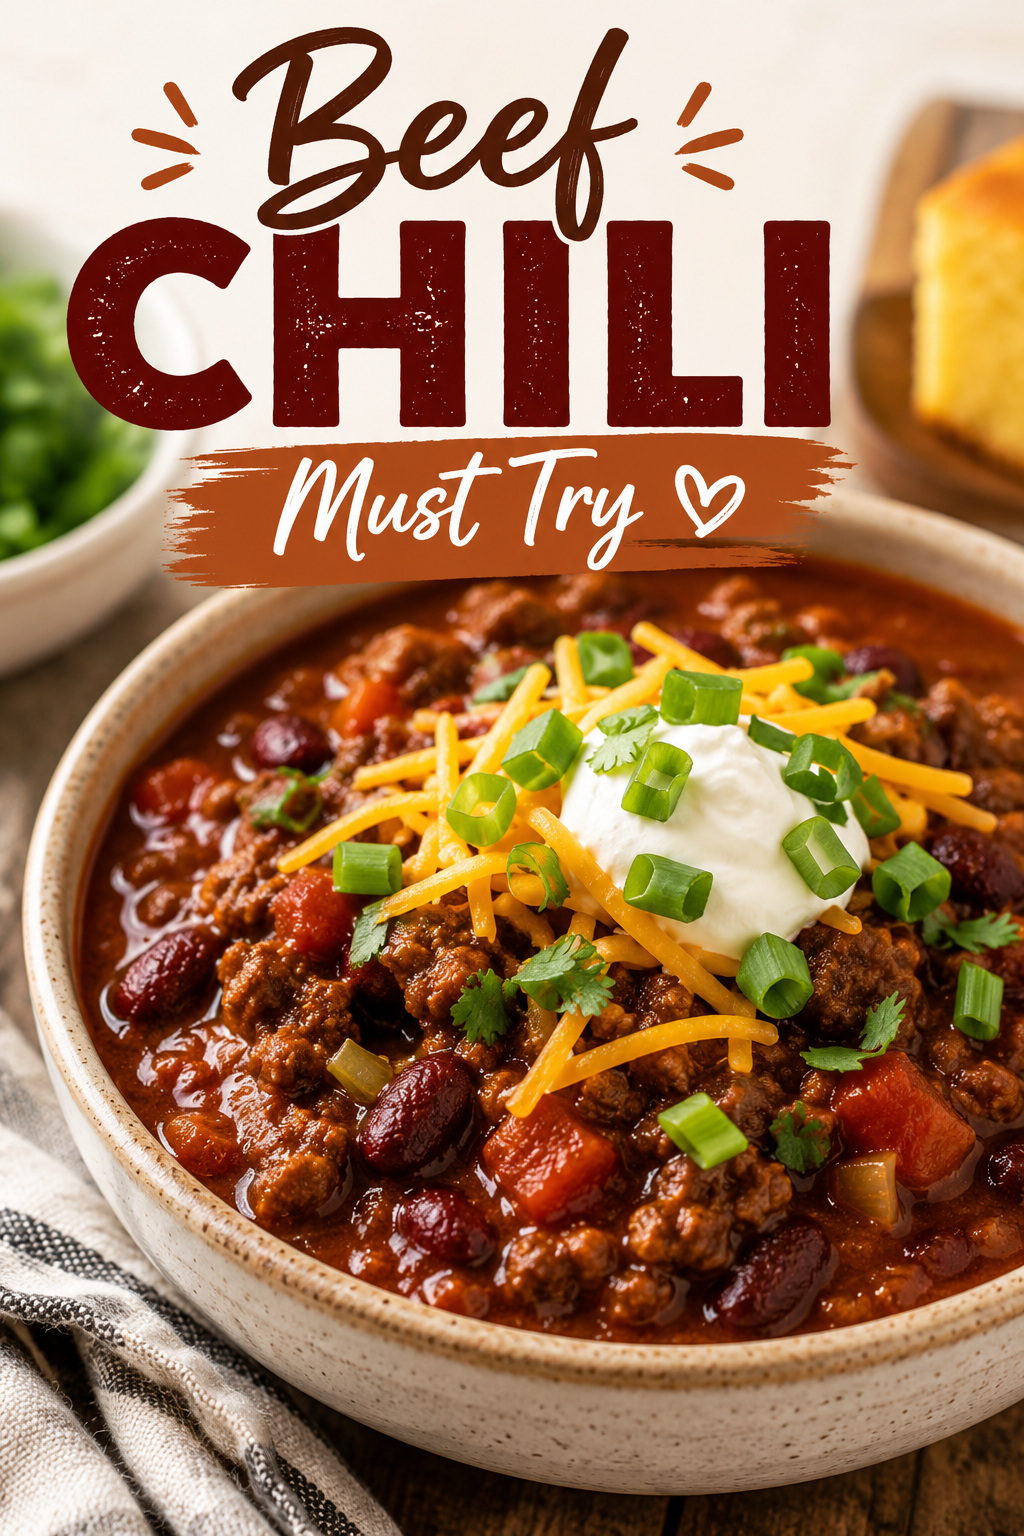
For topping (optional, but honestly not optional to me):
- Shredded cheddar
- Sour cream
- Sliced green onion
- Fresh cilantro
- Lime wedges
Tools You’ll Need
- A large Dutch oven or heavy-bottomed pot
- A wooden spoon
- A sharp knife and cutting board
- Measuring spoons and cups
- A can opener
That’s it. No blender, no food processor, no fancy equipment hiding in a cabinet somewhere.
How to Make Beef Chili
Step 1: Build the Base
Heat a splash of olive oil in your pot over medium heat.
Add the onion and bell pepper. Cook for about 5 minutes, until they soften up.
Add the garlic and cook for another 30 seconds. Just until it smells amazing.
Step 2: Brown the Beef
Add the ground beef to the pot.
Break it apart with your wooden spoon as it cooks. You’re looking for no more pink, about 6 to 8 minutes.
Drain off any excess grease if there’s a lot.
Step 3: The First Spice Layer
Stir in the tomato paste, chili powder, cumin, smoked paprika, oregano, and cayenne if you’re using it.
Cook this for about a minute. This step is easy to skip, but don’t.
Toasting the spices in the fat right now is what makes the chili taste rich instead of flat.
Step 4: Add Everything Else
Pour in the crushed tomatoes, beef broth, black beans, kidney beans, and brown sugar.
Stir well and bring it to a simmer.
Step 5: Let It Simmer
Reduce the heat to low.
Let it simmer uncovered for 30 to 40 minutes, stirring occasionally.
You’ll notice it thickening up and the color deepening. That’s exactly what you want.
Step 6: The Second Spice Layer
Taste it.
This is the moment most people skip, and it’s the whole reason this chili tastes different.
Add a pinch more salt, a little extra cumin, or another dash of chili powder if it needs a boost. Your taste buds know more than any recipe card.
Step 7: Serve It Up
Ladle into bowls and top with whatever makes you happy. Cheese, sour cream, green onion, all of it.
Pro Tips
- Don’t rush the browning step. Those little browned bits at the bottom of the pot are flavor, not mess. Let the beef sit for a minute before stirring instead of moving it constantly.
- Toast your spices before adding liquid. This one small step changes the entire flavor of the chili. Skipping it is the most common mistake I see.
- Simmer uncovered. Covering the pot traps steam and keeps the chili thinner than it should be. Uncovered lets it reduce into that thick, hearty texture.
- Taste twice, not once. Once halfway through, once near the end. Your spice jars are never as fresh as the last batch, so amounts always shift slightly.
- Let it rest for 10 minutes before serving. Chili actually tastes better a few minutes after it’s done cooking. The flavors settle and come together.
Substitutions and Variations
This recipe is flexible, which is half the reason I love it.
| Original | Swap | Why |
|---|---|---|
| Ground beef | Ground turkey or chicken | Lighter option, same texture |
| Ground beef | Plant-based crumbles | Fully vegetarian, still hearty |
| Kidney beans | Pinto beans | Milder flavor, softer texture |
| Beef broth | Vegetable broth | Works for the vegetarian version |
| Cayenne | Chipotle powder | Smokier heat instead of sharp heat |
| Brown sugar | Honey | Same balance, different sweetness |
Want it spicier? Add a diced jalapeño with the onions, or double the cayenne.
Want it milder? Skip the cayenne entirely and use mild chili powder.
Want a different texture? Some people love adding a cup of corn in the last 10 minutes. It adds a little sweetness and crunch that works surprisingly well.
Make Ahead Tips
Chili is one of those rare recipes that gets better with time.
You can make the entire pot up to 3 days ahead and store it in the fridge. Reheat it low and slow on the stove, adding a splash of broth if it’s thickened too much.
It also freezes beautifully, which I’ll get into below.
Nutritional Breakdown (Per Serving)
This makes about 6 servings.
| Nutrient | Amount |
|---|---|
| Calories | ~380 |
| Protein | 28g |
| Carbs | 26g |
| Fat | 17g |
| Fiber | 8g |
Numbers will shift slightly depending on your toppings and the beef you use.
What to Serve With Beef Chili
A bowl of chili rarely needs much help, but these make it a full meal:
- Cornbread or corn muffins
- A simple green salad
- Rice, for scooping up every bit of sauce
- Tortilla chips for dipping
- Baked potatoes, with chili spooned right on top
Leftovers and Storage
Fridge: Store in an airtight container for up to 4 days. The flavor actually improves by day two.
Freezer: Freeze in individual portions for up to 3 months. It thaws and reheats without losing any texture.
Reheating: Warm it on the stove over low heat, stirring occasionally. Add a splash of broth or water if it’s thickened up too much in the fridge.
Frequently Asked Questions
Can I make this in a slow cooker?
Yes. Brown the beef and cook the onions and garlic on the stove first, then transfer everything to the slow cooker. Cook on low for 6 hours or high for 3 to 4 hours.
Why does my chili taste flat?
This almost always comes down to the spice layering step or a lack of salt. Taste it before serving and adjust before you assume something went wrong.
Can I use dried beans instead of canned?
Yes, though you’ll need to cook them separately first, since raw beans need much longer than the simmer time in this recipe.
Is this chili gluten free?
Yes, as long as your chili powder blend and broth don’t contain hidden gluten. Most don’t, but it’s worth checking the label.
Can I double this recipe?
Absolutely. This recipe doubles well in a large enough pot, and it’s honestly one of the best reasons to make a big batch for the freezer.
Wrapping Up
This beef chili recipe turned into one of those meals we make on repeat now, and I have a feeling it might do the same for you.
It’s simple enough for a Tuesday and good enough for company.
Give it a try this week, and when you do, come back and leave a comment. I want to know what toppings you went with, whether you turned up the heat, and how it turned out for you.
And if you have any questions along the way, ask away. I read every comment. 👇