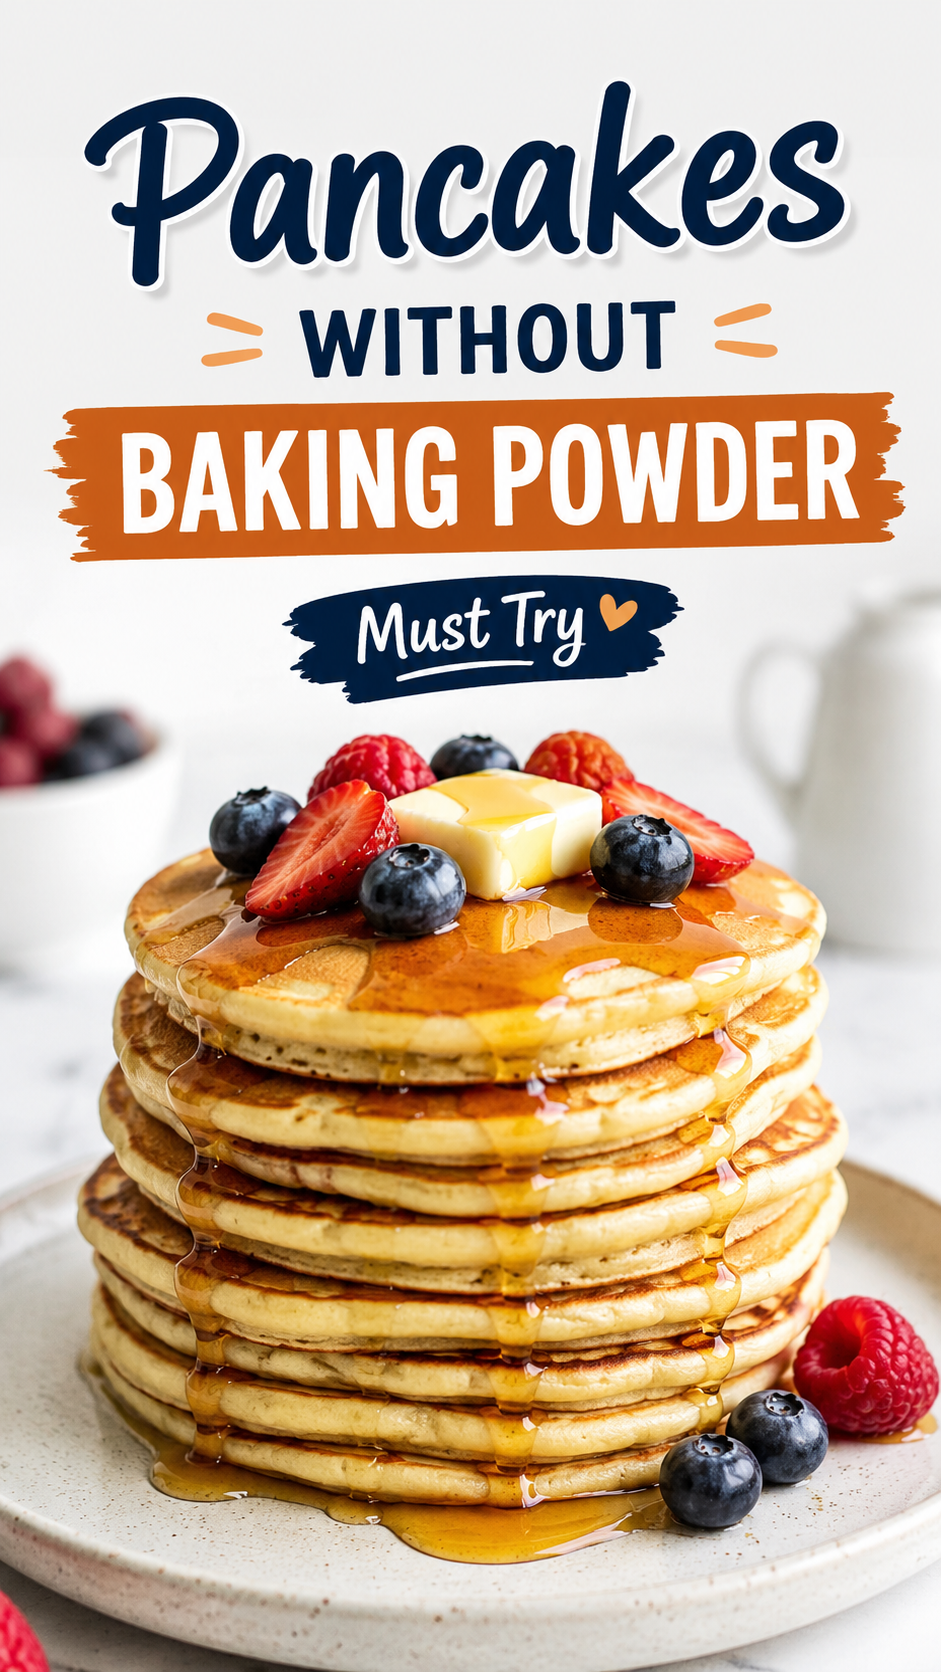
Out of baking powder and still craving pancakes for breakfast? Same. This happened to me on a random Sunday morning and I refused to let it ruin my pancake plans.
Turns out, you don’t need baking powder to get soft, fluffy pancakes. You just need to know the right swap.
I tested this recipe three times before I was happy with it, and now it’s honestly become my go-to. The texture is soft, slightly tangy, and just as fluffy as the boxed mix version.
Here’s exactly how to make it happen. 🥞
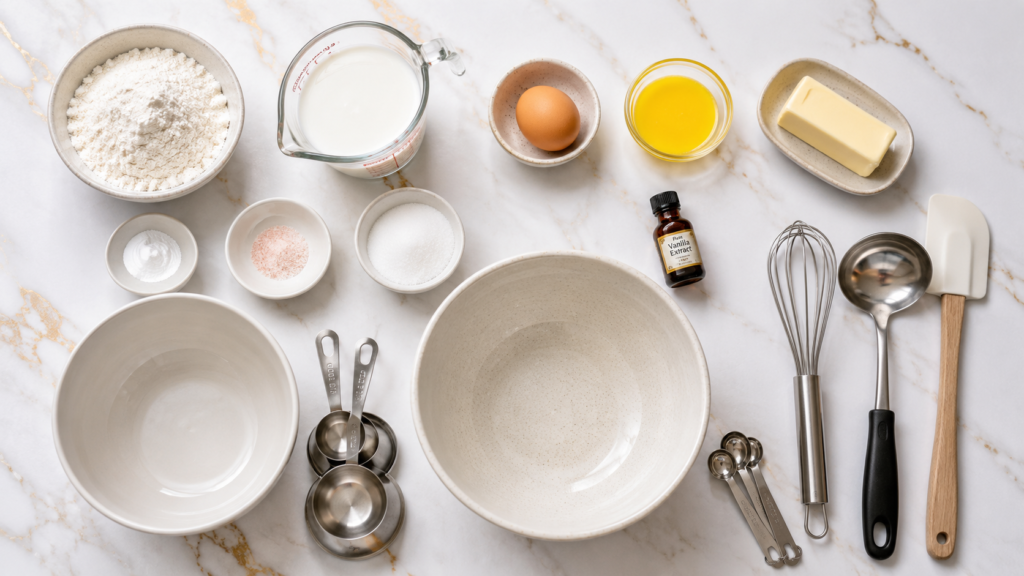
What You’ll Need
- 1 ½ cups all-purpose flour
- ½ teaspoon baking soda
- ½ teaspoon salt
- 2 tablespoons granulated sugar
- 1 ¼ cups buttermilk (or milk + 1 tablespoon vinegar, see substitutions below)
- 1 large egg
- 2 tablespoons melted butter, slightly cooled
- ½ teaspoon vanilla extract
- Butter or oil for the pan
That’s it. Nine ingredients, most of which are already sitting in your kitchen.
Tools You’ll Need
- Two mixing bowls
- Whisk
- Measuring cups and spoons
- Non-stick pan or griddle
- Spatula
- Ladle or ¼ cup measuring cup (for pouring batter)
Nothing fancy here. If you’ve made pancakes before, you already own everything on this list.
Why This Works Without Baking Powder
Baking powder is just baking soda plus a dry acid, already mixed together for you.
So if you skip the baking powder but still have baking soda, all you need is something acidic to activate it.
That’s where buttermilk comes in. It’s naturally acidic, and once it hits the baking soda, it creates the bubbles that make your pancakes rise.
No baking powder. No dense, sad pancakes. Just science doing its thing.
Pro Tips
1. Don’t overmix the batter. A few lumps are good. Overmixing activates the gluten in the flour and gives you tough, chewy pancakes instead of soft ones.
2. Let the batter rest for 5 minutes before cooking. This gives the baking soda and buttermilk time to react and start building those little air bubbles.
3. Medium-low heat is your best friend. High heat browns the outside before the inside cooks. You’ll end up with a raw center and a burnt shell. Not it.
4. Wait for bubbles before flipping. Once you see bubbles forming on top and the edges look set, that’s your cue. Usually 2 to 3 minutes per side.
5. Add your mix-ins after pouring the batter. If you’re doing chocolate chips or blueberries, sprinkle them on top of the batter once it’s in the pan instead of stirring them in. This keeps them from sinking or bleeding color into the batter.
Full Instructions
Step 1: In a large bowl, whisk together the flour, baking soda, salt, and sugar.
Step 2: In a separate bowl, whisk the buttermilk, egg, melted butter, and vanilla until combined.
Step 3: Pour the wet ingredients into the dry ingredients. Stir gently until just combined. Small lumps are fine here.
Step 4: Let the batter rest for 5 minutes while you heat your pan.
Step 5: Heat a non-stick pan or griddle over medium-low heat. Add a small amount of butter or oil.
Step 6: Pour about ¼ cup of batter per pancake onto the pan.
Step 7: Cook until bubbles form on the surface and the edges look set, roughly 2 to 3 minutes.
Step 8: Flip and cook the other side for another 1 to 2 minutes, until golden brown.
Step 9: Repeat with the remaining batter, adding more butter to the pan as needed.
Step 10: Serve warm with your favorite toppings.
Substitutions and Variations
No buttermilk? No problem. Here’s what you can use instead:
| Original Ingredient | Substitute |
|---|---|
| Buttermilk | 1 ¼ cups milk + 1 tbsp lemon juice or vinegar, rested 5 minutes |
| All-purpose flour | 1:1 gluten-free flour blend |
| Butter | Melted coconut oil or neutral oil |
| Egg | 1 flax egg (1 tbsp ground flaxseed + 3 tbsp water, rested 5 minutes) |
| Sugar | Honey or maple syrup (reduce buttermilk slightly) |
Want to switch things up? Try adding:
- Cinnamon and nutmeg for a warm, spiced version
- Mashed banana for banana pancakes
- Lemon zest and poppy seeds for a brighter flavor
- Cocoa powder for a chocolate version (add a bit more sugar)
Make Ahead Tips
You can mix the dry ingredients up to a week ahead and store them in an airtight container. This turns your morning routine into just whisking wet ingredients in and cooking.
You can also make the full batter the night before and store it in the fridge. Just know the pancakes won’t be quite as fluffy since some of that rise happens as soon as the baking soda meets the buttermilk.
Meal Pairing Ideas
Pancakes are great on their own, but here’s what makes the meal feel complete:
- Crispy bacon or breakfast sausage
- Fresh berries and whipped cream
- A side of scrambled eggs for extra protein
- Iced coffee or fresh orange juice
Leftovers and Storage
Refrigerator: Store cooled pancakes in an airtight container for up to 4 days.
Freezer: Lay pancakes flat on a baking sheet, freeze until solid, then transfer to a freezer bag. They’ll keep for up to 2 months.
Reheating: Pop them in the toaster for the crispiest edges, or microwave for 20 to 30 seconds if you’re in a hurry.
Nutritional Breakdown (Per Pancake, Makes 8)
| Nutrient | Amount |
|---|---|
| Calories | ~150 |
| Carbs | 20g |
| Protein | 4g |
| Fat | 5g |
| Sugar | 4g |
These numbers will shift depending on your toppings, so keep that in mind if you’re tracking.
FAQ
Can I use baking soda alone without an acid? No. Baking soda needs an acid to activate. Without buttermilk, yogurt, or vinegar, your pancakes will taste slightly metallic and won’t rise properly.
Why are my pancakes flat? This usually means your baking soda is old, or you didn’t let the batter rest long enough for the reaction to happen.
Can I make these dairy free? Yes. Use a plant-based milk mixed with 1 tablespoon of lemon juice or vinegar in place of buttermilk.
Why did my pancakes turn out rubbery? Overmixing is almost always the reason. Stop stirring as soon as the flour disappears into the wet ingredients.
Can I double this recipe? Absolutely. Just keep the ratios the same and cook in batches so your pan doesn’t get overcrowded.
Wrapping Up
Running out of baking powder doesn’t have to mean pancake-less mornings.
This recipe proves that a little kitchen chemistry and a few pantry staples are all you need for a stack that’s soft, fluffy, and honestly just as good, if not better, than the classic version.
Give it a try this weekend and let me know how it turns out in the comments. And if you tried any of the variations above, I’d love to hear which one became your new favorite.