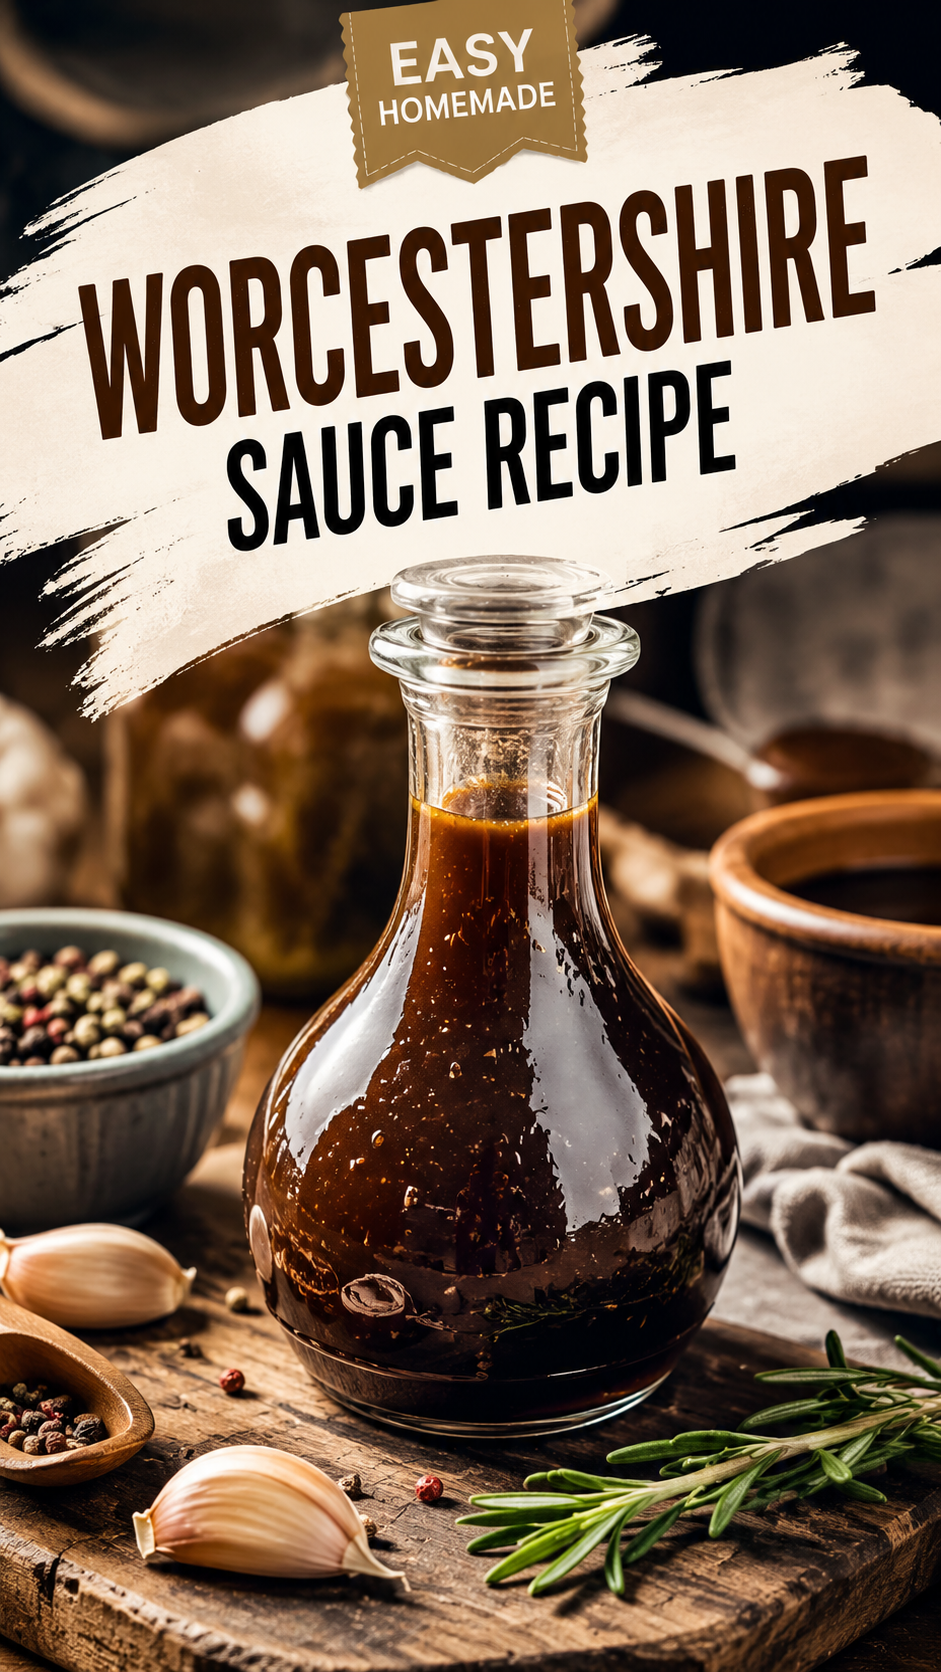
Did you know Worcestershire sauce is basically fermented fish and vinegar wearing a fancy British name? 🐟
I didn’t either, until I actually looked at the label on the bottle sitting in my fridge for probably three years.
Once I found out what was actually in it, I got a little obsessed with making my own. Turns out it’s not nearly as intimidating as the name makes it sound.
Silas walked into the kitchen while this was simmering and asked if something died. Ten minutes later he was dipping a spoon in when he thought I wasn’t looking.
That’s basically my seal of approval system at this point.
This version comes together in about 25 minutes on the stove. No two-year fermentation tanks, no mystery ingredients, just a small pot and a handful of things you probably already have.
Why Make Your Own Worcestershire Sauce
The bottled stuff is packed with preservatives and often has weird fillers you can’t pronounce.
Homemade Worcestershire sauce has none of that. Just real ingredients doing real work.
It’s also way more flavorful. Store-bought versions get watered down for shelf stability. Yours won’t.
And honestly, it’s kind of fun to make. You get to watch a pot of vinegar and spices turn into something that tastes exactly like the sauce you’ve been buying your whole life.
There’s also the control factor. You decide how spicy it gets, how sweet it gets, and how tangy it gets. No more settling for whatever ratio some factory decided was best for the masses.
Plus, once you know how easy this is, it’s hard to justify spending money on a bottle again. This recipe makes roughly 1.5 cups, which lasts most people a couple months of regular cooking.
What You’ll Need
| Ingredient | Amount |
|---|---|
| Apple cider vinegar | 1 cup |
| Soy sauce (or tamari) | 1/2 cup |
| Fish sauce | 2 tablespoons |
| Molasses | 3 tablespoons |
| Brown sugar | 2 tablespoons |
| Water | 1/4 cup |
| Garlic cloves, minced | 3 |
| Small onion, finely diced | 1/2 |
| Fresh ginger, grated | 1 teaspoon |
| Whole cloves | 1/4 teaspoon |
| Mustard seeds | 1/2 teaspoon |
| Black peppercorns | 1/2 teaspoon |
| Cinnamon stick | 1 small |
| Bay leaf | 1 |
| Cayenne pepper | A pinch |
That’s it. Nothing in there requires a special trip to a specialty store.
Tools You’ll Need
- Small saucepan
- Fine mesh strainer
- Wooden spoon
- Glass jar or bottle with a tight lid
- Measuring cups and spoons
Pro Tips
1. Don’t skip the fish sauce. I know it sounds weird for a sauce that doesn’t taste fishy at all. But that’s exactly the point. Fish sauce gives Worcestershire its signature savory depth, and without it, the sauce falls flat.
2. Toast your spices first. Throwing the mustard seeds, peppercorns, and cloves in the dry pan for 60 seconds before adding liquid wakes them up. It makes a noticeable difference.
3. Let it simmer low and slow. A hard boil will make your kitchen smell like a vinegar bomb 💨 and won’t actually help the flavors blend any faster. Keep it at a gentle simmer.
4. Taste before you strain. This is your last chance to adjust. Want it spicier? Add more cayenne now. Want it sweeter? A little extra molasses goes a long way.
5. Give it time to rest. Fresh off the stove, it tastes good. After sitting in the fridge for a few days, it tastes incredible. The flavors need time to actually get to know each other.
How to Make Homemade Worcestershire Sauce
Step 1: Toast the Spices
Add the mustard seeds, peppercorns, and cloves to a dry saucepan over medium heat.
Toast for about a minute, just until you can smell them. Keep the pan moving so nothing burns.
Step 2: Add the Aromatics
Toss in the diced onion, garlic, and ginger.
Cook for 2 to 3 minutes, stirring occasionally, until the onion softens up a bit.
Step 3: Pour in the Liquids
Add the apple cider vinegar, soy sauce, fish sauce, molasses, brown sugar, and water.
Stir it all together until the sugar dissolves.
Step 4: Simmer
Drop in the cinnamon stick and bay leaf. Add your pinch of cayenne.
Bring everything to a gentle simmer, then lower the heat and let it cook uncovered for about 15 minutes. The liquid should reduce slightly and smell deeply savory.
Step 5: Strain
Pour the mixture through a fine mesh strainer into a bowl, pressing on the solids to get every last drop of flavor out.
Discard the solids.
Step 6: Bottle It
Funnel the strained sauce into a clean glass jar or bottle.
Let it cool completely before sealing.
Substitutions and Variations
| Original | Swap | Notes |
|---|---|---|
| Fish sauce | Coconut aminos + extra soy sauce | Makes it vegan, slightly milder |
| Molasses | Maple syrup | Lighter flavor, less depth |
| Apple cider vinegar | White wine vinegar | A touch less tangy |
| Brown sugar | Coconut sugar | Similar flavor, less processed |
| Fresh ginger | 1/4 tsp ground ginger | In a pinch, this works fine |
Want it smokier? Add a small pinch of smoked paprika while it simmers.
Want it extra tangy? A tablespoon of tamarind paste takes it closer to the original bottled version.
Make Ahead Tips
This sauce is honestly better when it’s made ahead.
Make it up to a week before you need it, and let it sit in the fridge. The flavors deepen and mellow into something that tastes a lot closer to the store-bought bottle, just with more character.
Give the jar a shake before using, since some of the spices can settle at the bottom.
Estimated Nutrition (Per Tablespoon)
| Nutrient | Amount |
|---|---|
| Calories | 15 |
| Carbohydrates | 3g |
| Sugar | 2g |
| Sodium | 210mg |
| Protein | 0.3g |
| Fat | 0g |
These numbers are estimates. For exact nutrition info based on your specific ingredient brands, I’d recommend running it through Cronometer or a similar tool.
What to Pair It With
This sauce isn’t just for Bloody Marys, though it’s fantastic there too.
- Stir a splash into beef stew or pot roast for extra depth
- Whisk it into marinades for steak or chicken
- Add a few dashes to deviled eggs for a savory kick
- Mix it into homemade burger patties before grilling
- Use it in a Caesar dressing for that classic tang
Silas puts it on basically everything now, which either means it’s really good or he’s just going through a phase. Jury’s still out.
It also works really well stirred into homemade barbecue sauce, or splashed into a pan sauce right after you sear a steak. A little goes a long way, so start small and taste as you go.
Storage and Leftovers
Store your Worcestershire sauce in a sealed glass jar or bottle in the fridge.
It’ll keep well for up to 3 months, thanks to the vinegar and salt content acting as natural preservatives.
Give it a good shake before each use since the spices can settle over time.
I wouldn’t recommend freezing it. The texture and flavor hold up much better in the fridge.
FAQ
Does homemade Worcestershire sauce taste like the real thing?
Pretty close, yes. It won’t be an exact match since bottled versions are fermented for months or years, but the flavor profile is remarkably similar. Tangy, savory, and slightly sweet.
Can I make this without fish sauce?
You can, but it changes the flavor quite a bit. The fish sauce is what gives Worcestershire its deep, savory backbone. If you need it fish-free, try coconut aminos with a little extra soy sauce.
Why is my sauce too thin?
Let it simmer a few extra minutes to reduce further. It should coat the back of a spoon lightly, similar to the consistency of the bottled version.
Is Worcestershire sauce gluten free?
Traditional soy sauce contains wheat, so swap in tamari or a certified gluten-free soy sauce if that’s a concern for you.
How long does it last?
Stored in the fridge in a sealed container, it stays good for about 3 months.
Can I double the recipe?
Absolutely. This recipe scales up easily. Just make sure your saucepan is large enough to avoid overflow while simmering.
Can I use this in place of store-bought Worcestershire sauce in other recipes?
Yes, use it as a one-to-one swap anywhere a recipe calls for Worcestershire sauce. Since this version has slightly more concentrated flavor from being fresh, start with a little less and adjust to taste.
Wrapping Up
Homemade Worcestershire sauce sounds like one of those recipes you’d never actually attempt, and yet here you are, 25 minutes away from never buying the bottled stuff again.
Give it a try this week, and let it sit in your fridge for a few days before judging the final flavor.
Then come back and let me know how it turned out. Did Silas-level taste testing happen in your kitchen too? Drop a comment below, I’d love to hear about it. And if you have any questions along the way, ask away. I read every single one. 🧡