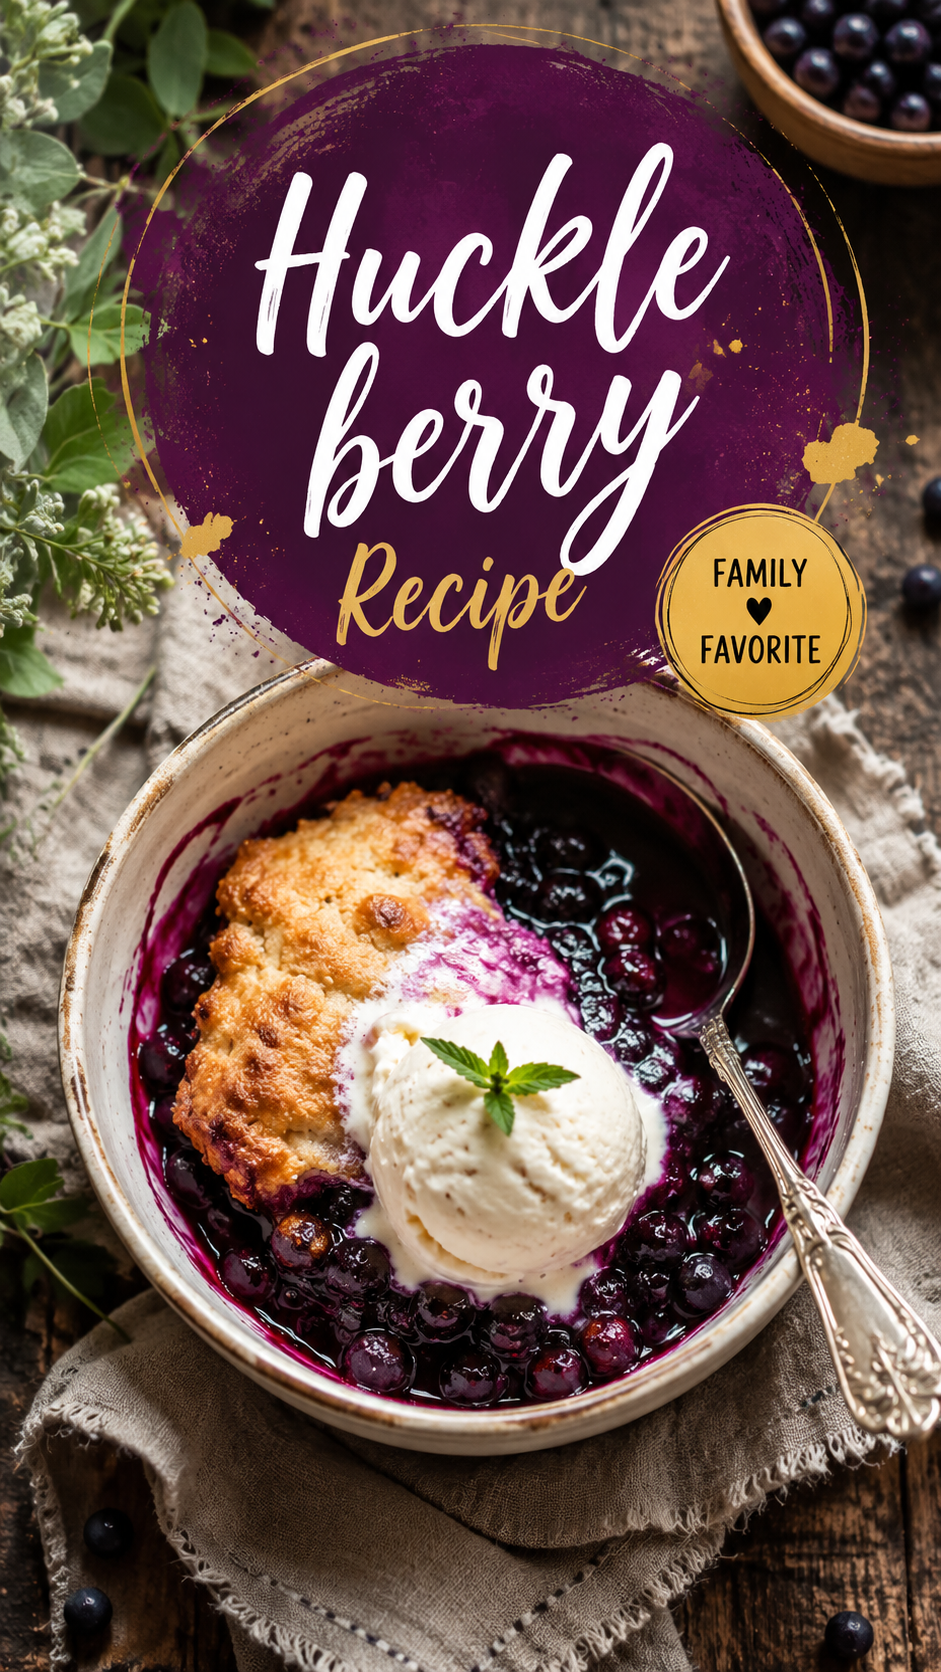
Silas and I once spent an entire afternoon in Montana crouched over a huckleberry bush like a couple of raccoons. 🫐
We had exactly one goal that day. Fill a bucket with wild huckleberries before the bears beat us to it (yes, that’s a real concern out there).
We came home with purple stained fingers, sore knees, and just enough berries for one pie. It was worth every scratch from the bushes.
That pie disappeared in about ten minutes flat.
If you’ve never had a real huckleberry pie, you’re in for something special. It’s tart, it’s sweet, and it tastes like nothing else in your grocery store’s berry aisle.
Here’s exactly how to make one, whether your berries came from a mountainside or the freezer section.
What You’ll Need
Huckleberries can be tricky to find fresh, so I’ve included notes for frozen ones too. Most grocery stores don’t carry them, but specialty stores and online shops usually do.
| Ingredient | Amount |
|---|---|
| Fresh or frozen huckleberries | 4 cups |
| Granulated sugar | 3/4 cup |
| Cornstarch | 3 tablespoons |
| Fresh lemon juice | 1 tablespoon |
| Lemon zest | 1 teaspoon |
| Ground cinnamon | 1/4 teaspoon |
| Salt | 1/8 teaspoon |
| Unsalted butter, cold and cubed | 2 tablespoons |
| Pie crust (top and bottom) | 2 rounds, homemade or store bought |
| Egg | 1, beaten (for egg wash) |
| Coarse sugar | 1 tablespoon (for topping) |
Quick note on huckleberries. They look like blueberries but they’re actually tarter and a little firmer. If you can’t find them, wild blueberries are the closest swap.
Tools You’ll Need
- 9 inch pie dish
- Large mixing bowl
- Rolling pin
- Pastry brush
- Sharp knife or pastry cutter (for the lattice)
- Baking sheet (to catch drips)
- Cooling rack
Pro Tips
A few things I learned the hard way so you don’t have to.
- Don’t skip the resting time. Let your filling sit for 10 minutes after mixing. It pulls the juices out and helps the sugar dissolve evenly.
- Frozen berries need extra cornstarch. They release more liquid as they bake. Add an extra tablespoon if you’re using frozen.
- Keep your butter and crust cold. Warm butter means a greasy, flat crust instead of those flaky layers you want.
- Bake on the lowest oven rack. This helps the bottom crust cook through instead of turning soggy.
- Let the pie cool completely before slicing. I know it’s hard. But a warm huckleberry pie will just ooze everywhere when you cut it.
How to Make Huckleberry Pie
- Preheat your oven to 425°F.
- Make the filling. In a large bowl, toss the huckleberries with sugar, cornstarch, lemon juice, lemon zest, cinnamon, and salt. Let it sit for 10 minutes.
- Roll out your bottom crust and press it into your pie dish. Trim any extra overhang.
- Pour in the filling. Spread it evenly, then scatter the cold butter cubes on top.
- Add your top crust. Lay it flat, or cut into strips for a lattice design. Crimp the edges to seal.
- Brush with egg wash and sprinkle the coarse sugar on top.
- Cut a few slits in the top crust (skip this if you did a lattice) to let steam escape.
- Bake at 425°F for 20 minutes, then lower the temperature to 375°F and bake for another 30 to 35 minutes. The filling should be bubbling and the crust golden brown.
- Cool completely on a rack before slicing. This takes about 3 to 4 hours, but it’s non negotiable if you want clean slices.
Substitutions and Variations
| Original | Substitution | Notes |
|---|---|---|
| Huckleberries | Wild blueberries | Closest flavor match |
| Granulated sugar | Coconut sugar | Slightly deeper flavor |
| Butter | Vegan butter | Great for dairy free diets |
| Store bought crust | Homemade all butter crust | More flaky, more effort |
| Cinnamon | Nutmeg | For a warmer, spiced twist |
| Lattice top | Crumble topping | Easier for beginners |
Make Ahead Tips
You can prep parts of this pie well before baking day.
- Pie dough can be made up to 3 days ahead and kept wrapped in the fridge.
- Dough also freezes well for up to 3 months. Just thaw overnight in the fridge before rolling.
- The filling can be mixed a day ahead and stored in the fridge in an airtight container.
- Fully baked pie can be made a day in advance. Just cover it loosely and store at room temperature.
Estimated Nutritional Breakdown
These numbers are estimates only and not lab tested. They’ll vary based on your exact ingredients and crust.
| Nutrient | Per Slice (1/8 of pie) |
|---|---|
| Calories | 320 |
| Total Fat | 13g |
| Carbohydrates | 48g |
| Sugar | 24g |
| Protein | 3g |
| Fiber | 3g |
Meal Pairing Ideas
Huckleberry pie is sweet and a little tart, so it plays well with a few different pairings.
- A scoop of vanilla bean ice cream
- Fresh whipped cream with a touch of vanilla
- A cup of black coffee to cut the sweetness
- A glass of dessert wine if you’re serving it after a dinner party
Leftovers and Storage
- Room temperature: Covered, huckleberry pie stays good for 2 days.
- Refrigerator: Store covered for up to 5 days.
- Freezer: Wrap slices individually and freeze for up to 3 months.
- Reheating: Warm slices in the oven at 300°F for about 10 minutes. This brings back that fresh baked texture better than the microwave.
FAQ
Can I use canned huckleberries? Yes, though you’ll want to drain them well and reduce the sugar slightly since canned berries are often packed in syrup.
Why is my filling runny? This usually means the pie didn’t cool long enough, or there wasn’t quite enough cornstarch for the amount of juice your berries released.
Can I make this pie gluten free? Yes, just swap in your favorite gluten free pie crust. The filling itself is naturally gluten free.
What do huckleberries taste like? They’re similar to blueberries but tarter, with a deeper, almost wine like flavor. Some people describe them as blueberries with a bit of an edge.
Can I make mini huckleberry pies instead? Absolutely. Use a muffin tin and adjust the bake time down to about 25 to 30 minutes total.
Wrapping Up
Huckleberry pie is one of those recipes that feels like a little piece of the mountains, even if your berries came from a bag in the freezer aisle.
It’s tart, it’s sweet, and it’s the kind of dessert that gets people asking for the recipe before they’ve even finished their slice.
Give it a try this week and let me know how it turns out in the comments below. And if you have any questions about the recipe, I’m always happy to help troubleshoot.