Silas turned the oven on for maybe four minutes total last July before he gave up and declared our kitchen “a sauna with cabinets.”
I couldn’t argue with him. It was one of those summers where even opening the fridge felt like a personal favor from the universe.
That’s the week I started making this No-Bake Oreo Icebox Cake on repeat.
No oven. No stovetop. Just a bowl, a whisk, and a pan that goes straight in the fridge to do all the hard work for you.
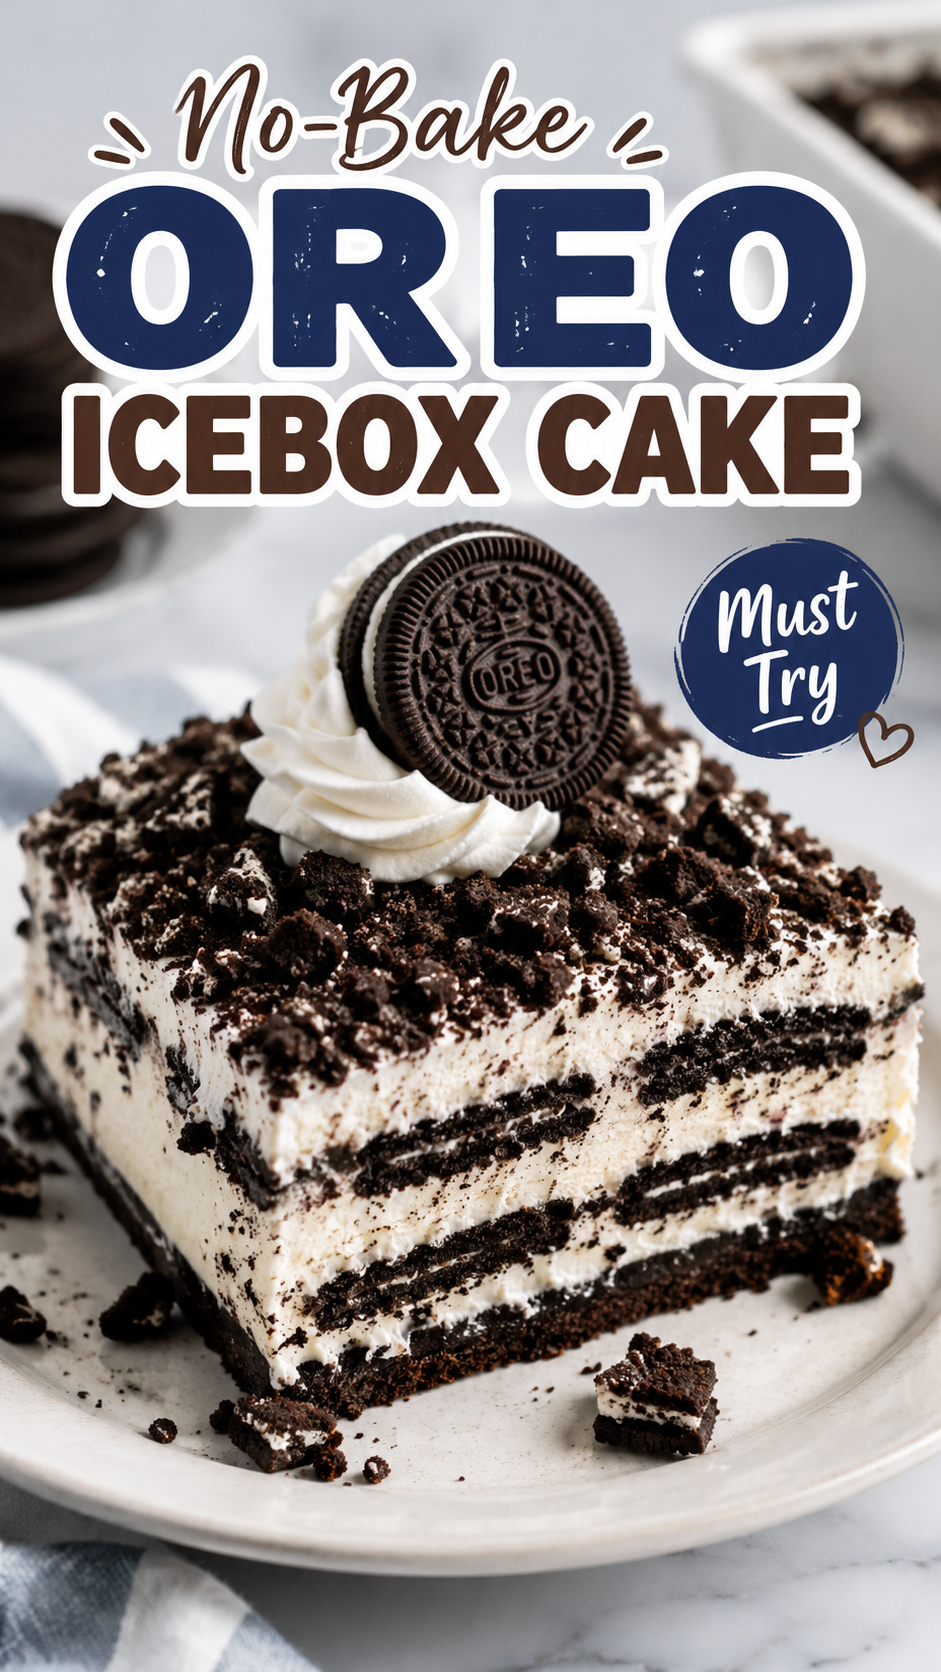
By the next morning, the cookies go soft and cakey, the cream layers turn silky, and the whole thing slices like an actual cake. 🍫
It tastes like something you’d wait in line for at a bakery. It takes about 20 minutes of actual effort.
Silas has requested it more times than any other dessert I’ve made this year, and he’s not exactly an easy critic.
Let’s get into it.
What You’ll Need
| Ingredient | Amount |
|---|---|
| Oreo cookies (regular, not double stuf) | 3 packages (about 108 cookies) |
| Heavy whipping cream, cold | 3 cups |
| Powdered sugar | 3/4 cup |
| Vanilla extract | 1 tbsp |
| Cream cheese, softened | 8 oz |
| Whole milk | 1 cup |
| Instant chocolate pudding mix | 1 small box (3.9 oz) |
| Mini chocolate chips (optional, for topping) | 1/4 cup |
| Crushed Oreos (reserved from the packages) | 1/2 cup |
A quick note: you’ll be crushing some of these Oreos for a crunchy top layer, so don’t toss the crumbs when you’re opening the packages.
Tools You’ll Need
- 9×13 inch baking pan or glass dish
- Electric mixer (hand or stand)
- Large mixing bowls
- Rubber spatula
- Plastic wrap or a tight-fitting lid
Pro Tips
1. Skip the double stuf Oreos. They sound like a good idea. They’re not. The extra cream filling makes the layers too sweet and throws off the texture balance.
2. Let it chill overnight if you can. Four hours will technically work, but overnight is where the magic happens. The cookies need real time to soften all the way through.
3. Use a cold bowl for whipping the cream. Pop your mixing bowl in the freezer for 10 minutes first. Cold cream whips faster and holds its shape much longer.
4. Don’t skip the cream cheese. It’s easy to think this is just a filler ingredient, but it’s what keeps the whole cake from collapsing when you slice it the next day.
5. Cut with a warm knife. Run your knife under hot water and wipe it dry between slices. You’ll get those clean bakery-style cuts instead of a smeared mess.
How to Make It
- Whip the cream. In a large bowl, beat the cold heavy cream, powdered sugar, and vanilla extract until stiff peaks form. Set aside.
- Make the cream cheese layer. In a separate bowl, beat the softened cream cheese until smooth. Fold in half of the whipped cream until fully combined and fluffy.
- Make the pudding layer. Whisk the instant chocolate pudding mix with the whole milk until it thickens, about 2 minutes. Fold in the remaining whipped cream.
- Layer one: cookies. Arrange a single layer of whole Oreos across the bottom of your pan. It’s fine if they overlap slightly or need breaking to fit the edges.
- Layer two: cream cheese mixture. Spread half of the cream cheese mixture evenly over the cookies.
- Layer three: more cookies. Add a second layer of whole Oreos on top.
- Layer four: chocolate pudding mixture. Spread the chocolate pudding layer evenly over the second cookie layer.
- Layer five: final cookies and cream. Add one more layer of Oreos, then top with the remaining cream cheese mixture.
- Top it off. Sprinkle the crushed Oreos and mini chocolate chips over the top.
- Chill. Cover tightly and refrigerate for at least 4 hours, though overnight gives the best texture.
- Slice and serve. Use a warm knife for clean slices, straight from the fridge.
Substitutions and Variations
| Original | Swap | Notes |
|---|---|---|
| Oreos | Golden Oreos | Gives a lighter, vanilla-forward version |
| Chocolate pudding | Vanilla or cheesecake pudding | Milder, sweeter flavor |
| Heavy cream | Store-bought whipped topping | Faster, slightly less rich |
| Cream cheese | Mascarpone | Softer texture, subtly sweeter |
| Mini chocolate chips | Crushed peanut butter cups | Adds a peanut butter twist |
Make-Ahead Tips
This cake practically needs to be made ahead, so you’re already set up for success.
- Make it up to 2 days in advance. It only gets better as it sits.
- Keep it tightly covered in the fridge the entire time.
- Hold off on the crushed Oreo topping until an hour before serving if you want extra crunch instead of softened crumbs.
Estimated Nutrition (Per Serving)
These are estimates only, not lab-tested values. Actual nutrition will vary based on exact brands and portion sizes.
| Nutrient | Amount |
|---|---|
| Calories | ~340 |
| Total Fat | 21g |
| Saturated Fat | 12g |
| Carbohydrates | 34g |
| Sugar | 24g |
| Protein | 4g |
Recipe makes about 12 servings.
Meal Pairings
This cake is rich, so it pairs best with something light on the side.
- Fresh strawberries or raspberries
- A scoop of vanilla ice cream if you’re feeling extra
- Iced coffee or cold brew, which cuts through the sweetness nicely
Storage and Leftovers
- Fridge: Store covered for up to 5 days. The texture actually holds up well.
- Freezer: Freeze individual slices wrapped tightly for up to 1 month. Thaw in the fridge overnight before eating.
- Skip reheating this one entirely. It’s meant to be eaten cold, straight from the fridge.
FAQ
Can I use a different cookie besides Oreos? Yes. Any sandwich cookie works, though the classic chocolate Oreo gives you that signature look and flavor.
Why is my cake still crunchy after 4 hours? Some pans are deeper than others, which slows down softening. Give it more time, ideally overnight.
Can I make this in individual cups instead of one big pan? Absolutely. Layer everything the same way in small jars or cups for an easy grab-and-go dessert.
Is this recipe kid-friendly to help make? Very much so. The layering process is simple enough for kids to help with, and there’s zero oven involved.
Can I make this ahead for a party? Yes, and honestly you should. Making it a day or two ahead gives you one less thing to worry about on the day of.
Wrapping Up
This is one of those recipes that looks far more impressive than the effort it actually takes.
If your kitchen turns into a sauna every summer the way ours does, this is the dessert you keep in your back pocket all season long.
Give it a try, then come back and let me know how it turned out for you. I’d love to hear what swaps you tried or if Silas-level approval was achieved at your house too. 🍰