I burned a cheesecake once. An entire one. Cracked right down the middle like it had personally given up on life.
That was the last time I baked a cheesecake. These days I make the no-bake kind, in individual cups, and I genuinely think they taste better.
Silas agreed to be my taste tester for this recipe and ate three in one sitting, which for him counts as a five-star review. He doesn’t say much. He just keeps eating.
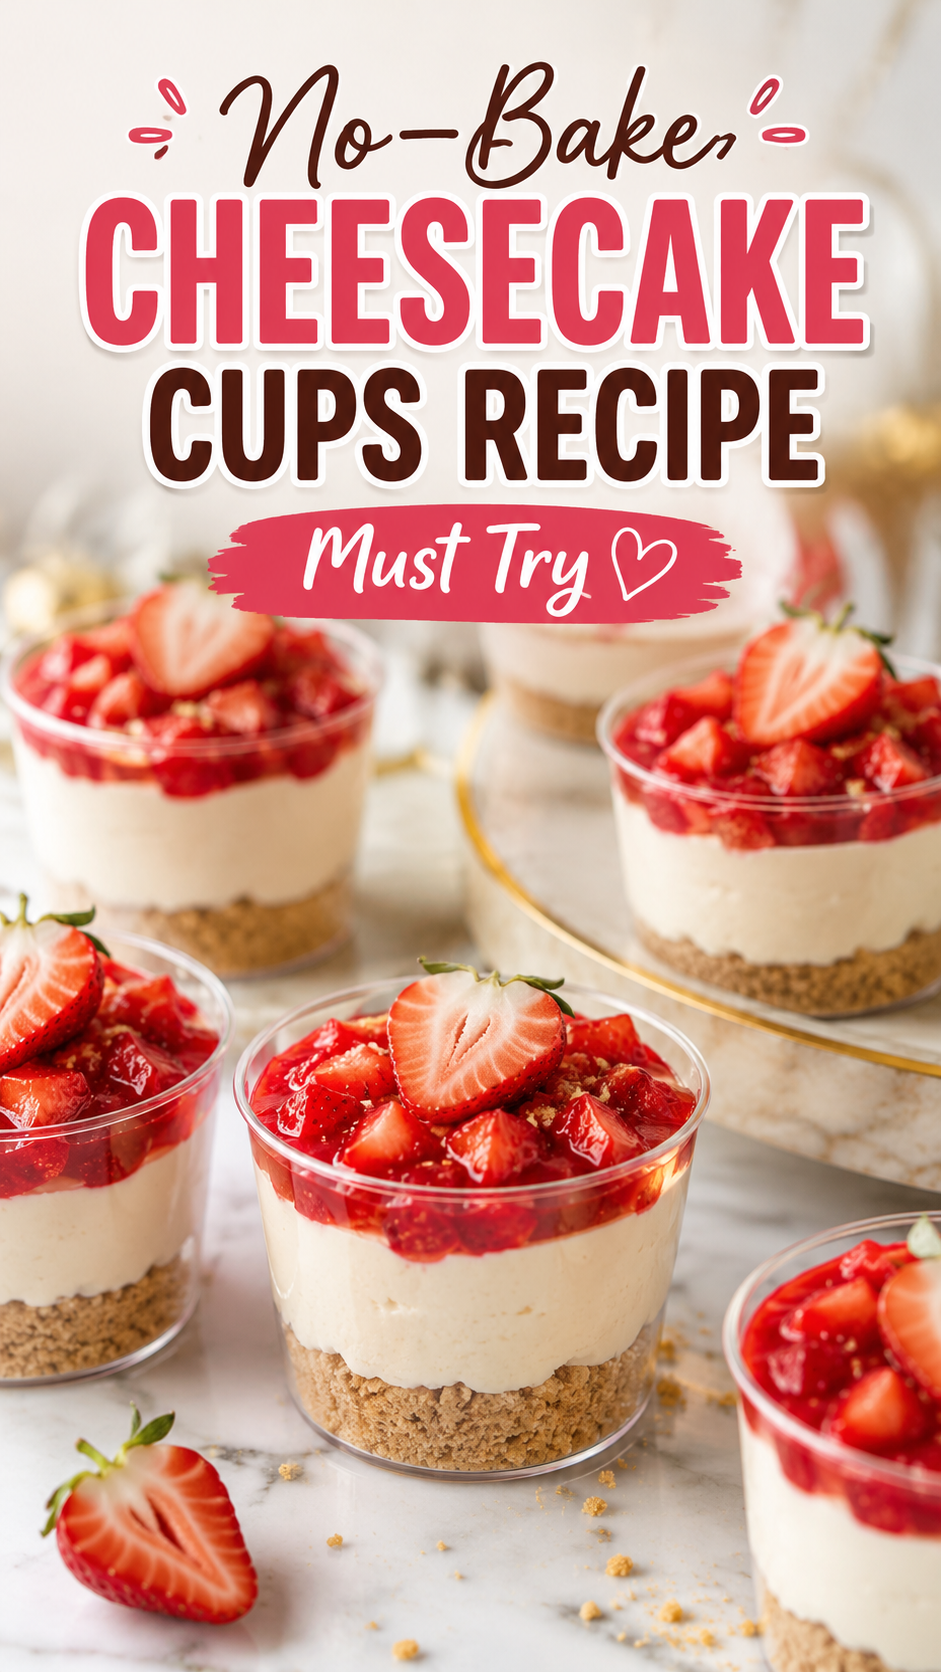
These cheesecake cups come together in about 20 minutes of actual work. No water bath, no cracked tops, no waiting around for an oven to preheat. Just layers of buttery graham crust and silky cheesecake filling, chilled until they’re perfect.
They also happen to look fancy in a jar, which is a nice bonus when you didn’t actually do that much work. 🍰
Why This Recipe Works So Well
No oven means no stress. You can’t overbake something you never bake in the first place.
Individual portions solve the serving problem. No slicing, no arguing over who got the bigger piece.
The texture is actually better than baked cheesecake. It’s cool, creamy, and dense in the best way, almost like a cross between mousse and classic cheesecake.
They travel well. Perfect for potlucks, picnics, or just prepping your lunches for the week.
What You’ll Need
| Ingredient | Amount |
|---|---|
| Graham crackers, crushed | 1 ½ cups |
| Unsalted butter, melted | 6 tablespoons |
| Granulated sugar (for crust) | 2 tablespoons |
| Cream cheese, softened | 16 oz (2 blocks) |
| Powdered sugar | ¾ cup |
| Vanilla extract | 1 ½ teaspoons |
| Heavy whipping cream, cold | 1 cup |
| Fresh lemon juice | 1 tablespoon |
| Fresh berries or fruit topping | For serving |
A quick note on the cream cheese: let it actually soften. Cold cream cheese is the number one reason people end up with lumpy filling.
Tools You’ll Need
- Mixing bowls (2, medium and large)
- Hand mixer or stand mixer
- Small jars, cups, or ramekins for serving
- Rubber spatula
- Measuring cups and spoons
- Fork or small food processor (for crushing crackers)
Pro Tips
- Room temperature cream cheese is non-negotiable. Take it out at least an hour before you start. Microwaving it in a rush just makes it uneven and weird.
- Whip the cream separately first. Fold it into the cheesecake mixture instead of dumping everything into one bowl at once. This is what gives you that light, mousse-like texture instead of something dense and heavy.
- Don’t skip the lemon juice. It’s small, but it cuts through the sweetness and makes the whole thing taste more like actual cheesecake instead of sweetened cream cheese.
- Press the crust down firmly. Use the back of a spoon or the bottom of a shot glass. A loose crust means it crumbles apart the second you dig in.
- Chill for at least 2 hours, but overnight is better. I know waiting is the worst part. But the filling sets up so much nicer when it has time to firm up properly.
How to Make No-Bake Cheesecake Cups
Step 1: Make the crust
Crush the graham crackers into fine crumbs. A food processor works fast, but a ziplock bag and a rolling pin does the job too.
Mix the crumbs with melted butter and sugar until it looks like wet sand.
Spoon about 2 tablespoons into the bottom of each cup. Press down firmly.
Step 2: Make the filling
In a large bowl, beat the softened cream cheese until it’s completely smooth. This takes about a minute.
Add the powdered sugar, vanilla, and lemon juice. Beat again until combined and fluffy.
Step 3: Whip the cream
In a separate bowl, whip the cold heavy cream until stiff peaks form. This usually takes 2 to 3 minutes with a hand mixer.
Gently fold the whipped cream into the cream cheese mixture. Fold, don’t stir. You want to keep all that air in there.
Step 4: Assemble
Spoon or pipe the cheesecake filling on top of the crust in each cup.
Smooth the tops with a spatula or the back of a spoon.
Step 5: Chill
Cover and refrigerate for at least 2 hours. Overnight gives you the best texture.
Step 6: Top and serve
Right before serving, add your fresh berries, a drizzle of sauce, or whatever topping sounds good to you that day.
Substitutions and Variations
| Original | Swap | Notes |
|---|---|---|
| Graham crackers | Digestive biscuits or vanilla wafers | Crush the same way |
| Heavy cream | Coconut cream (chilled) | Makes it dairy-lighter, slightly different flavor |
| Powdered sugar | Maple syrup or honey | Add slowly, filling can loosen if you add too much |
| Berries | Lemon curd, caramel, or chocolate ganache | Any topping works, get creative |
| Regular cream cheese | Reduced-fat cream cheese | Texture is slightly softer but still works |
If you want a gluten-free version, swap the graham crackers for gluten-free graham crackers or crushed gluten-free cookies. Everything else stays the same.
Make-Ahead Tips
These cups are honestly better made ahead. The filling firms up and the flavors settle the longer they sit.
You can make them up to 3 days in advance. Just hold off on adding fresh fruit toppings until right before serving so they don’t get soggy or watery.
Nutrition (Estimated)
Note: these are estimates. I’ll be verifying exact numbers using Cronometer with the specific ingredient brands before this goes live, so treat this as a rough guide for now.
| Nutrient | Per Cup (approx.) |
|---|---|
| Calories | 320 |
| Fat | 24g |
| Carbohydrates | 22g |
| Protein | 4g |
| Sugar | 16g |
What to Pair With Cheesecake Cups
- Fresh berries like strawberries, raspberries, or blueberries
- A strong cup of coffee to balance out the sweetness
- Sparkling wine or prosecco if you’re serving these at a gathering
- A drizzle of salted caramel for something a little richer
Storage and Leftovers
Store the cups covered in the fridge for up to 4 days.
I don’t recommend freezing these. The texture changes once thawed and it loses that light, airy quality that makes them so good.
If you added fruit toppings and have leftovers, the fruit will release some juice over time. It still tastes fine, just less pretty.
FAQ
Can I use a stand mixer instead of a hand mixer? Yes, either works fine. Just don’t overbeat the whipped cream or it can turn grainy.
Why is my filling runny? Usually it’s one of two things: the cream cheese wasn’t fully softened, or the whipped cream wasn’t whipped to stiff peaks before folding it in.
Can I make one big cheesecake instead of individual cups? You can. Use a springform pan and press the crust into the bottom, then add the filling on top. Chill the same way, just longer, closer to 4 hours minimum.
Do I need a mixer at all? Technically no, but it takes a lot longer and more arm strength to whip cream by hand. A mixer makes this so much easier.
Can kids help make these? Definitely. Crushing the crackers and pressing the crust are both good jobs for little hands.
Wrapping Up
No-bake cheesecake cups are one of those recipes that looks way more impressive than the effort it actually takes.
Twenty minutes of hands-on work, a few hours in the fridge, and you’ve got something that looks like it came from a bakery.
Make a batch this week and let me know how they turned out in the comments. I want to hear what toppings you went with, and if Silas-level enthusiasm was achieved. 🍓