I used to think Mongolian beef was one of those dishes you needed a wok, a torch, and ten years of restaurant experience to pull off.
Turns out all you really need is a pound of ground beef and 20 minutes.
This version skips the sliced flank steak entirely. Ground beef soaks up the sauce faster, costs less, and honestly might be even better than the original. My family didn’t notice the swap until I told them.
It’s sweet, savory, a little sticky, and it comes together faster than your rice cooker finishes cooking rice.
Let’s get into it. 🥢
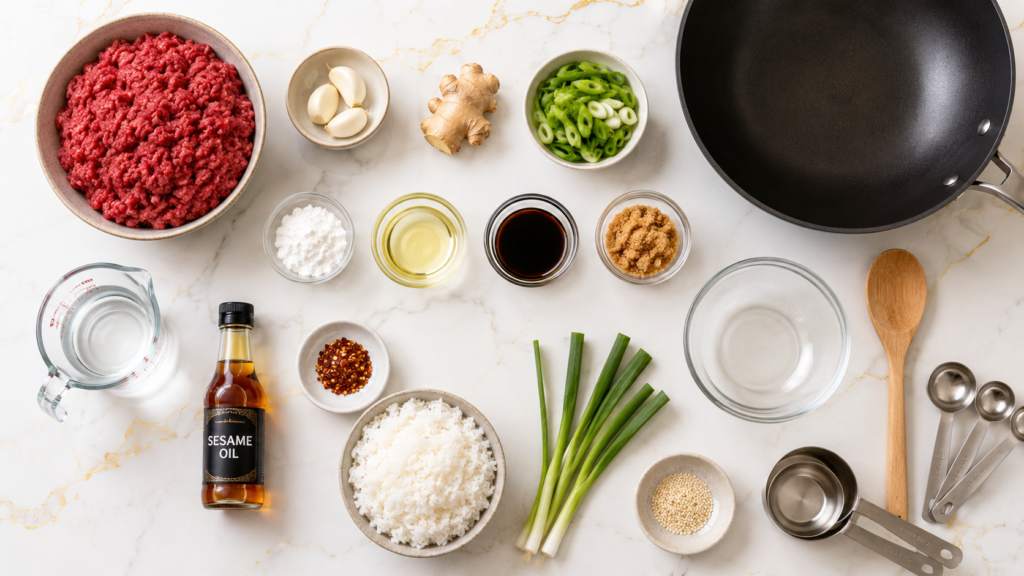
What You’ll Need
Here’s everything to grab before you start:
For the beef:
- 1 lb ground beef (80/20 works great)
- 3 cloves garlic, minced
- 1 tbsp fresh ginger, minced
- 2 green onions, sliced (plus more for garnish)
- 1 tbsp cornstarch
- 1 tbsp vegetable oil
For the sauce:
- 1/3 cup soy sauce
- 1/3 cup brown sugar
- 1/2 cup water
- 1 tsp sesame oil
- 1/2 tsp red pepper flakes (optional, but I always add it)
For serving:
- Steamed white rice
- Extra green onions
- Sesame seeds
That’s it. No obscure ingredients, no trip to a specialty store.
Tools You’ll Need
- Large skillet or wok
- Wooden spoon or spatula
- Small mixing bowl for the sauce
- Measuring cups and spoons
Nothing fancy required here. If you’ve got a pan and a spoon, you’re already halfway there.
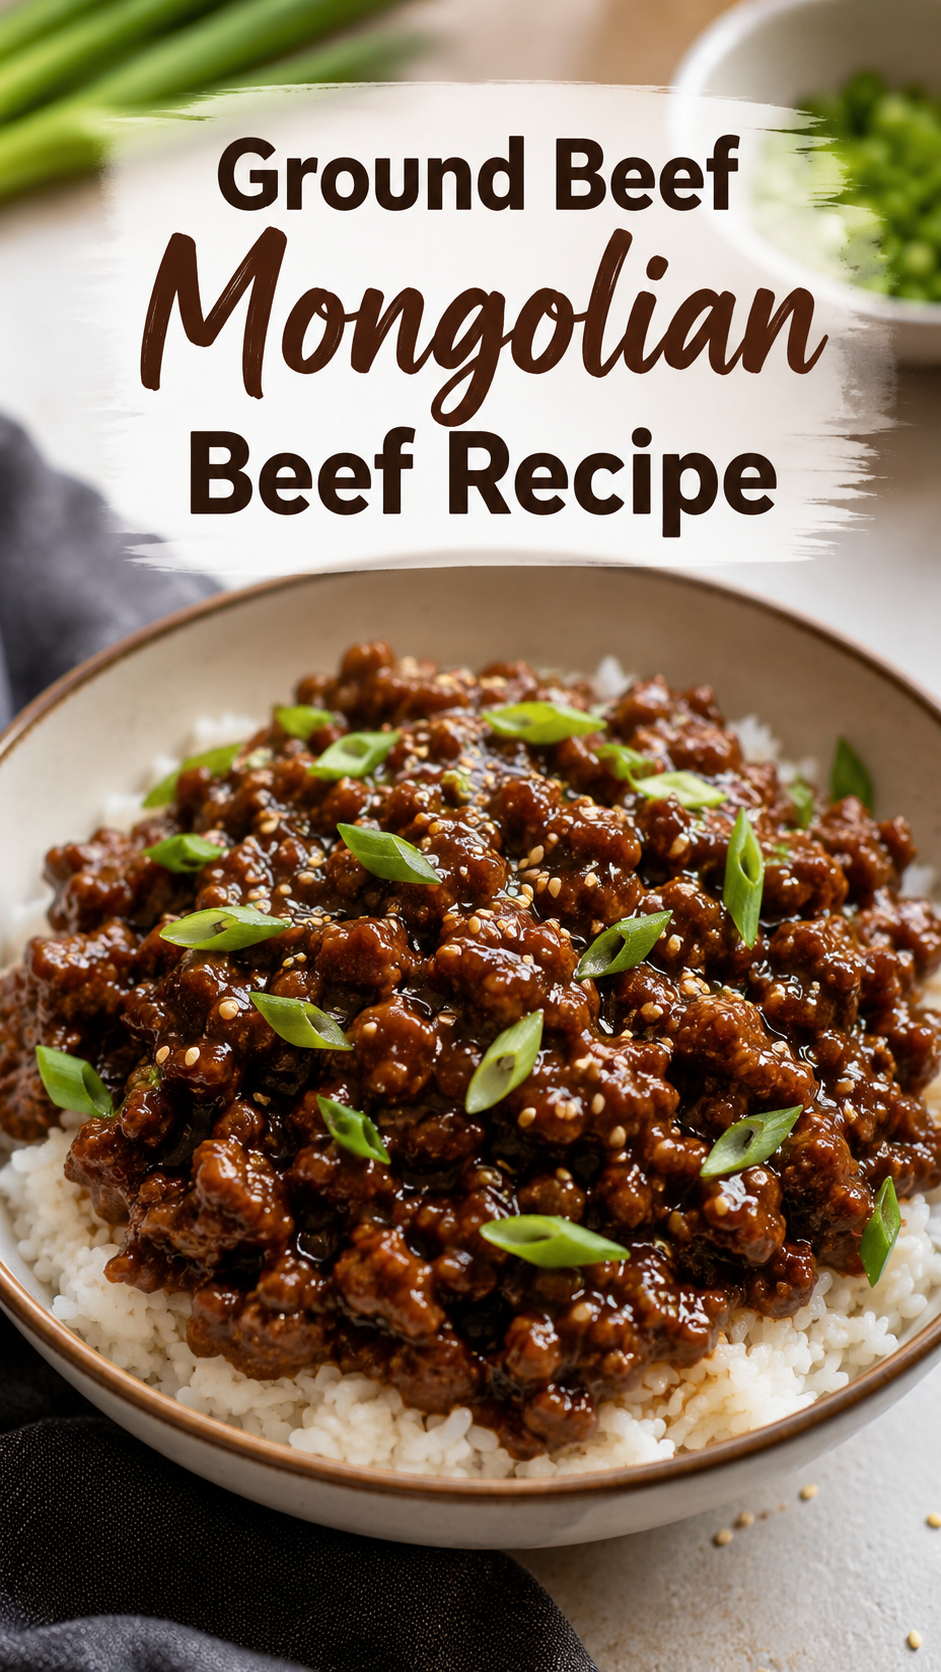
How to Make Ground Beef Mongolian Beef
Here’s the full step by step.
Step 1: Brown the Beef
Heat your oil in a large skillet over medium high heat.
Add the ground beef and break it apart as it cooks.
Cook for about 5 to 6 minutes until it’s fully browned. Drain off any extra fat.
Step 2: Add the Aromatics
Toss in the garlic, ginger, and sliced green onions.
Stir constantly for about 30 seconds. This part goes fast, so don’t walk away. Garlic burns quicker than you’d think.
Step 3: Mix the Sauce
While the beef cooks, whisk together the soy sauce, brown sugar, water, and sesame oil in your small bowl.
Pour the sauce into the skillet with the beef.
Step 4: Thicken It Up
Sprinkle the cornstarch over the top and stir it in well.
Let everything simmer for 3 to 5 minutes. You’ll watch the sauce go from thin and watery to thick, glossy, and clinging to every bit of beef.
This is the moment the dish really comes together.
Step 5: Serve
Spoon the beef over steamed rice.
Top with extra green onions and a sprinkle of sesame seeds.
Serve immediately while it’s hot and the sauce is still glossy.
Pro Tips
A few things I picked up after making this more times than I can count:
- Don’t skip draining the fat. Ground beef releases a lot of grease, and if you leave it all in, the sauce turns oily instead of glossy.
- Whisk the cornstarch smooth before adding it. If you dump it straight into the pan, you risk lumps. Mixing it with a splash of the sauce first works even better.
- Taste before you serve. Some soy sauce brands run saltier than others. Add a touch more brown sugar if yours tastes too sharp.
- Use fresh ginger if you can. The jarred stuff works in a pinch, but fresh ginger adds a brightness that makes the whole dish taste more like restaurant quality.
- Keep the heat at medium high, not high. The sugar in the sauce can scorch fast if the pan gets too hot.
Substitutions and Variations
This recipe is pretty forgiving. Here’s how to make it your own:
| Original | Swap | Why It Works |
|---|---|---|
| Ground beef | Ground turkey or chicken | Lighter option, still soaks up the sauce well |
| Ground beef | Ground pork | Adds a slightly sweeter flavor |
| Soy sauce | Coconut aminos | Great for a soy free version |
| Brown sugar | Honey or maple syrup | Works for a refined sugar free take |
| White rice | Cauliflower rice | Lower carb option that still holds the sauce |
Want more veggies in there? Broccoli, snap peas, or shredded carrots all stir in nicely during the last few minutes of cooking.
Make Ahead Tips
You can prep the sauce up to 3 days ahead of time. Just store it in a sealed jar in the fridge and give it a shake before using.
The beef itself is best cooked fresh, but if you’re really short on time, you can brown the ground beef a day ahead and just reheat it with the sauce when you’re ready to eat.
Nutritional Breakdown and Diet Notes
Here’s a rough estimate per serving (based on 4 servings, beef only, not including rice):
| Nutrient | Approximate Amount |
|---|---|
| Calories | 320 |
| Protein | 22g |
| Carbs | 18g |
| Fat | 18g |
| Sodium | 780mg |
This will shift depending on the fat content of your beef and the soy sauce brand you use. For a lower sodium version, go with a low sodium soy sauce and cut the added salt from any other seasonings.
Meal pairing suggestions: Steamed broccoli, a simple cucumber salad, or spring rolls all round this meal out nicely.
Time saving tip: Mince your garlic and ginger the night before and store them in a small container in the fridge. It shaves a solid 5 minutes off your prep time.
Leftovers and Storage
This dish keeps well, which makes it a solid meal prep option too.
- Fridge: Store in an airtight container for up to 4 days.
- Freezer: Freeze for up to 3 months. Thaw overnight in the fridge before reheating.
- Reheating: Warm it in a skillet over medium heat with a splash of water to loosen the sauce back up. The microwave works too, just stir halfway through.
FAQ
Can I use a different protein besides beef?
Yes. Ground turkey, chicken, or pork all work well in this recipe. The cook time stays about the same.
Why is my sauce too thin?
Your cornstarch might not have fully dissolved, or it needs a bit more simmer time. Give it another minute or two on the heat and it should thicken right up.
Is this recipe spicy?
Not unless you add the red pepper flakes. Leave them out if you’re serving picky eaters, or add extra if you like heat.
Can I double this recipe?
Absolutely. Just double every ingredient and use a bigger skillet so the beef browns evenly instead of steaming.
What rice pairs best with this?
Jasmine rice is my go to, but any white or brown rice works fine.
Wrapping Up
This recipe earned a permanent spot in my dinner rotation, and I think it’ll do the same for you.
It’s fast, it’s cheap, and it tastes like something you’d order from your favorite takeout spot on a Friday night.
Give it a try this week, and when you do, leave a comment below and let me know how it turned out. If you tweaked it or added your own twist, I’d genuinely love to hear about it.