Mongolian beef has never set foot in Mongolia.
Not once. Not close.
It was actually dreamed up by Taiwanese chefs, likely inspired by the Mongolian barbecue restaurants that became popular in Taipei decades ago. Traditional Mongolian cooking barely touches soy sauce or sugar, which happen to be the two ingredients that make this dish so addictive.
So why bring that up before you’ve even seen the ingredient list?
Because once you know the name is basically a marketing trick, you stop stressing about “authenticity” and just focus on making something that tastes incredible. That’s exactly what this version does, using ground beef instead of the usual sliced flank steak, so it’s faster, cheaper, and honestly just as good.
This one’s been on repeat in my kitchen for months now. It takes less time than ordering delivery, and it tastes better than most of the takeout versions I’ve had.
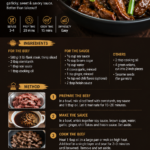
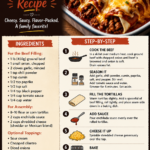
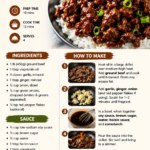
What You’ll Need
For the beef and sauce:
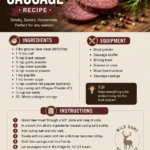
- 1 lb ground beef (80/20 works best)
- 4 cloves garlic, minced
- 1 tablespoon fresh ginger, grated
- 1/2 cup low-sodium soy sauce
- 1/3 cup brown sugar
- 1/4 cup water or beef broth
- 1 tablespoon cornstarch
- 2 tablespoons cold water (for the slurry)
- 1 tablespoon vegetable oil
For garnish and serving:
- 4 green onions, cut into 1 to 2 inch pieces
- Sesame seeds (optional, but it’s worth it)
- Red pepper flakes (optional, for heat)
- Cooked white rice, for serving
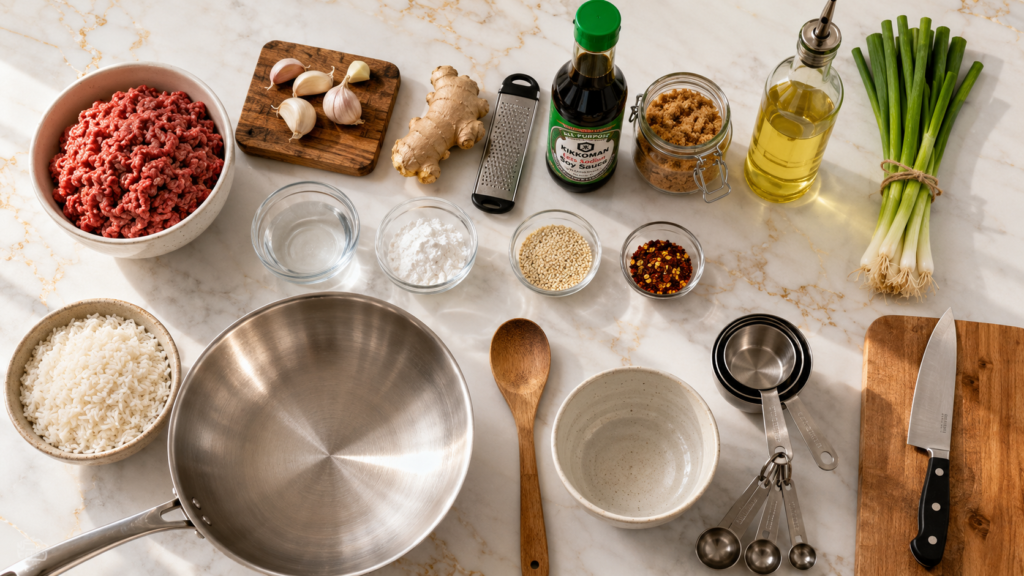
The Tools You’ll Need
- A large skillet or wok
- A wooden spoon or spatula
- A small mixing bowl (for the cornstarch slurry)
- Measuring cups and spoons
- A cutting board and knife
- A garlic press or fine grater, if you’ve got one
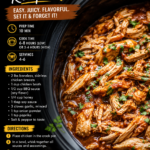
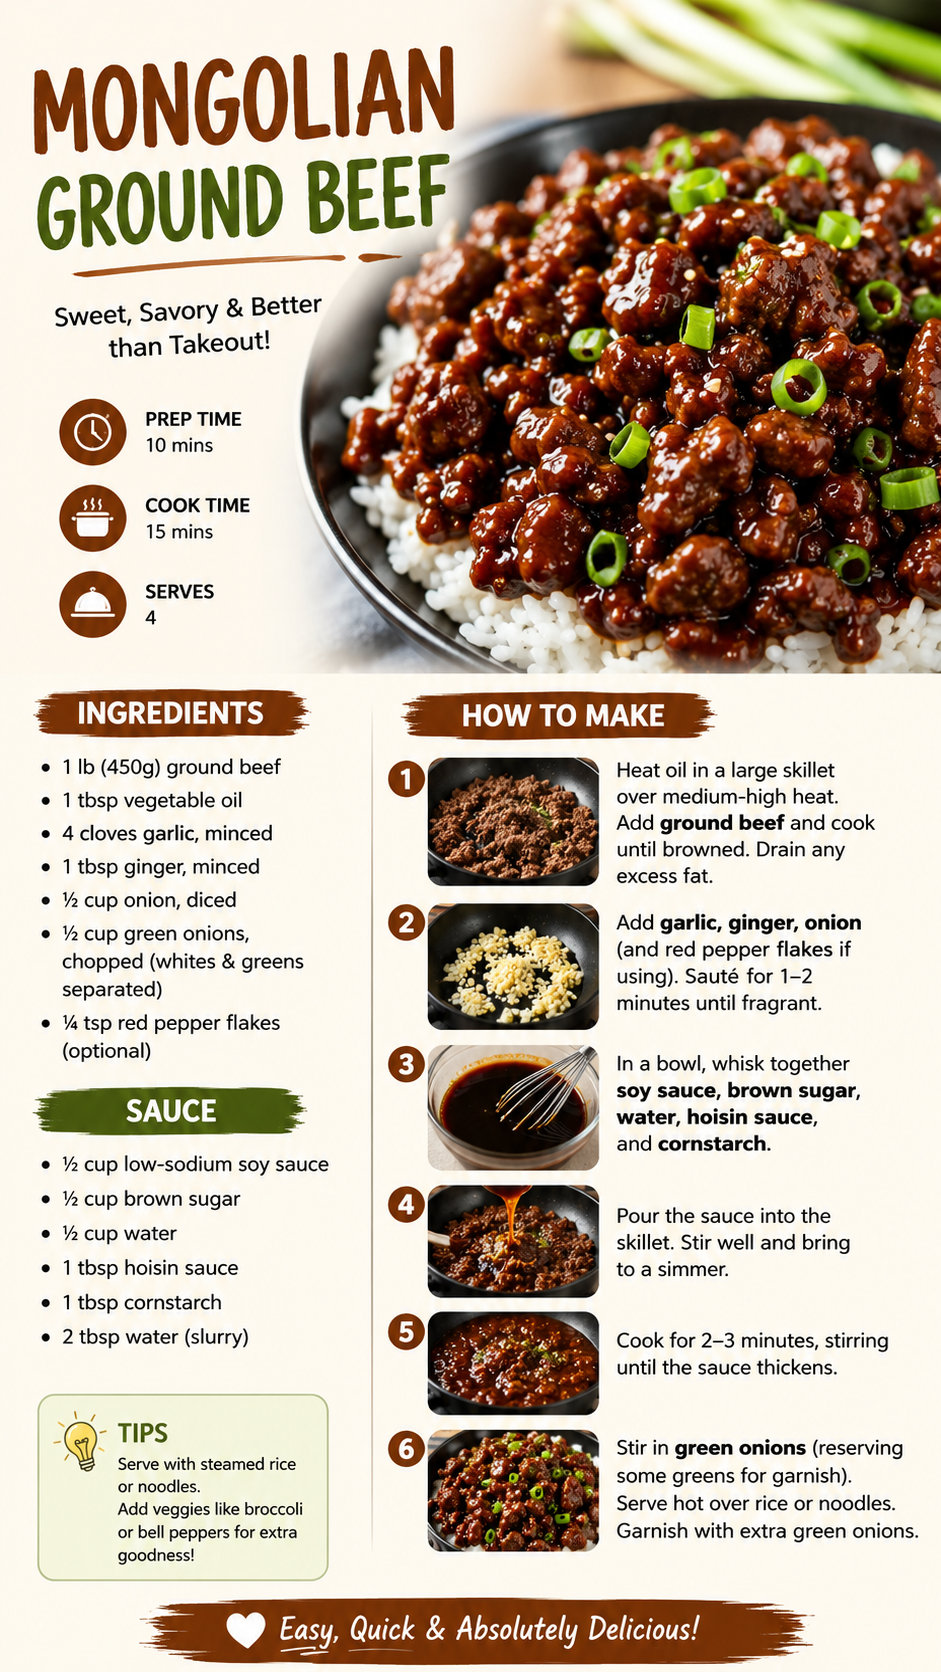
How to Make Mongolian Ground Beef
This whole thing comes together faster than your rice cooker finishes a batch of rice. Here’s the breakdown.
- Brown the beef. Heat the oil in your skillet over medium-high heat, then add the ground beef. Break it apart with your spoon and cook until it’s no longer pink, about 5 to 7 minutes.
- Drain a little fat. If there’s a lot of grease pooled in the pan, spoon out most of it. Leave a little behind for flavor.
- Add garlic and ginger. Stir them in and cook for about a minute, just until your kitchen smells amazing.
- Mix the sauce. In a small bowl, whisk together the soy sauce, brown sugar, and water or broth. Pour it straight into the skillet.
- Let it simmer. Give the sauce 3 to 5 minutes to bubble and reduce slightly. This is where the flavor really builds, so don’t rush it.
- Thicken it up. Mix the cornstarch with the cold water until smooth, then pour it into the skillet. Stir constantly for a minute or two until the sauce coats the beef like a glaze.
- Toss in the green onions. Stir them through and cook for one more minute, just until they soften slightly but still have some bite.
- Serve it hot. Spoon over rice, then top with sesame seeds and red pepper flakes if you’re using them.
That’s genuinely the whole process. No marinating, no velveting the meat, no waiting around.
Pro Tips From Someone Who’s Burned This More Than Once
- Mix your cornstarch slurry separately first. Dumping cornstarch straight into a hot pan gives you clumps instead of a silky sauce. Always whisk it with cold water before it goes anywhere near heat.
- Use fresh ginger if you can. The jarred or powdered stuff works in a pinch, but fresh ginger adds a sharpness that powder just can’t fake.
- Don’t skip draining the fat. Ground beef releases a lot of it, and too much grease will make your sauce slide right off instead of clinging to the meat.
- Taste before you thicken. Once the sauce is glazed onto the beef, it’s harder to adjust. Taste it while it’s still a thin liquid and add more sugar or soy sauce if it needs it.
- Add the green onions last. They go limp and lose their color fast, so save them for the very end.
Substitutions and Variations
This recipe bends easily, which is part of why it’s stayed in my regular rotation.
- Protein swap: Ground turkey, chicken, or pork all work well here. Plant-based crumbles work too if you’re cooking meatless.
- Gluten-free: Swap the soy sauce for tamari or coconut aminos. Both work almost identically.
- Lower sugar: Cut the brown sugar down to 2 tablespoons, or swap it for honey or maple syrup.
- Add vegetables: Broccoli, snap peas, bell peppers, or shredded carrots all stir in nicely during the last few minutes of cooking.
- Spicy version: A spoonful of sriracha or a few extra shakes of red pepper flakes turns this into something with real kick.
- Low-carb version: Serve it over cauliflower rice instead of regular rice, and you’ve basically built a keto-friendly dinner.
Make-Ahead Tips
You can mix the sauce (everything except the cornstarch slurry) up to a week ahead and keep it in the fridge in a sealed jar.
The cooked beef and sauce together also reheat beautifully, which makes this a solid meal-prep option. Just cook the whole thing, portion it into containers, and reheat when you’re ready to eat.
I’d recommend adding the cornstarch slurry fresh each time you reheat rather than freezing it already thickened, since cornstarch sauces can separate a little after freezing.
Nutrition, Diet Swaps, and Pairings
Here’s a rough breakdown per serving, based on four servings and not counting the rice. These are estimates, and they’ll shift depending on which substitutions you use.
| Nutrient | Approximate Amount |
|---|---|
| Calories | 320-360 |
| Protein | 22-25g |
| Fat | 18-22g |
| Carbohydrates | 14-18g |
| Sodium | 850-950mg |
If sodium is a concern, low-sodium soy sauce makes a real difference, and it’s already built into this recipe. Coconut aminos will lower it even further if you need to.
Pairing suggestions:
- Steamed white or jasmine rice (the classic move)
- A quick cucumber and rice vinegar salad for something cold and crunchy
- Stir-fried bok choy or green beans
- Egg fried rice, if you want to go all in
Time efficiency tip: Pre-minced garlic and ginger paste (sold together in most grocery stores) shaves a few minutes off prep without sacrificing much flavor. I also like doubling the batch and freezing half for a night when cooking feels impossible.
Storing and Reheating Leftovers
This dish holds up better than most stir-fries, which is honestly one of the reasons I make it so often.
- Fridge: Store in an airtight container for 3 to 4 days.
- Freezer: It freezes well for up to 3 months. Let it cool completely before sealing it up.
- Reheating: A skillet over medium heat works best, with a splash of water or broth stirred in to loosen the sauce back up. The microwave works too if you’re short on time, just stir halfway through.
FAQ
Is Mongolian beef actually Mongolian food?
No, and it’s not even close. It originated in Taiwan, and traditional Mongolian cuisine rarely uses soy sauce or sugar at all. The name stuck around anyway because it sounds exotic on a menu.
Can I use ground chicken or turkey instead of beef?
Yes, and it works well. Just know the sauce will cling slightly differently since chicken and turkey release less fat than beef does.
Why is my sauce too thin?
It probably needs another minute or two of simmering before the slurry goes in, or you may need a touch more cornstarch slurry. Add it a little at a time until it reaches the consistency you want.
Why is my sauce too thick or gloopy?
You added too much cornstarch slurry, or let it cook too long after thickening. A splash of water or broth stirred in will loosen it right back up.
Can I make this ahead for meal prep?
Definitely. It reheats well for several days, which makes it a solid choice for prepping lunches or dinners in advance.
Is this recipe spicy?
Not as written. The heat is entirely optional and comes from the red pepper flakes or sriracha, so you control exactly how much kick it has.
Wrapping Up
This recipe earns its spot in a weeknight rotation because it asks so little of you and gives back so much.
One pan, twenty minutes, and a sauce that tastes like it took way more effort than it actually did.
Make it once and I’d bet it becomes a regular in your house too. Once you’ve tried it, drop a comment below and let me know how it turned out, or ask any questions if something didn’t go as planned. I read every one of them.