What if the secret to a juicy chicken burger has nothing to do with the chicken at all?
I learned that the hard way after years of dry, sad patties that fell apart on the grill. Turns out the fix was so simple I felt a little silly once I figured it out.
This recipe is the one I make now. It’s juicy, it’s packed with flavor, and it holds together every single time. No more crumbly patties. No more “it’s fine I guess” reactions from my husband Silas.
Just a really, really good burger.
Let’s get into it.
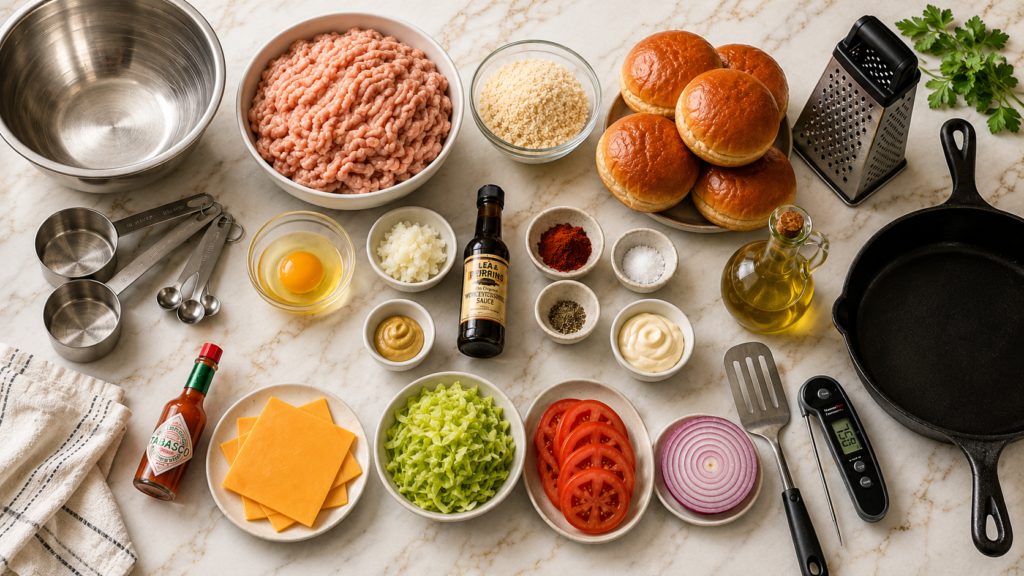
What You’ll Need
Here’s everything you’ll be working with:
For the patties:
- 1.5 lbs ground chicken (preferably thigh meat, not breast)
- 1/3 cup panko breadcrumbs
- 1 large egg
- 2 garlic cloves, minced
- 2 tbsp grated onion
- 1 tbsp Dijon mustard
- 1 tbsp Worcestershire sauce
- 1 tsp smoked paprika
- 1/2 tsp salt
- 1/4 tsp black pepper
- 2 tbsp olive oil (for cooking)
For assembly:
- 4 brioche buns
- 4 slices cheddar or pepper jack cheese
- 1 cup shredded lettuce
- 1 medium tomato, sliced
- 1/2 red onion, thinly sliced
- 1/4 cup mayo
- 1 tbsp hot sauce (optional, but you’ll want it)
That’s it. Nothing fancy, nothing you have to special-order.
Why Ground Chicken Breast Is Sabotaging Your Burgers
Quick surprising fact before we start cooking.
Ground chicken breast is one of the leanest meats you can buy. Less than 3% fat in most cases.
Sounds healthy, right? It is. But it’s also the reason your chicken burgers turn into hockey pucks.
Fat is what keeps a burger juicy as it cooks. Without it, you’re basically steaming dry protein and hoping for the best.
Ground chicken thigh has roughly 3 to 4 times more fat. That’s the swap that changes everything.
Tools You’ll Need
- Large mixing bowl
- Measuring cups and spoons
- Box grater (for the onion)
- Large skillet or grill pan
- Spatula
- Meat thermometer (this one matters more than you’d think)
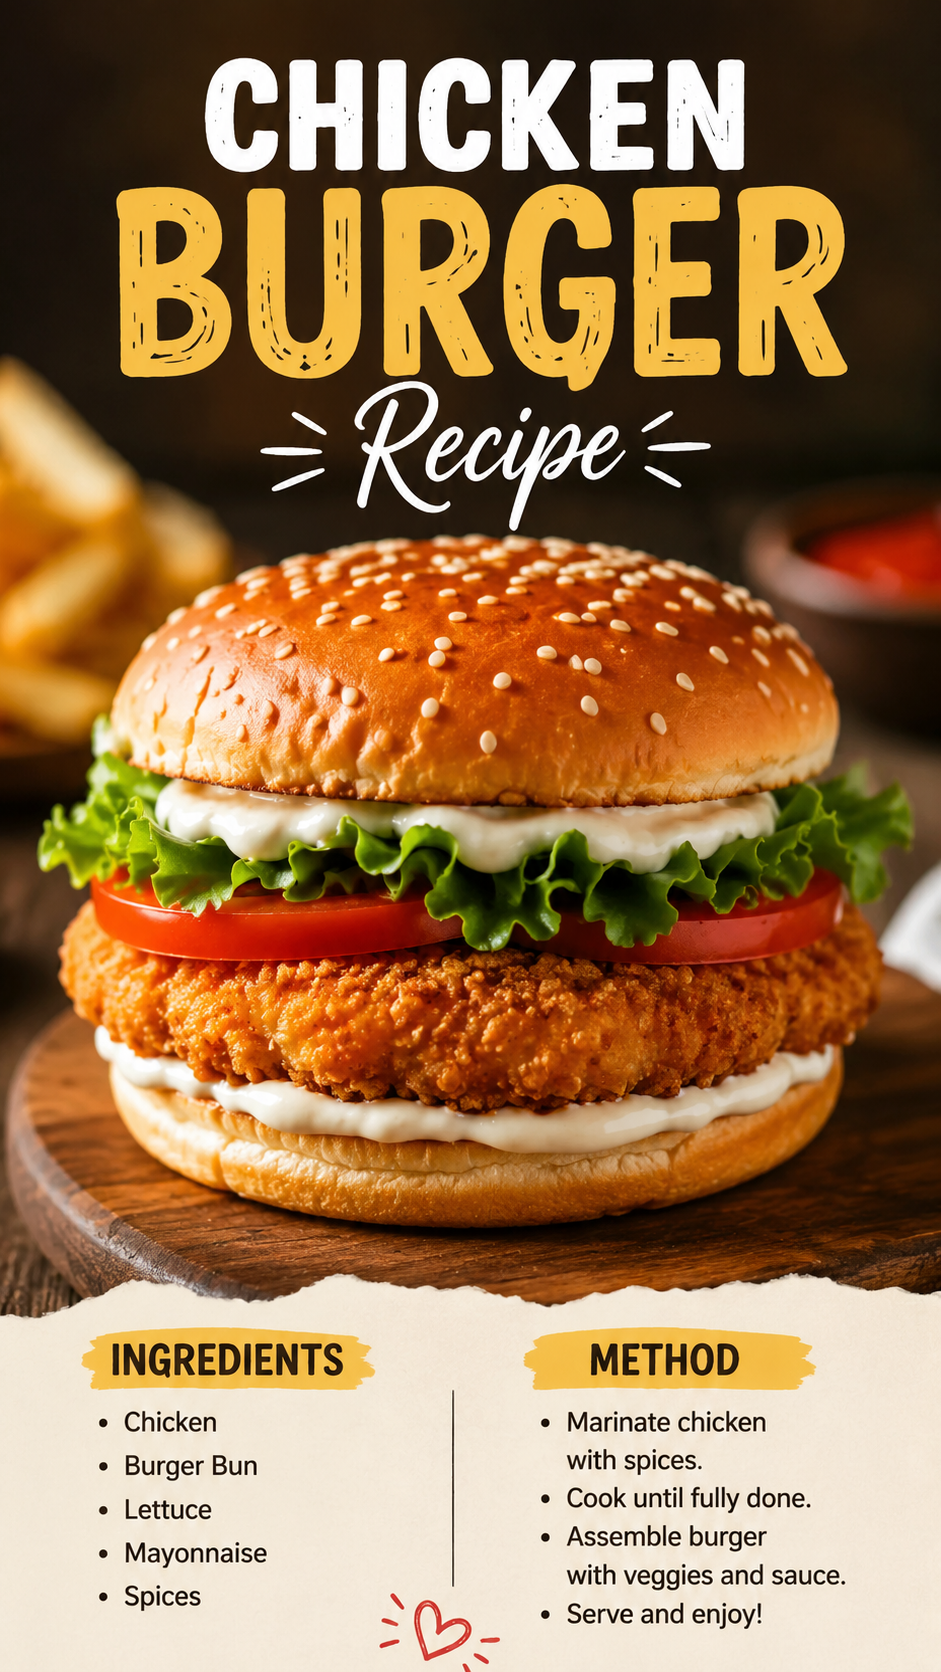
How to Make Chicken Burgers
Step 1: Mix the Patties
In a large bowl, combine the ground chicken, panko, egg, garlic, grated onion, Dijon, Worcestershire, paprika, salt, and pepper.
Mix with your hands until just combined.
Don’t overmix. This is where most people go wrong. Overmixing presses out the air and moisture, and you end up with a dense, rubbery patty instead of a tender one.
Step 2: Shape the Patties
Divide the mixture into 4 equal portions.
Shape each one into a patty about 3/4 inch thick.
Press a small dimple into the center of each patty with your thumb. This stops them from puffing up into a dome while they cook.
Step 3: Chill (Yes, Really)
Pop the patties on a plate and into the fridge for 15 to 20 minutes.
This isn’t optional if you want patties that hold their shape. Chilled fat firms up, which means less spreading and less sticking once they hit the pan.
Step 4: Cook the Patties
Heat the olive oil in a large skillet over medium heat.
Add the patties and cook for 5 to 6 minutes per side, flipping only once.
You’re looking for an internal temperature of 165°F. This is non-negotiable with chicken, so don’t skip the thermometer.
In the last minute of cooking, add a slice of cheese to each patty and let it melt.
Step 5: Toast the Buns
While the patties rest for a minute, toast your brioche buns in the same skillet, cut side down, for about 30 seconds.
Step 6: Assemble
Spread mayo (mixed with hot sauce if you’re using it) on both bun halves.
Layer on the lettuce, then the patty with melted cheese, then tomato and red onion.
Top bun on. Done.
Pro Tips
- Grate your onion instead of dicing it. This releases more moisture and flavor directly into the meat without leaving big crunchy chunks that can cause the patty to fall apart.
- Wet your hands before shaping patties. Ground chicken is sticky, and wet hands keep it from clinging to your fingers the whole time.
- Don’t press down on the patties while they cook. I know it’s tempting. But every press pushes out juice you’ll wish you kept.
- Let the patties rest for 2 minutes off the heat before building your burger. This lets the juices settle back into the meat instead of running out all over your cutting board.
- Toast the inside of the bun, not just the outside. A toasted interior holds up so much better against mayo and burger juices, so you avoid that soggy bottom-bun situation.
Substitutions and Variations
| Original | Swap | Why It Works |
|---|---|---|
| Ground chicken thigh | Ground turkey thigh | Same fat content, similar texture |
| Panko breadcrumbs | Crushed crackers or oats | Good gluten-free option |
| Brioche bun | Lettuce wrap | Low-carb, still holds together |
| Cheddar | Pepper jack or gruyere | More heat or more nuttiness |
| Dijon mustard | Yellow mustard | Milder, more classic flavor |
| Mayo | Greek yogurt | Lighter, still creamy |
Want a flavor twist? Try mixing in a tablespoon of chopped fresh basil and swapping the cheddar for fresh mozzarella. It turns into a Caprese-style chicken burger that’s honestly incredible.
Make Ahead Tips
You can shape the patties up to 24 hours in advance.
Just keep them stacked with parchment paper between each one, covered tightly in the fridge.
You can also freeze raw, shaped patties for up to 3 months. Thaw them in the fridge overnight before cooking.
I would not recommend cooking them ahead and reheating, though. Chicken burgers lose a lot of their juiciness in the microwave, and nobody wants that.
Nutritional Breakdown (Per Burger, Without Bun)
| Nutrient | Amount |
|---|---|
| Calories | ~310 |
| Protein | 28g |
| Fat | 19g |
| Carbs | 6g |
| Sodium | 520mg |
This will shift slightly depending on your exact cheese and condiment choices, but it gives you a solid ballpark.
Meal Pairing Suggestions
This burger pairs really well with something acidic or crunchy to balance the richness.
- Sweet potato fries
- A simple cucumber and vinegar salad
- Coleslaw with a tangy dressing
- Grilled corn with lime
Cooking Time Efficiency Tip
While your patties chill in the fridge, that’s your window.
Use those 15 to 20 minutes to slice your tomato, onion, and prep your sauce. You’ll go from fridge to fully assembled burger in record time, and nothing sits around getting warm or wilted.
Leftovers and Storage
Cooked patties keep in the fridge for up to 3 days in an airtight container.
To reheat, skip the microwave. Use a skillet over low heat with a splash of water and a lid on top. This brings back moisture instead of zapping it all away.
Freeze cooked patties for up to 2 months. Thaw overnight in the fridge before reheating.
Keep your toppings separate and add them fresh. Soggy lettuce the next day is nobody’s idea of a good time.
FAQ
Can I grill these instead of using a skillet?
Yes. Oil your grill grates well, and cook over medium heat for the same 5 to 6 minutes per side. Chicken sticks more easily than beef, so don’t rush the oiling step.
Why did my chicken burgers fall apart?
This usually comes down to one of two things: not enough binder (the egg and panko), or flipping the patty too early before it’s developed a crust.
Is ground chicken thigh harder to find than ground chicken breast?
It can be, depending on your store. Some grocery stores only carry breast. If that’s the case, ask your butcher counter. Most will grind thigh meat for you on request, and it’s usually no extra cost.
Can I make these dairy-free?
Yes, just skip the cheese or use a dairy-free slice. Everything else in this recipe is naturally dairy-free.
What’s the best way to know when they’re done without cutting into them?
A meat thermometer. Insert it into the thickest part of the patty and look for 165°F. This is the only fully reliable way to check.
Wrapping Up
This is the chicken burger recipe that finally fixed every problem I used to have with chicken burgers.
Juicy, flavorful, and it actually holds together on the bun.
Give it a try this week, and let me know in the comments how it turned out for you. I’d also love to hear if you tried any of the variations, or if you have a topping combo I need to know about.