You’ve had chicken wings before. But have you had these chicken wings?
The kind that come out of the oven shatteringly crispy on the outside, juicy in the middle, and coated in a sticky, caramelized sauce that makes you want to lick every single finger.
No deep fryer. No restaurant trip. Just your oven and a little trick that most people don’t know about (more on that later 👀).
This recipe has officially replaced every “wing night” we’ve ever ordered takeout for. And once you find out how easy they actually are? You’ll feel a little silly for not making them sooner.
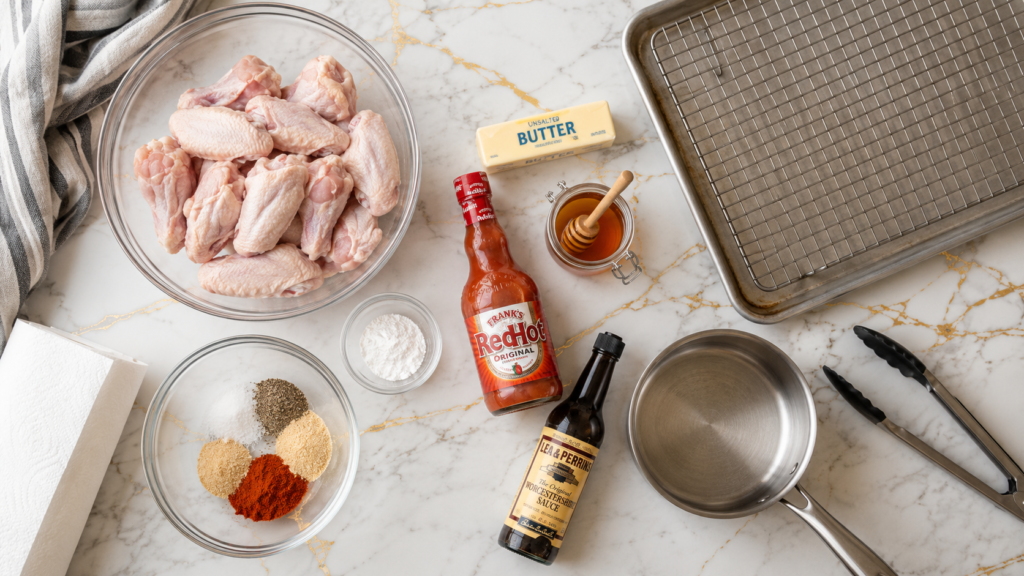
What You’ll Need
For the Wings
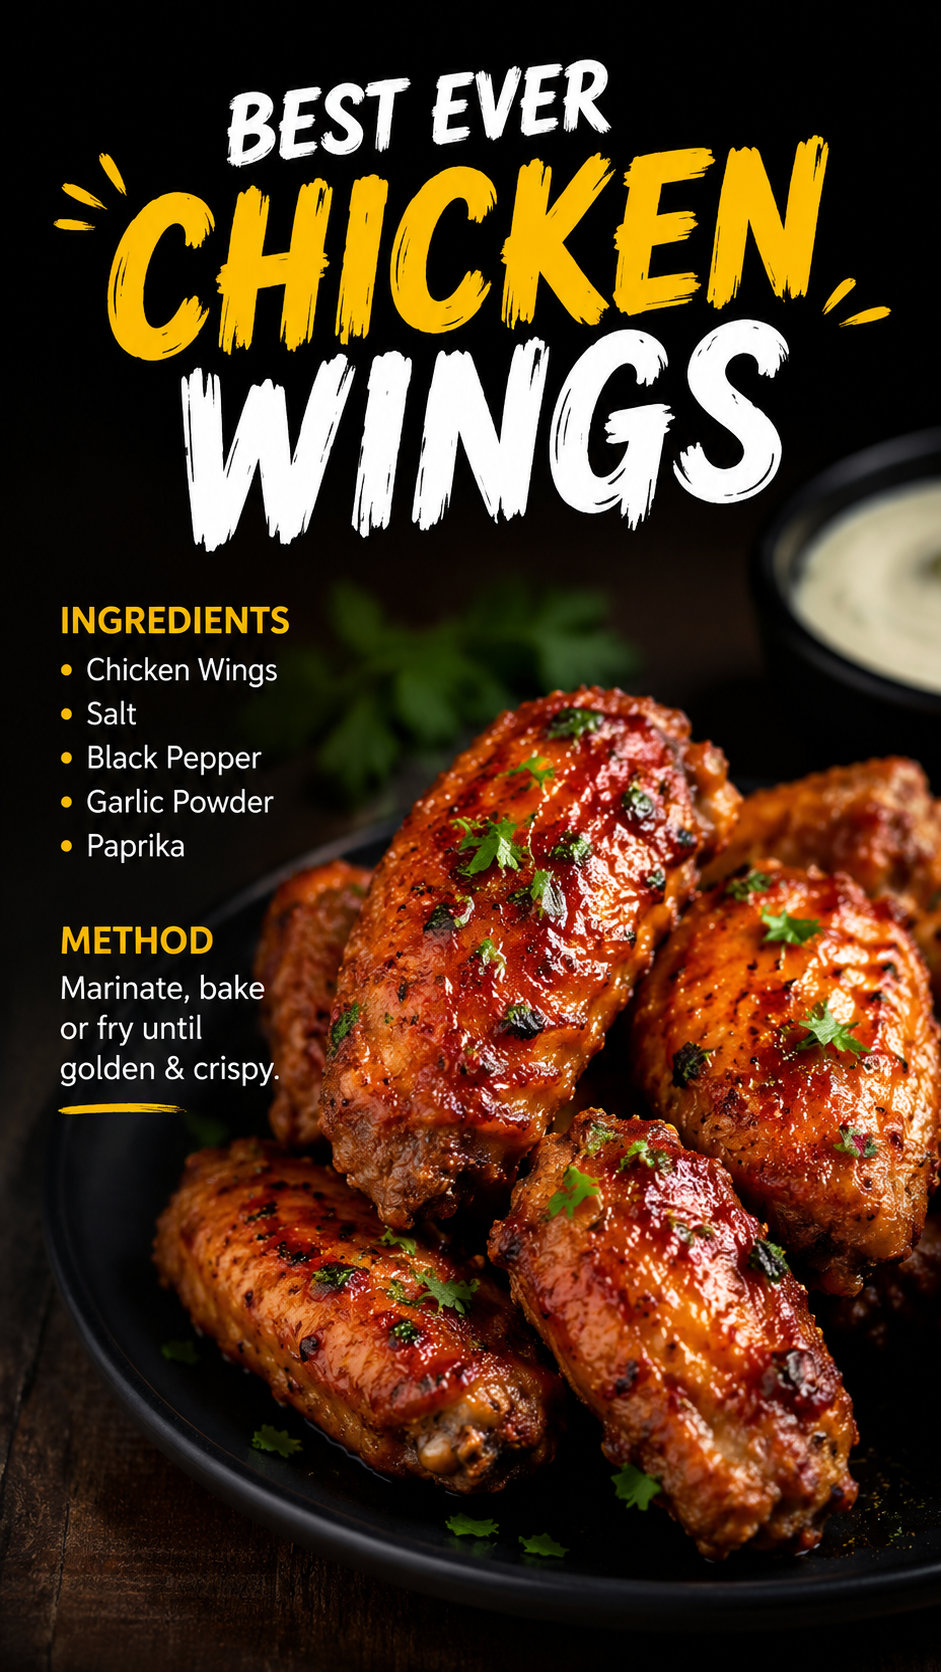
- 2 lbs chicken wings, split into flats and drumettes
- 1 tbsp baking powder (not baking soda — this is the secret 🔑)
- 1 tsp garlic powder
- 1 tsp onion powder
- 1 tsp smoked paprika
- 1 tsp salt
- ½ tsp black pepper
For the Sauce
- ¼ cup hot sauce (Frank’s RedHot is the classic choice)
- 3 tbsp unsalted butter, melted
- 1 tbsp honey
- 1 tsp Worcestershire sauce
- ½ tsp garlic powder
Tools You’ll Need
- Large baking sheet (rimmed)
- Wire rack (this is non-negotiable — it changes everything)
- Large mixing bowls
- Tongs
- Small saucepan or microwave-safe bowl
- Paper towels
- Meat thermometer (optional but smart)
Pro Tips
These are the things that took me from “decent wings” to “people asking for the recipe every single time.”
- Dry the wings completely before seasoning. Like, really dry them. Pat them down with paper towels until there’s zero moisture left. Wet skin = soft skin. And soft skin is the enemy here.
- The baking powder trick is real. It sounds strange, but a light coating of baking powder on the skin is what creates that deep-fried crunch without any frying. It pulls moisture out and creates tiny bubbles that turn gloriously crispy in the oven.
- The wire rack is doing heavy lifting. Placing the wings on a rack over the baking sheet means hot air circulates around all sides. No soggy bottoms. No steaming in their own juices.
- Don’t skip the high heat at the end. Starting low and finishing high is what gives you juicy meat AND crispy skin in the same wing.
- Toss the wings in sauce right before serving. Not before baking, not 10 minutes before eating. Right before. This keeps the skin crispy instead of letting it sit and get soggy in the sauce.
Substitutions and Variations
Not every kitchen or preference is the same, so here’s how to adapt:
| Swap | Try This Instead |
|---|---|
| Frank’s RedHot | Sriracha, gochujang, or your favorite hot sauce |
| Honey | Maple syrup or agave for a different sweetness |
| Butter in sauce | Vegan butter or ghee |
| Smoked paprika | Regular paprika + ½ tsp liquid smoke |
| Chicken wings | Chicken drumsticks (adjust bake time to 45–50 mins) |
Want to change up the flavor completely?
- Honey Garlic: Skip the hot sauce, double the honey, add 3 cloves minced garlic
- Lemon Pepper: Skip the sauce entirely, toss with lemon zest + freshly cracked pepper + olive oil
- BBQ: Swap the hot sauce for your favorite BBQ sauce + a splash of apple cider vinegar
- Korean-style: Use gochujang instead of hot sauce, add 1 tsp sesame oil + 1 tsp soy sauce
Make Ahead Tips
- The night before: Pat wings dry, season with the baking powder mixture, and lay them on a rack uncovered in the fridge overnight. This dries them out even more, which means even crispier wings.
- Sauce: Make the sauce up to 5 days ahead and store it in a jar in the fridge. Just reheat before tossing.
- Prepping for a crowd: Season the wings up to 24 hours ahead. Bake them day-of.
The Instructions
Total Time: ~1 hour | Serves: 4
Step 1: Dry the Wings (Seriously)
Pat your wings completely dry with paper towels. Every single piece. No shortcuts here.
Step 2: Season
In a large bowl, toss the wings with baking powder, garlic powder, onion powder, smoked paprika, salt, and pepper. Make sure every piece is evenly coated.
Step 3: Set Up the Pan
Place a wire rack on top of your rimmed baking sheet. Arrange the wings in a single layer on the rack, making sure none of them are touching. Crowded wings = steamed wings.
Step 4: Bake Low, Then High
- First: Bake at 250°F (120°C) for 30 minutes. This renders the fat under the skin.
- Then: Crank the oven to 425°F (220°C) and bake for another 40–45 minutes, flipping once halfway through, until the skin is deep golden and crispy.
The internal temperature should read 165°F (74°C) at the thickest part.
Step 5: Make the Sauce
While the wings are in their final bake, combine the hot sauce, melted butter, honey, Worcestershire sauce, and garlic powder in a small saucepan. Heat over low until just combined and glossy. Taste it. Adjust heat or sweetness as needed.
Step 6: Toss and Serve
Pull the wings out of the oven. Let them rest for 2 minutes. Then toss them in the sauce and serve immediately.
That’s it.
Nutritional Breakdown
Per serving (approx. 5–6 wings with sauce):
| Nutrient | Amount |
|---|---|
| Calories | ~420 kcal |
| Protein | 32g |
| Fat | 28g |
| Carbohydrates | 8g |
| Sugar | 5g |
| Sodium | ~780mg |
For specific diets:
- Keto/Low-carb: Skip the honey in the sauce or use a monk fruit sweetener
- Dairy-free: Swap butter for vegan butter or coconut oil
- Gluten-free: This recipe is naturally gluten-free — just double-check your hot sauce label
Meal pairing ideas:
- Classic coleslaw
- Celery and carrot sticks with blue cheese or ranch
- Seasoned fries or sweet potato fries
- Corn on the cob
- Cold beer (obviously)
Leftovers and Storage
Good news: leftover wings are amazing.
Storage: Let them cool completely, then store in an airtight container in the fridge for up to 4 days.
Reheating: This is the one thing people get wrong. Do not microwave them. They’ll go soft and sad.
Instead: pop them on a wire rack on a baking sheet in a 400°F oven for 10–12 minutes. They’ll come back to life like they were just made.
Freezing: Freeze baked (unsauced) wings for up to 2 months. Reheat straight from frozen at 400°F for 20–25 minutes.
FAQ
Do I really need a wire rack? You really do. Without one, the underside of the wings sits in its own fat and steams instead of crisping. The rack is what makes this method work.
Can I use frozen wings? Yes, just thaw them completely in the fridge first and dry them very well before seasoning.
My wings aren’t getting crispy. What went wrong? Usually one of three things: the wings weren’t dry enough before baking, the rack was skipped, or the oven wasn’t hot enough in the second bake. Check all three.
Can I make these in an air fryer? Absolutely. Air fry at 380°F for 22–25 minutes, shaking the basket halfway through. Same baking powder trick applies.
How spicy is this recipe? The base sauce is mild-to-medium. If you want it spicier, add a pinch of cayenne or a few dashes of extra hot sauce. For a milder version, reduce the hot sauce by half and increase the honey.
Can I double the recipe? Yes, but use two baking sheets and rotate them halfway through baking. Overcrowding one sheet will trap steam and ruin the crispiness.
Wrapping Up
Here’s the thing about these wings: they look impressive, they taste like something you’d pay too much for at a restaurant, and they take about an hour of mostly hands-off oven time.
That’s a pretty great deal.
They’re the kind of recipe you make once for a game night or a casual dinner, and then suddenly everyone wants them every time you get together. You’ve been warned.
Now go make them, and when you do — drop a comment below and tell me how they turned out. Did you go classic buffalo? Try a different sauce? I want to hear everything. And if you have questions, I’m here.