You know that smell when someone’s been slow-cooking something all afternoon and it hits you the second you walk through the door?
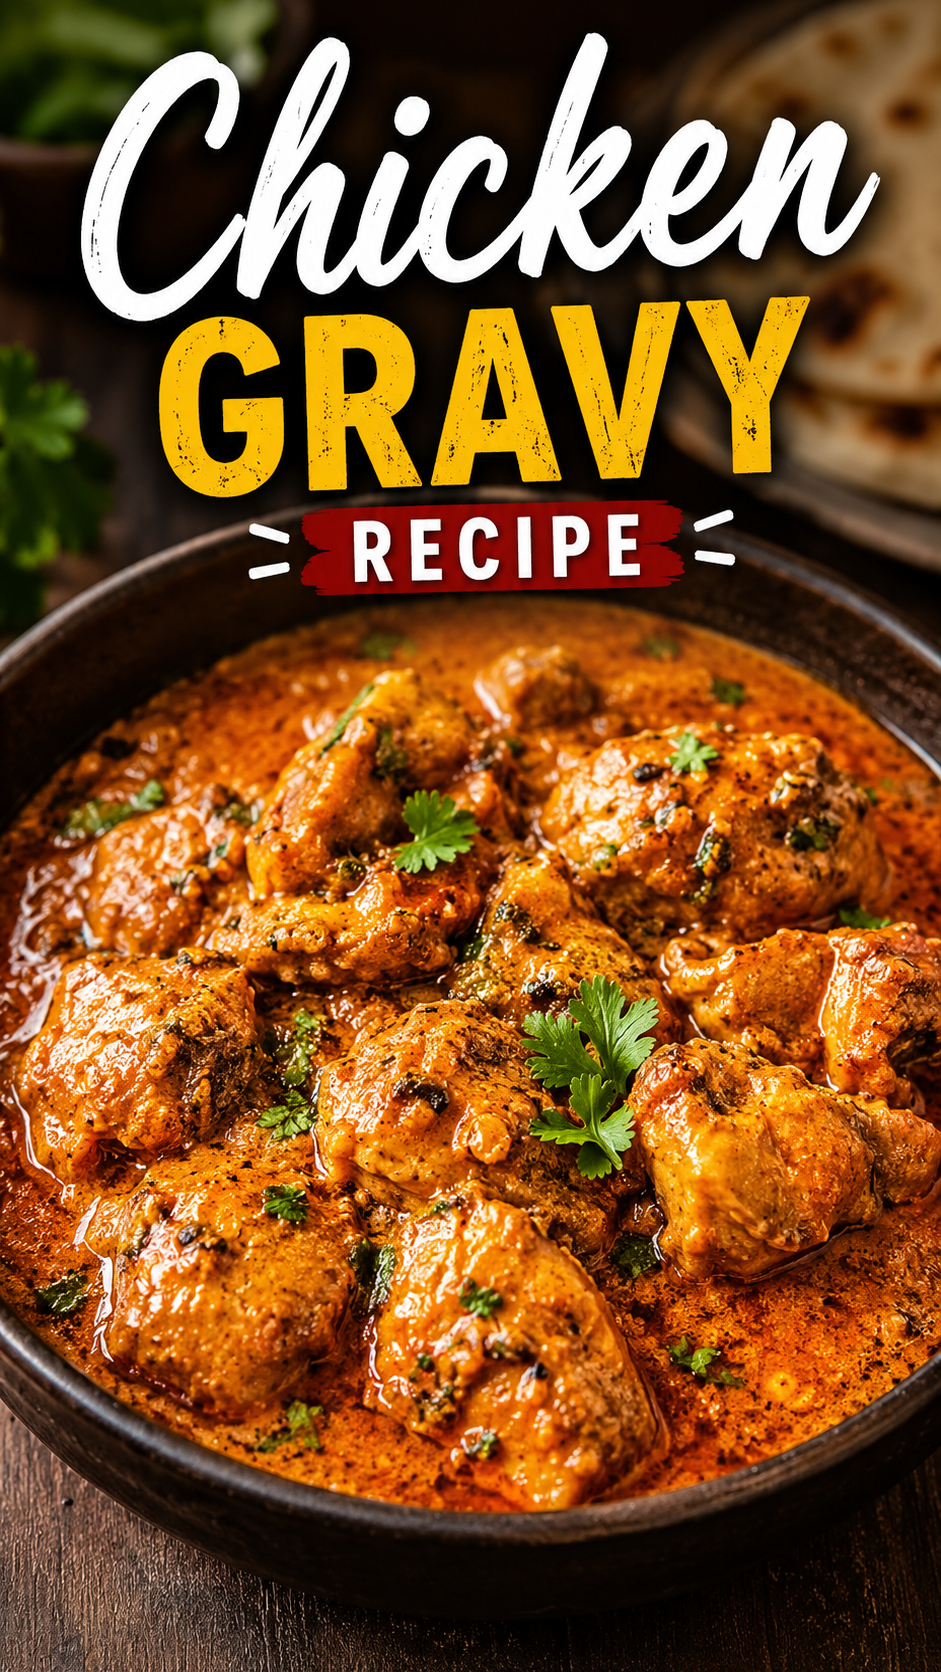
That’s what this chicken gravy smells like.
And once you make it from scratch, the jarred stuff is going to feel like a bit of an insult. I’m just being honest.
This recipe is thick, golden, deeply savory, and takes about 30 minutes on the stovetop. It’s exactly the kind of thing you want poured over mashed potatoes, biscuits, or a piece of roasted chicken on a night when you need food that actually feels like something.
Keep reading, because there are a few tricks in here that genuinely change how this turns out. (The one in the Pro Tips section? Game-changer.)
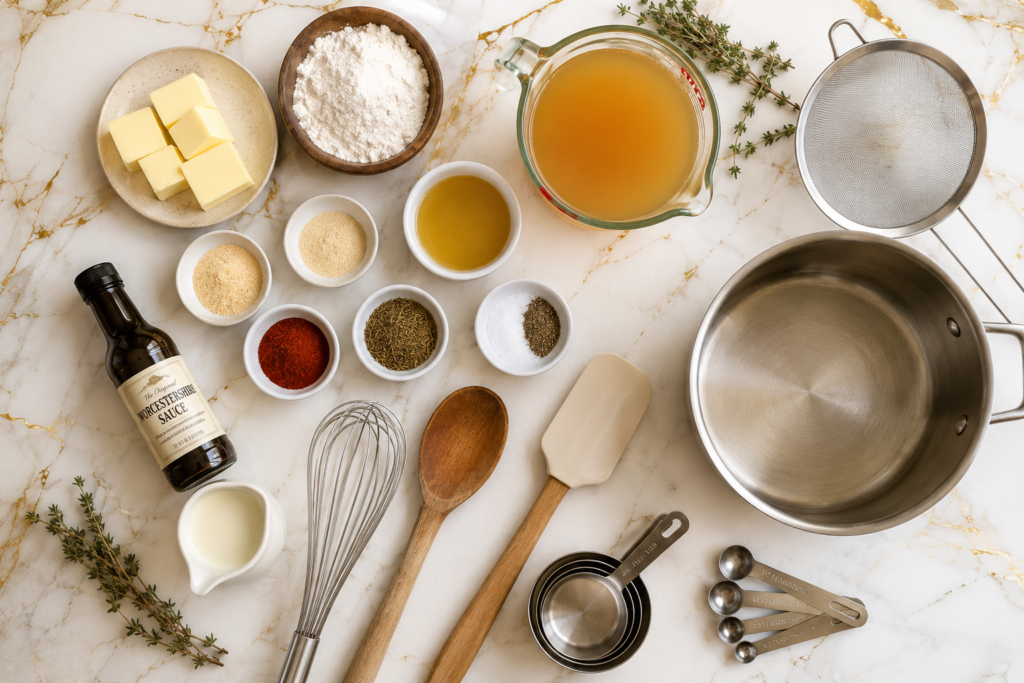
What You’ll Need
For the Gravy:
- 4 tablespoons unsalted butter
- 1/3 cup all-purpose flour
- 3 cups chicken broth (low-sodium preferred)
- 1/2 cup chicken drippings (or substitute with extra broth + 1 tbsp butter)
- 1/2 teaspoon garlic powder
- 1/2 teaspoon onion powder
- 1/4 teaspoon smoked paprika
- 1/2 teaspoon fresh thyme (or 1/4 tsp dried)
- Salt and black pepper to taste
- 1 teaspoon Worcestershire sauce
- Optional: 2 tablespoons heavy cream (for a richer finish)
Tools You’ll Need
- Medium saucepan or skillet
- Whisk
- Wooden spoon or silicone spatula
- Measuring cups and spoons
- Fine mesh strainer (optional, but great for a silky texture)
- Ladle for serving
Pro Tips
These are the things that took my gravy from “pretty good” to “can I have more of that.”
1. Don’t rush the roux. The butter and flour mixture is the backbone of the whole thing. Cook it on medium heat for a full 2 minutes before you add any liquid. It should smell slightly nutty. If you skip this step, your gravy will taste like raw flour. Nobody wants that.
2. Warm your broth first. Cold broth added to a hot roux is the fastest way to get lumpy gravy. Just microwave it for 90 seconds or heat it in a small pot. The difference is real.
3. Add the broth slowly. Pour it in gradually while whisking constantly. Not all at once. Slow and steady, pour, whisk, repeat. Once it’s smooth and coming together, you can add the rest more quickly.
4. Taste before you salt. Chicken broth varies a lot in saltiness depending on the brand. Always taste toward the end and season from there. Starting salty = no way back.
5. A splash of Worcestershire is your secret weapon. It adds this background depth that makes people ask “what’s in this?” It doesn’t taste like Worcestershire in the final product. It just makes everything taste more like itself.
Substitutions and Variations
This recipe is flexible. Here’s how to make it work for different diets or situations:
| Swap | Use Instead |
|---|---|
| Unsalted butter | Olive oil or dairy-free butter |
| All-purpose flour | Cornstarch (use half the amount) or gluten-free 1:1 flour |
| Chicken broth | Vegetable broth (changes flavor slightly, still great) |
| Heavy cream | Full-fat coconut milk for dairy-free |
| Fresh thyme | Rosemary, sage, or a pinch of Italian seasoning |
Want it extra rich? Stir in 2 tablespoons of heavy cream at the very end, off the heat.
Want it chunkier? Add finely diced sautéed mushrooms, shallots, or shredded cooked chicken right before serving.
Prefer a darker gravy? Let the roux cook a minute or two longer until it deepens in color. Just watch it carefully because it can burn fast.
Make-Ahead Tips
Gravy is one of those things that actually improves after a day in the fridge.
- Make a full batch up to 3 days ahead and store in an airtight container in the fridge.
- Reheat on low heat, whisking in a splash of broth if it’s thickened too much.
- It also freezes well for up to 3 months. Thaw overnight in the fridge before reheating.
This makes it a great thing to prep the day before a big dinner when you’re juggling a lot of dishes.
Full Instructions
Step 1: Make the roux
Melt butter in a medium saucepan over medium heat. Once melted and slightly foamy, add the flour all at once. Whisk immediately and keep whisking for about 2 minutes. The mixture should look like a smooth paste and smell faintly nutty.
Step 2: Add warm broth slowly
With the pan still on medium heat, pour in roughly 1/2 cup of warm broth while whisking constantly. It’ll thicken almost immediately. Keep adding broth in small pours, whisking as you go, until you’ve used about half the broth and the mixture is smooth.
Step 3: Add drippings and remaining broth
Pour in the chicken drippings (or extra broth and butter if you’re skipping the drippings) along with the rest of the chicken broth. Whisk to combine.
Step 4: Season
Add garlic powder, onion powder, smoked paprika, thyme, and Worcestershire sauce. Stir well. Bring to a gentle simmer over medium heat, stirring occasionally.
Step 5: Simmer and thicken
Let the gravy simmer for 8 to 10 minutes, stirring every couple of minutes, until it’s reached your preferred thickness. Keep in mind it will thicken slightly more as it cools.
Step 6: Finish and taste
Taste and adjust salt and pepper. If you’re adding heavy cream, stir it in now and let it heat through for another minute. If you want a super smooth, restaurant-quality finish, pour it through a fine mesh strainer before serving.
Serve immediately over mashed potatoes, roasted chicken, rice, biscuits, or whatever sounds good to you right now.
Nutritional Breakdown (Per Serving, Approx. 1/4 Cup)
| Nutrient | Amount |
|---|---|
| Calories | ~90 kcal |
| Fat | 6g |
| Carbohydrates | 6g |
| Protein | 2g |
| Sodium | ~220mg (varies with broth) |
Based on the base recipe without heavy cream or drippings. Adding drippings or cream will increase fat and calorie content.
Meal Pairing Suggestions
Chicken gravy pairs well with basically anything that needs a flavor boost. A few favorites:
- Classic mashed potatoes (obviously)
- Roasted or pan-seared chicken thighs
- Buttermilk biscuits for a proper comfort food moment
- White rice when you want something simple and satisfying
- Egg noodles tossed straight in the gravy
- Steamed green beans or roasted broccoli on the side to balance it out
Leftovers and Storage
Chicken gravy stores surprisingly well.
- Fridge: Up to 4 days in an airtight container
- Freezer: Up to 3 months; thaw in the fridge overnight
- Reheating: Warm on low heat on the stovetop, adding a splash of broth or water to loosen it back up as needed. Stir frequently
Avoid microwaving at high heat as it can cause the gravy to separate. Low and slow wins every time.
FAQ
Can I make chicken gravy without drippings?
Yes. The drippings add a lot of flavor, but if you don’t have them, just use extra chicken broth and add an extra tablespoon of butter. It’s still really good, especially with the Worcestershire and seasonings doing their job.
Why is my gravy lumpy?
Lumpy gravy usually means the broth was added too fast, or it was too cold. Next time, add the liquid slowly and whisk constantly. If you already have lumps, pour the gravy through a fine mesh strainer. It’ll come out silky.
How do I thin gravy that’s too thick?
Just whisk in warm broth a tablespoon at a time until you hit the right consistency. This happens most often when reheating leftovers, so always keep a little extra broth on hand.
Can I make this dairy-free?
Yes. Swap the butter for olive oil or dairy-free butter, and skip the heavy cream (or use full-fat coconut milk instead). It works just as well.
Is this recipe gluten-free?
Not as written, because of the all-purpose flour. To make it gluten-free, use a 1:1 gluten-free flour blend or swap the flour for cornstarch (use half the amount and whisk it into a small amount of cold broth before adding it to the pan).
Can I add onions or mushrooms?
Yes, and it’s a great idea. Sauté finely diced onions or sliced mushrooms in the butter before adding the flour. It gives the gravy a lot more depth.
My gravy tastes bland. What do I do?
A few things to check: Did you cook the roux long enough? Did you add Worcestershire? Are you seasoning toward the end and tasting as you go? If it still needs something, try a tiny pinch more salt, a splash of soy sauce, or even a little more smoked paprika.
Wrapping Up
This is one of those recipes that sounds simple, and it is, but there’s real satisfaction in nailing it.
Once you make chicken gravy from scratch even once, it becomes one of those things you just know how to do. No jar required.
Give it a try this week, and when you do, drop a comment below. I’d genuinely love to hear how it turned out, what you poured it over, and any tweaks you made along the way. And if you have questions, ask them down there too. I read every single one. 👇