I used to keep a box of vanilla cake mix in my pantry for emergencies.
Then one random Tuesday night, craving something sweet at 9pm, I didn’t want to bake a whole cake just for myself. So I grabbed a mug, threw some stuff in it, and microwaved it for 90 seconds.
That mug cake changed everything. 🍰
It came out fluffy, warm, and tasted like actual vanilla cake, not that weird microwaved-egg texture you get when it goes wrong. And it took less time than my coffee needed to brew.
Since then I’ve made this recipe more times than I can count. Late night cravings, lazy Sunday breakfasts, “I need something sweet right now” moments. It works every single time.
Here’s exactly how to make it.
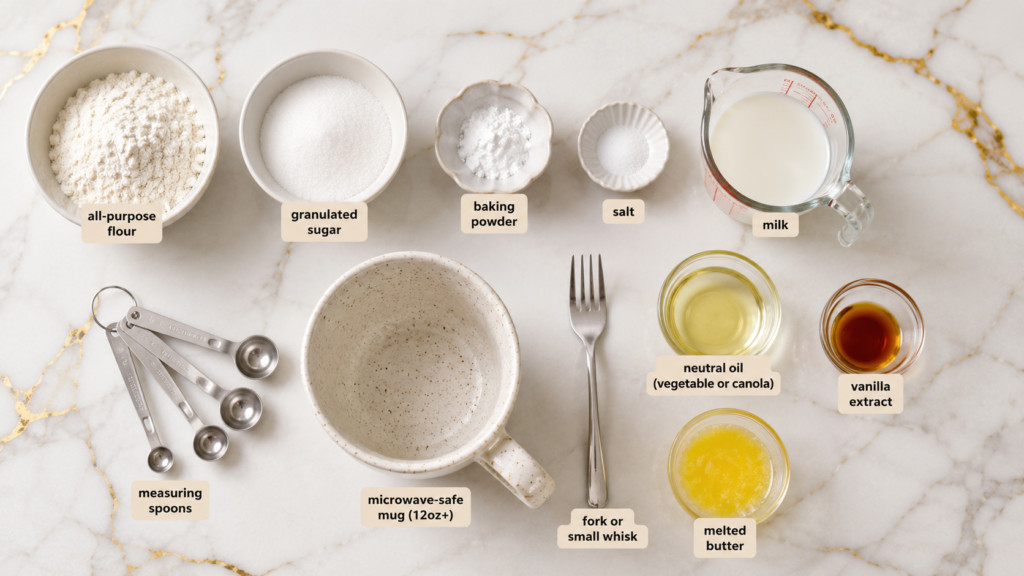
What You’ll Need
For the cake:
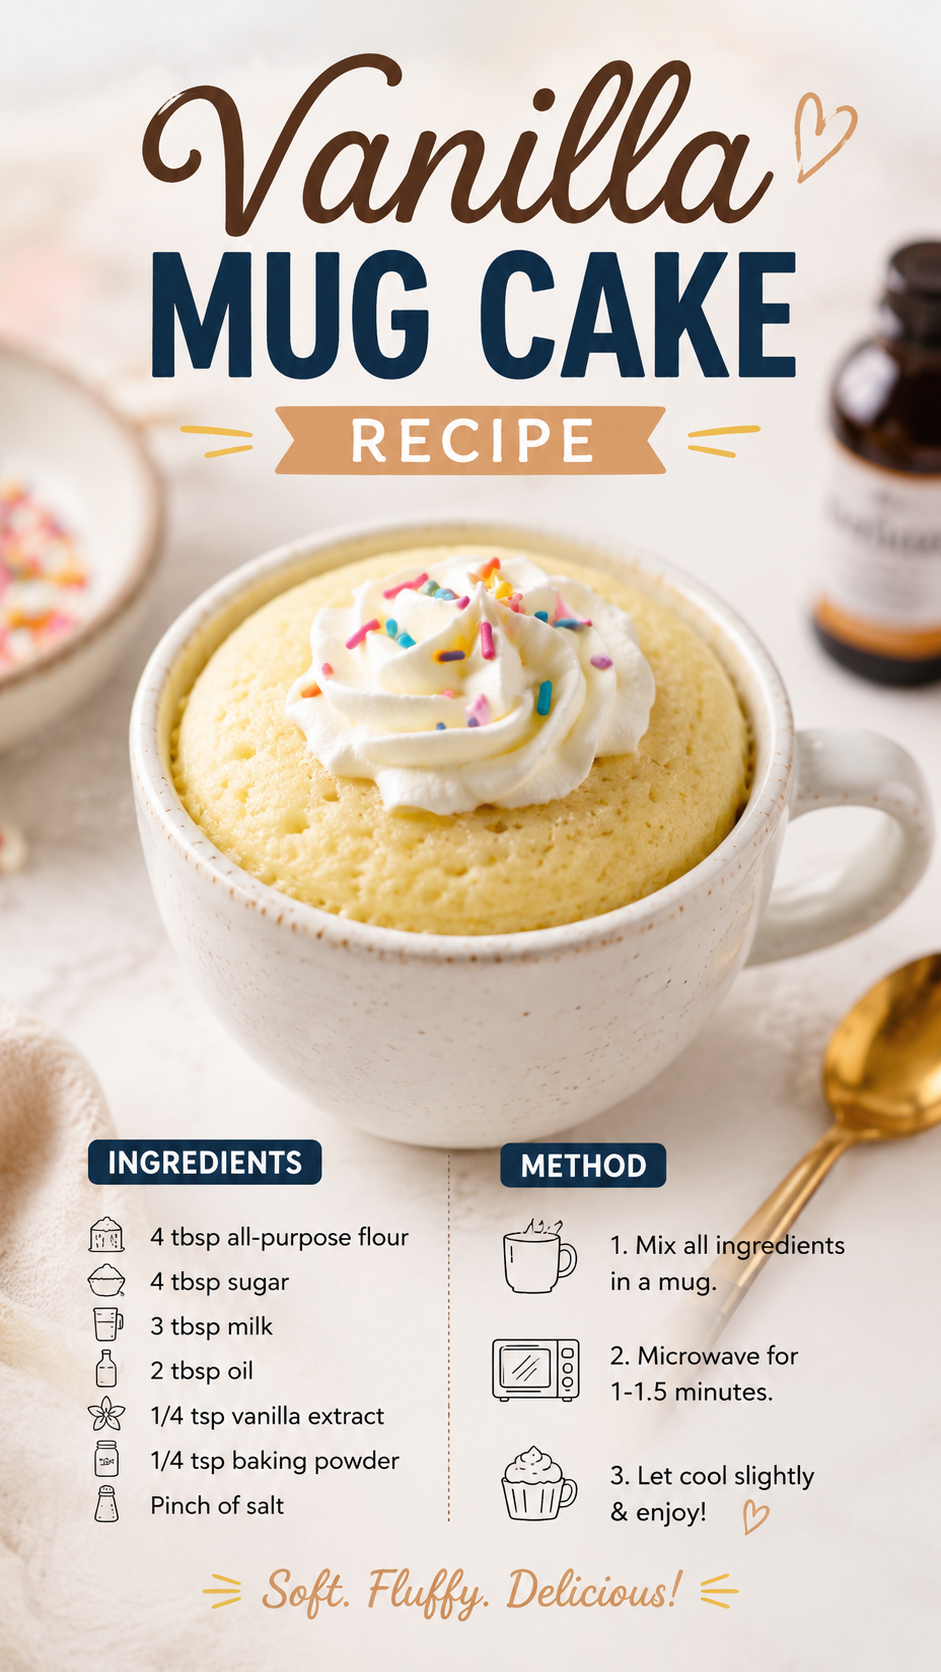
- 4 tablespoons all-purpose flour
- 3 tablespoons granulated sugar
- 1/4 teaspoon baking powder
- Pinch of salt
- 3 tablespoons milk
- 2 tablespoons neutral oil (vegetable or canola)
- 1/2 teaspoon vanilla extract
- 1 tablespoon melted butter (optional, but worth it)
That’s it. Eight ingredients, most of which are already in your kitchen right now.
Tools You’ll Need
- A microwave-safe mug (at least 12oz so it doesn’t overflow)
- A fork or small whisk
- Measuring spoons
- Microwave
No mixer, no oven, no extra dishes to wash. This is the whole appeal.
How to Make a Vanilla Mug Cake
- Add the dry ingredients to your mug. Flour, sugar, baking powder, and salt. Mix them together with your fork until there are no flour streaks left.
- Pour in the wet ingredients. Milk, oil, melted butter, and vanilla extract go in next.
- Whisk until smooth. You want a batter with zero lumps. Scrape the bottom of the mug, that’s where flour likes to hide.
- Microwave for 60 to 90 seconds. Every microwave is different, so start at 60 seconds and check. The cake is done when it’s puffed up and the top looks set, not wet.
- Let it sit for a minute. I know it’s tempting to dig in immediately, but that minute lets it finish cooking from the residual heat.
- Top it however you want and eat straight from the mug.
That’s the whole process. Less than 5 minutes from craving to eating.
Pro Tips For Your First Mug Cake
I’ve made enough of these to know exactly where people mess up. Here’s what actually matters:
- Don’t overmix. Stir just until the flour disappears. Overmixing makes the cake dense and chewy instead of fluffy.
- Watch the time closely. Microwave mug cakes go from perfect to rubbery in about 15 seconds. Check it at 60 seconds, then add time in 10-second bursts if needed.
- Use a wide mug, not a tall skinny one. Wide mugs cook more evenly. Tall mugs tend to stay raw in the middle while the edges overcook.
- Room temperature milk works better than cold milk straight from the fridge. It blends smoother and cooks more evenly.
- Grease the mug first if you plan on flipping the cake out onto a plate instead of eating it straight from the mug.
Substitutions and Variations
| Original | Swap | Result |
|---|---|---|
| All-purpose flour | Gluten-free 1:1 flour blend | Works great, texture stays similar |
| Granulated sugar | Brown sugar | Slightly deeper, caramel-like flavor |
| Milk | Oat milk or almond milk | Totally fine, dairy-free friendly |
| Vegetable oil | Melted coconut oil | Adds a light coconut note |
| Vanilla extract | Almond extract (half the amount) | Nuttier, more bakery-style flavor |
Want to switch things up? Try one of these:
- Funfetti version: Stir in a tablespoon of sprinkles before microwaving.
- Chocolate chip version: Fold in a small handful of chocolate chips.
- Lemon version: Add 1/2 teaspoon lemon zest and a squeeze of lemon juice.
- Cinnamon roll version: Swirl in a mix of cinnamon and brown sugar before cooking, then drizzle glaze on top.
Additional Details Worth Knowing
Nutritional ballpark (based on the base recipe, one serving): Roughly 320 to 360 calories, depending on the exact brands you use. Most of that comes from the sugar, oil, and butter combo.
For a lighter version: cut the sugar to 2 tablespoons and skip the melted butter. You’ll lose a bit of richness but it still tastes good.
Meal pairing idea: a scoop of vanilla ice cream on top turns this into a legit dessert. A drizzle of coffee on the side makes it feel like a bakery treat.
Time efficiency tip: premix your dry ingredients in small containers or ziplock bags ahead of time. When a craving hits, you just add the wet ingredients and go. Total time drops to under 3 minutes.
Make Ahead Tips
You can premix the dry ingredients up to a week ahead and store them in an airtight container or small bag right on your counter.
I wouldn’t recommend mixing the wet ingredients in ahead of time though. The batter doesn’t hold up well once it sits, and the texture suffers.
Storage and Leftovers
Mug cakes are best eaten fresh, honestly within a few minutes of coming out of the microwave.
That said, if you somehow don’t finish it (rare, but it happens):
- Room temperature: covered, good for about a day. Texture gets a little denser.
- Fridge: up to 3 days, covered tightly.
- Reheating: pop it back in the microwave for 10 to 15 seconds to soften it up again.
I don’t recommend freezing mug cakes. The texture just doesn’t bounce back the same way.
FAQ
Can I bake this in the oven instead of the microwave? Yes. Pour the batter into a small oven-safe ramekin and bake at 350°F for about 15 to 18 minutes, until a toothpick comes out clean.
Why did my mug cake turn out rubbery? That almost always means it was overcooked. Microwaves vary a lot in power, so start checking at 60 seconds instead of assuming 90 will work.
Can I double the recipe? You can, but use two separate mugs instead of one bigger one. Doubling in a single mug throws off the cook time and you’ll end up with a raw center.
Is this recipe egg-free? Yes, and that’s actually intentional. A single egg is too much liquid for a mug-sized portion and throws the texture off.
Can kids help make this? Definitely. It’s basically a stir-and-microwave recipe, which makes it a good first “baking” project for younger kids with supervision around the microwave.
Wrapping Up
This is the recipe I go back to when I want something sweet without the commitment of an actual baking project.
Give it a try tonight and let me know how it turns out in the comments. I want to hear which variation you went with, and if you ran into any questions along the way, drop them below and I’ll help you out.